
To maintain your air ionizer properly, you'll need a daily, monthly, and quarterly schedule. Each day, wipe down the exterior with a soft cloth and deionized water, and check the emitter points. Monthly tasks include cleaning the pre-filter and inspecting the main filter for damage. Every three months, perform a deep clean of all components and test the unit's performance with a charge plate monitor. You should replace HEPA filters every 12-18 months and carbon filters every 3-6 months. Following these maintenance intervals will maximize your ionizer's efficiency, and there's much more to know about keeping your unit in top condition.
Daily Cleaning Requirements
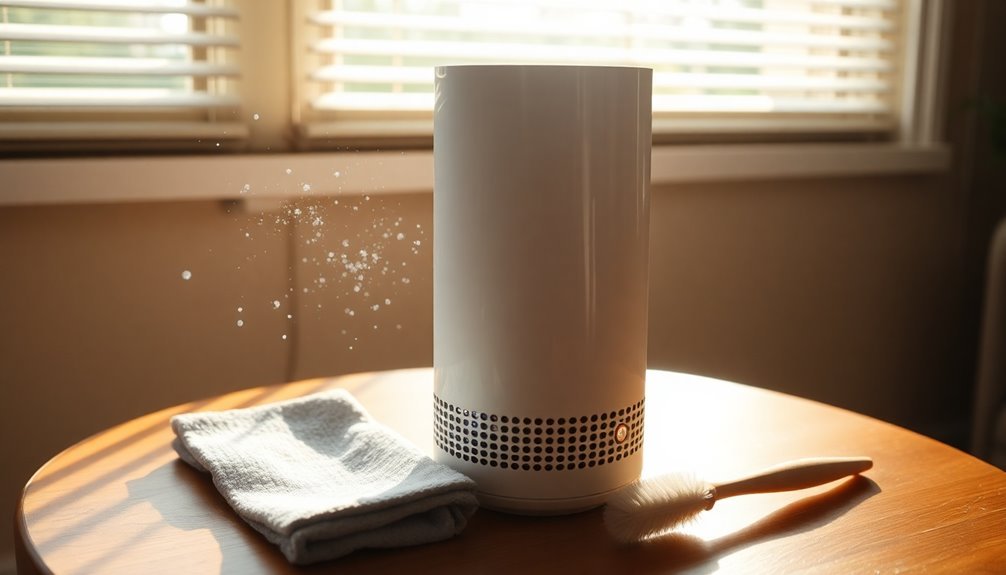
While maintaining an air ionizer might seem intimidating, daily cleaning routines are essential for peak performance and longevity.
You'll need to focus on three main areas: the exterior, emitter points, and filters. Routine service is critical for maintaining quality audit compliance.
For the exterior, use a soft cloth dampened with deionized water, making sure to squeeze out excess liquid before wiping.
When cleaning emitter points, always turn off and unplug your ionizer first.
Use specialized emitter point cleaners or isopropyl alcohol with a swab, being careful not to touch the points directly to avoid oil contamination.
If you encounter stubborn debris, a soft brush can help remove it.
Filter maintenance requires daily attention, especially in environments with high particle counts.
Use compressed air to clean the filters, but be careful not to force debris deeper into the unit.
After cleaning, verify filters are properly reattached.
Remember to check your ionizer's operation daily using a charged plate monitor or test kit to maintain peak performance.
Monthly Maintenance Tasks
Your monthly maintenance tasks should start with a thorough pre-filter cleaning using a gentle wash cycle or vacuum with a brush attachment.
You'll need to carefully inspect the main filter for dust accumulation and damage, ensuring it's properly seated and functioning at ideal levels. Using natural cleaning products will help avoid leaving harmful chemical residues during maintenance. Maintaining detailed maintenance records helps track filter performance and replacement needs over time.
Don't forget to check all emitter points for proper ionization, as these essential components can become dirty or damaged over time, affecting your unit's performance.
Filter Cleaning Schedule
To maintain peak performance of your air ionizer, following a consistent monthly cleaning schedule is essential. You'll need to clean different components at varying intervals to guarantee maximum air purification. The exterior needs monthly cleaning, while pre-filters require attention every 5-6 weeks under typical usage conditions. Regular maintenance can help prevent your air purifier's effectiveness from experiencing a 50 percent reduction.
| Filter Type | Cleaning/Replacement Schedule |
|---|---|
| Pre-filter | Every 5-6 weeks |
| HEPA Filter | Every 6-12 months |
| Carbon Filter | Every 12 months |
| Exterior | Monthly |
When cleaning pre-filters, use a soft brush or duster to remove dust, followed by gentle vacuuming with a HEPA-equipped vacuum. You can wash pre-filters with water, but make certain they're completely dry before reinstalling them. Don't wash HEPA filters, as water damages their effectiveness. Instead, vacuum them gently if needed. To ensure proper workplace safety, always perform maintenance tasks in well-ventilated spaces.
Remember to unplug your air ionizer before any maintenance work. Regular cleaning extends your unit's lifespan and maintains its efficiency. Store replacement HEPA filters vertically when not in use, and always dispose of used filters in sealed bags. Keep your ionizer in a well-ventilated area away from direct sunlight for peak performance.
Emitter Point Inspection
Beyond routine filter maintenance, proper inspection of emitter points plays a key role in air ionizer performance. You'll need to inspect these points regularly to verify they're functioning at ideal levels and free from contamination.
While industry standards like EIA-625 and JESDD625-A suggest semiannual inspections, you should adjust your schedule based on your specific environment and usage patterns.
When inspecting emitter points, you'll want to look for signs of degradation or contamination. Watch for any buildup, discoloration, or "fuzzballs" on the tips, as these can greatly impact ion emission. If you notice these issues, it's time for immediate cleaning.
Remember to power off the unit before cleaning and use a 50/50 mixture of IPA and de-ionized water with appropriate cleanroom-compatible materials.
During cleaning, gently rotate a moistened swab or wipe around each emitter point to remove contaminants. Don't use foam swabs or materials that might leave residues behind.
Make sure the points are completely dry before powering the unit back on. By maintaining a regular inspection schedule and following proper cleaning procedures, you'll prevent costly downtime and verify consistent ionizer performance.
Quarterly Service Checklist
Regular maintenance of your air ionizer every three months plays an essential role in guaranteeing ideal performance and longevity.
During your quarterly service, you'll need to focus on several critical components and performance checks to maintain peak functionality.
Start by inspecting and cleaning the emitter points, checking for any buildup, damage, or discoloration. Clean these points using isopropyl alcohol and a soft cloth or specialized cleaning tools. Using a damp microfiber cloth to wipe down the exterior will help prevent scratches during cleaning.
Next, examine your filters and pre-filters, cleaning or replacing them if they show signs of clogging or reduced airflow. Don't forget to clean the fans and grills to maintain proper air circulation.
You should also verify the ion balance by measuring offset voltage and discharge times. If your unit is adjustable, set the offset voltage to zero and confirm the adjustment through testing.
Clean the exterior with deionized water and a soft cloth to prevent dust accumulation. Remember to inspect ionizing wires for wear and replace them if necessary.
Track your ionizer's performance data and follow the manufacturer's guidelines for maintenance schedules and replacement parts. This documentation helps you enhance maintenance intervals and guarantee compliance with industry standards.
Essential Safety Protocols
Before you start any maintenance work on your air ionizer, it's critical to power down and unplug the unit completely to prevent electrical hazards.
You'll need to wear appropriate protective equipment, including gloves and a face mask, to shield yourself from dust, allergens, and cleaning chemicals.
Keep all internal components dry during cleaning and maintenance procedures, as moisture can damage electrical parts and create safety risks.
Power Down Before Maintenance
Proper safety protocols during air ionizer maintenance start with powering down your unit completely.
You'll need to unplug the power cord and verify that the unit is entirely off before proceeding with any maintenance tasks. If your ionizer has a standby mode, use it first before moving to a complete shutdown.
Before cleaning the emitter points, you must remove the rear screens by carefully unplugging the screws to access the internal components.
Use a mixture of 50% isopropyl alcohol and 50% de-ionized water for cleaning, along with cleanroom-compatible wipes and swabs.
Never attempt maintenance while the unit is powered on, as this can lead to electrical accidents and additional contamination of the emitter points.
Once you've cleaned the components, allow at least one minute for any cleaning solution residues to dry completely.
During reassembly, make sure you've secured all components properly and reattached the screens correctly.
These power-down procedures aren't just recommendations—they're essential safety measures that protect you from electrical hazards and guarantee your ionizer's peak performance after maintenance.
Personal Protective Equipment Required
During air ionizer maintenance, wearing appropriate personal protective equipment (PPE) is crucial for your safety and the equipment's integrity.
You'll need to protect yourself from potential hazards like chemical exposure, electrical shock, and airborne contaminants while preserving the ionizer's sensitive components from static damage.
- Start with static-proof clothing that covers your regular attire completely. This specialized garment prevents static discharge that could harm electrostatic-sensitive devices (ESDs) within the ionizer.
- Wear protective gloves made of insulating materials that fit properly. They'll shield your hands from cleaning chemicals while maintaining the dexterity you need for precise maintenance work.
- Don't skip eye protection that's compatible with your other safety gear. Your safety glasses will guard against chemical splashes, debris, and UV light exposure during ionization testing.
- Secure a well-fitting face mask to prevent inhaling dust, debris, and airborne particles. Replace it regularly to maintain its effectiveness, especially in environments with high levels of particulate matter.
Remember to inspect all PPE before use and verify each item fits properly to provide maximum protection during maintenance procedures.
Avoid Wet Interior Parts
While wearing PPE protects you during maintenance, keeping moisture away from your air ionizer's interior components stands as your next key safety priority.
You'll need to follow strict moisture control protocols to prevent damage to your unit and maintain peak performance.
Always unplug your ionizer before starting any cleaning procedure. When you're cleaning interior parts, don't use any liquids while the unit is powered, as this can cause electrical hazards and component damage.
You'll want to keep all moisture away from vents and openings to protect sensitive internal mechanisms.
For effective moisture control, use a microfiber towel to immediately remove any wetness that occurs during cleaning. After applying any cleaning solutions, particularly the recommended 70% IPA and 30% deionized water mixture for emission points, make certain all surfaces dry completely before reassembling the unit and powering it back on.
You'll need to be especially careful when cleaning emitter points and other internal components. If you're using the 50/50 IPA and deionized water solution for emitter points, apply it sparingly and make certain thorough drying before resuming operation.
Filter Replacement Guidelines
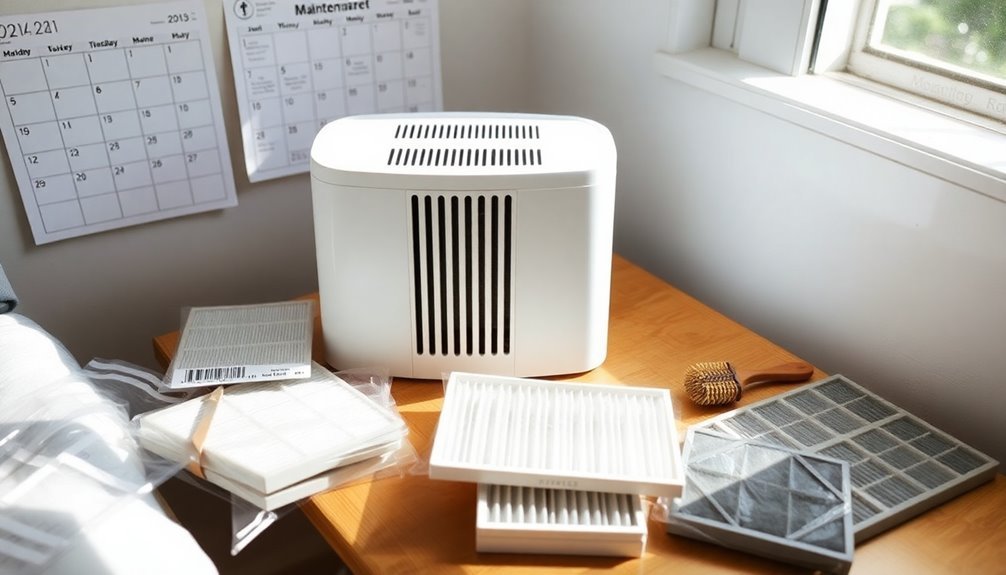
Understanding your air ionizer's filter replacement schedule is essential for maintaining ideal performance. You'll need to monitor different filter types, as each has its own replacement timeline.
HEPA filters typically need replacement every 12-18 months, but if you have pets or smokers in your home, you should change them every 6-9 months. Activated carbon filters require more frequent attention, usually every 3-6 months, especially in areas with high pollution or strong odors. Setting up maintenance reminders can help you stay on track with filter changes.
Pre-filters need the most regular maintenance, requiring cleaning every 2-4 weeks if they're washable, or replacement every 3-6 months if they're not. Your specific replacement schedule should account for your home's unique conditions and usage patterns.
- If you run your ionizer continuously, you'll need to replace filters more frequently than the standard recommendations.
- High humidity and temperature in your home will reduce filter lifespan.
- Watch for signs of clogging, such as visible debris or increased allergy symptoms.
- Check your manufacturer's guidelines, as specific models may have unique replacement requirements based on their design and capacity.
Performance Testing Schedule
To maintain ideal air purification, you'll need to implement a regular performance testing schedule for your air ionizer. Following JESDD625-A standards, you should test your unit every 6 months, though high-use environments may require more frequent verification. Use a Charge Plate Monitor to measure both offset voltage and discharge times according to ANSI/ESD STM3.1 guidelines.
Your testing schedule should account for environmental factors that can impact performance. If you're operating in environments with high levels of contaminants, you'll need to increase your inspection frequency.
| Test Component | Frequency | Key Indicators |
|---|---|---|
| Offset Voltage | 6 months | Within specs |
| Discharge Times | 6 months | Meet minimum limits |
| Emitter Points | Monthly | No buildup/damage |
| Filters | Monthly | Clean/unobstructed |
| Balance | 6 months | Even distribution |
Before each performance test, verify you've cleaned all emitter points and filters. Keep detailed records of your test results to track performance trends over time. This data will help you adjust your maintenance schedule and identify when components need replacement or calibration adjustments.
Common Maintenance Mistakes
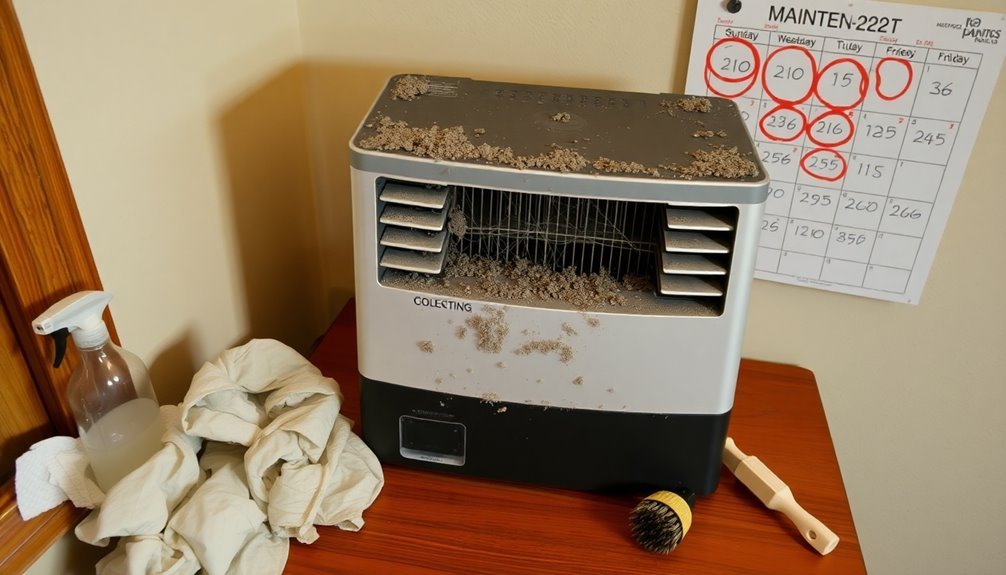
Air ionizer maintenance requires careful attention to detail, yet many users make vital mistakes that compromise their unit's effectiveness. When you skip essential maintenance tasks or use incorrect cleaning methods, you're reducing your ionizer's performance and potentially shortening its lifespan.
1. You're likely overlooking important components during routine maintenance. Filters, grills, emitter pins, and fans need regular inspection and cleaning.
Don't forget to check the exterior casing and verify discharge times and offset voltage regularly.
2. You mightn't be cleaning your ionizer frequently enough. Environmental factors greatly impact cleaning needs, especially in cleanroom settings.
Your unit may require maintenance every few months, rather than following standard intervals.
3. You could be using improper cleaning techniques. Avoid using incorrect cleaning solutions, abrasive materials, or cleaning energized points.
Always use cleanroom-compatible wipes and confirm the unit is completely dry after cleaning.
4. Your operators may lack proper training. They need to understand maintenance schedules, environmental impacts, and manufacturer guidelines.
Make certain they're trained in power cycling self-cleaning ionizers and recognize the importance of following established maintenance protocols.
Specialized Cleanroom Maintenance Steps
Cleanroom environments demand rigorous maintenance protocols for air ionizers that go beyond standard upkeep. You'll need to establish a maintenance schedule based on your specific cleanroom characteristics and production conditions.
Start by tracking performance data during the first few months after installation to determine ideal cleaning intervals.
When performing maintenance, always turn off the power and wait at least one minute before cleaning the emitter points. Use a 50/50 mixture of isopropyl alcohol and de-ionized water with cleanroom-compatible wipes and swabs.
After cleaning, inspect the points for any signs of breakage, buildup, or discoloration.
To verify performance, you'll need to measure offset voltage and discharge times. Clean the unit thoroughly, including air filters if present, and reset the offset voltage to zero if your unit has this capability.
If the ionizer doesn't meet specifications after cleaning and adjustments, you'll need to schedule additional service.
Even if you're using self-cleaning ionizers, don't skip regular maintenance, especially for units running continuously.
Combine self-cleaning features with consistent ion balance monitoring to maximize efficiency and prevent costly downtime from reactive maintenance situations.
Emergency Service Indicators
Warning signs from your air ionizer shouldn't be ignored, as they often indicate serious performance issues that require immediate attention.
When your device starts showing critical signs like alarm sounds, LED color changes, or sudden performance decline, you'll need to take swift action to prevent further damage and maintain ideal air quality.
Environmental factors can trigger these emergency indicators, including high humidity levels, excessive airborne contaminants, and electrostatic interference.
You should monitor these conditions regularly and adjust your maintenance schedule accordingly to prevent system failures.
- Check LED Indicators Daily: Watch for color changes or blinking patterns that signal problems.
- Monitor Performance Levels: Track your air quality readings to spot sudden declines.
- Listen for Unusual Sounds: Respond immediately to alarms or irregular operating noises.
- Inspect Physical Components: Look for visible damage to wires, filters, or emitter points.
When emergency indicators appear, follow proper response procedures: shut down the unit immediately, clean or replace affected components, and maintain proper rebalancing before reactivation.
Don't attempt to operate your ionizer if it's showing critical warning signs, as this could lead to more severe problems or complete system failure.
Frequently Asked Questions
Can Extreme Humidity Affect the Maintenance Schedule of an Air Ionizer?
Yes, when you're dealing with extreme humidity, you'll need to clean your ionizer more frequently. High moisture levels cause faster debris buildup on emitter points and can damage them without proper maintenance.
How Do Seasonal Changes Impact the Cleaning Frequency of Emitter Points?
You'll need to adjust your emitter point cleaning schedule throughout the year. Clean monthly in humid spring/summer, every 2-4 months in dusty autumn, and every 3-6 months during dry winter conditions.
What Signs Indicate an Air Ionizer Needs Immediate Calibration?
You'll need immediate calibration if you notice slow discharge times, increased static charges, dust on emitter points, unusual odors, LED warnings, or failed offset voltage specs. Don't ignore audible alarms or reduced airflow.
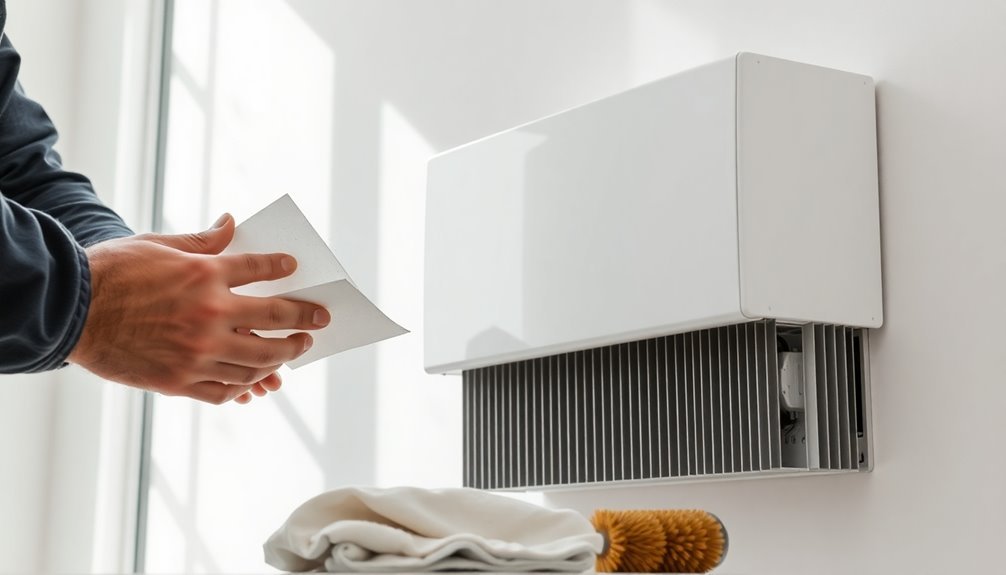
Are Maintenance Requirements Different for Portable Versus Wall-Mounted Ionizers?
While you'll need to clean both types similarly, portable ionizers often require more frequent maintenance due to their mobility. Wall-mounted units may need less attention but still demand regular emitter point and filter cleaning.
Do Multiple Air Ionizers in One Space Require Synchronized Maintenance Schedules?
You don't need to synchronize maintenance for multiple ionizers in one space. Instead, you should assess each unit individually based on its specific usage, location, and environmental conditions to determine ideal service timing.
In Summary
Follow your air ionizer's maintenance schedule diligently to protect your investment and guarantee peak performance. You'll need to wipe the emitter points daily, check all connections monthly, and replace filters according to manufacturer guidelines. Don't skip quarterly deep cleaning sessions or annual performance testing. Remember, proper maintenance not only extends your unit's lifespan but also maintains the air quality you're counting on.


Leave a Reply