Anti-static tool grip materials must meet specific surface resistivity requirements: conductive (<10^5 ohms/square), dissipative (10^5-10^9), or anti-static (10^9-10^12). You'll find these materials typically combine polyurethane with conductive fibers for effective static control. They need to comply with ANSI/ESD S20.20 and EN 16350 standards while maintaining resistance between 10^6-10^9 ohms. Modern grips feature chemical resistance to oils and solvents, with temperature tolerances from -40°C to 150°C. They require proper grounding mechanisms and regular testing for consistent performance. Most manufacturers now incorporate copper wire integration for reliable static discharge. There's much more to discover about these sophisticated materials' protective capabilities.
Surface Resistivity Requirements

For effective anti-static tool grips, surface resistivity plays a vital role in controlling static electricity. You'll need to understand that this property measures how easily electric charges can flow across a material's surface, which is more relevant than volume resistivity when evaluating anti-static performance.
When you're selecting materials for tool grips, you'll want to take into account the established classification system. Materials with less than 1 x 10^5 ohms/square are conductive, while those between 1 x 10^5 and 1 x 10^9 ohms/square are dissipative. Anti-static materials range from 1 x 10^9 to 1 x 10^12 ohms/square, and anything above that's considered insulative. The Xuro-Rubber grips used in Xuron tools fall within the dissipative range of 10^6 – 10^9 ohms.
You'll need to measure surface resistivity using proper methods like ASTM D257, which requires placing electrodes under load on the material's surface.
Remember that factors like moisture content, contamination, and surface roughness can affect your readings. It's vital to conduct regular testing to guarantee your tool grips maintain their anti-static properties over time.
Don't forget that proper grounding and bonding of conductive parts are necessary for effective static control in your tools.
Material Composition and Properties
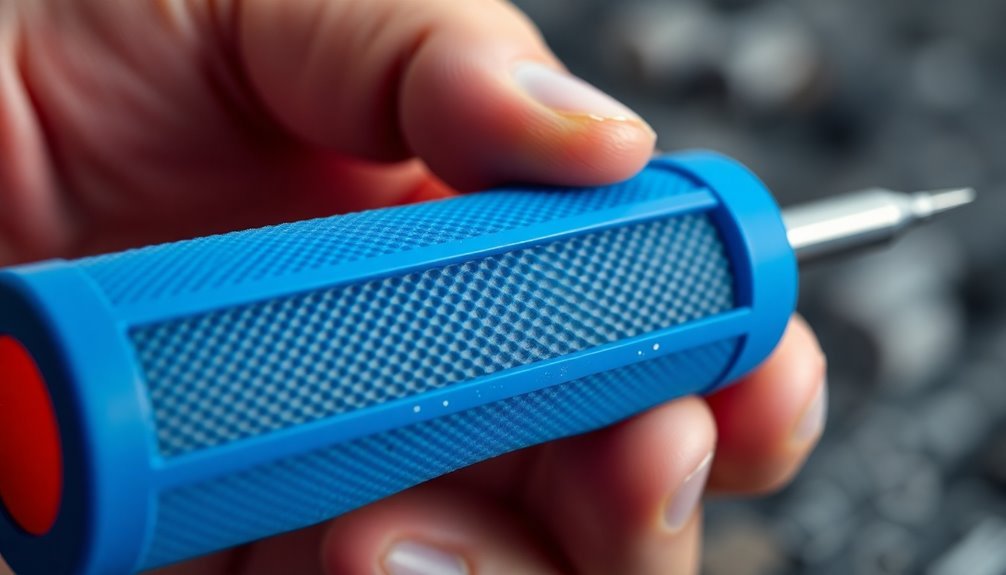
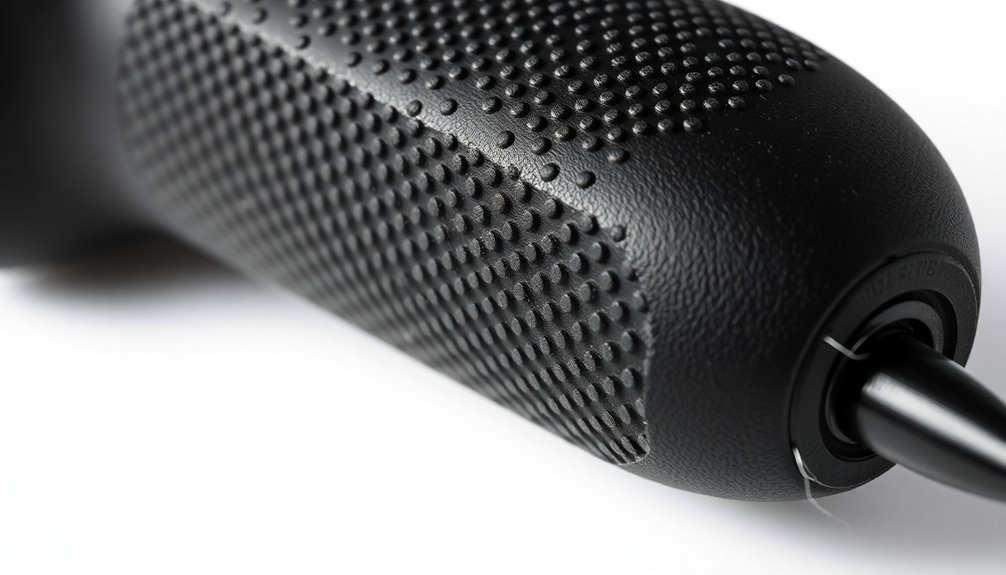
Polyurethane coating combined with conductive fibers forms the cornerstone of effective anti-static tool grip materials. You'll find this specialized PU coating on tool grips provides superior durability while maintaining essential ESD protection. Carbon conductive elements can be incorporated into the material composition to enhance touchscreen compatibility.
The material's composition strategically blends polyester with conductive elements, creating an ideal balance between comfort and static dissipation.
When you're selecting anti-static grip materials, you'll want to evaluate the resistance level in ohms that matches your work environment's electrostatic sensitivity. The PU coating's thickness can be adjusted to meet your specific needs, while still maintaining excellent grip characteristics and long-lasting performance.
You'll notice these materials outperform traditional alternatives like fabric or latex-coated options. They're more breathable than latex and offer better grip than standard fabric materials.
The coating resists both chemical and physical wear, which means you won't need to replace them as frequently. This durability translates to cost savings and reduced environmental impact.
The material's adaptability makes it suitable for various work settings without compromising its primary function of static protection, while still providing the dexterity you need for precise handling tasks.
Safety Standards and Compliance

You'll need to guarantee your anti-static tool grips meet rigorous certification requirements, including ANSI/ESD S20.20 and EN 16350 standards for electrostatic discharge protection.
Testing protocols require regular verification of the grip material's conductivity and resistance measurements to maintain compliance with safety regulations.
Your grounding protocols must establish proper connections between the tool grip and approved ESD control systems, guaranteeing continuous protection during sensitive electronic operations. The grip materials should incorporate soft, compressible materials to enhance comfort while maintaining anti-static properties.
Certification Requirements Overview
Safety certification requirements for anti-static tool grip materials consistently evolve to meet stringent industry standards. You'll need to guarantee your materials comply with key standards like ANSI/ESD S20.20 and IEC 61340-5-1, which govern ESD control programs across multiple industries. Over 1,900 global facilities have achieved certification, demonstrating the widespread adoption of these standards.
When selecting tool grip materials, you must verify they meet specific resistance requirements: dissipative materials should maintain 10^6-10^9 ohms, while conductive materials need less than 1.0 x 10^4 ohms resistance.
For tool grips used in explosive atmospheres, you'll have to meet ATEX directives and DSEAR regulations. You can verify compliance through accredited ISO9000 Certification Bodies or independent laboratory testing.
If you're manufacturing tool grips, you'll need to maintain ongoing verification processes and thorough documentation of resistance values. Your materials must also align with industry-specific requirements – electronics manufacturing demands strict ESD control, while fuel handling environments require ATEX-certified materials.
Don't forget that PPE regulations under EU 2016/425 may affect your tool grip specifications, particularly when they're used in hazardous environments where static discharge control is critical.
Testing and Grounding Protocols
To guarantee reliable static protection, you'll need to follow thorough testing and grounding protocols that align with key international standards like ANSI/ESD S20.20 and IEC 61340.
When testing anti-static materials, you'll want to focus on two critical measurements: Resistance Top-to-Top (RTT) and Resistance Top-to-Ground (RTG). Your readings should show less than 1 x 10e9 ohms for manufacturing environments. Maintaining proper dry air conditions can significantly improve the accuracy of these measurements.
You'll need to use an ESD Resistance Meter to properly measure the voltage discharge through your materials. For proper grounding, connect your anti-static mats directly to electrical outlets using designated grounding cables, ensuring you're bypassing any ungrounded flooring.
Don't forget that your workstation setup must comply with ANSI/ESD S6.1 requirements for grounding.
When implementing static dissipative surfaces, you'll need to monitor both resistance levels and decay times carefully. Your testing protocols should include regular verification of all grounding connections and equipment performance.
Remember that carbon-impregnated mats with grounding snaps offer the most reliable static discharge path, but they'll only work effectively when properly connected to your facility's grounding system.
Grounding Mechanisms for ESD Protection
You'll find copper wire integration is crucial for creating reliable grounding paths in anti-static tool grips, with proper wire placement and secure connections determining the effectiveness of static discharge.
Common point grounding is essential for connecting tool grips to the overall ESD protection system, ensuring uniform electrical potential throughout the workstation.
Regular surface contact resistance testing guarantees your tool grips maintain best conductivity levels and helps identify areas requiring maintenance or replacement.
Multi-layer discharge paths within the grip material provide redundancy in your ESD protection system, routing harmful static through various conductive layers to ground.
Copper Wire Integration Methods
Integrating copper wire effectively into anti-static tool grips requires careful consideration of several grounding mechanisms. You'll need to guarantee proper connectivity to the common ground point while maintaining the tool's functionality. The copper wire must connect to both the tool's conductive elements and the designated ground plane to create an equipotential balance. For optimal ESD protection, ground planes provide the most reliable low-impedance path for static discharge dissipation.
When implementing copper wire integration, you'll want to focus on these key aspects:
| Connection Point | Requirements |
|---|---|
| Tool Handle | 1.0 x 10^6 to 1.0 x 10^9 ohm resistance |
| Ground Path | Two low-impedance connections |
| Bonding Point | Direct connection to Earth conductor |
You'll need to incorporate the copper wire using a two-step grounding approach. First, connect the wire to the tool's conductive materials, guaranteeing it maintains contact with the grip's surface. Then, establish a connection to your common ground point through an ESD bonding point. The wire's pathway should remain unobstructed and protected from mechanical stress. For peak performance, you'll want to verify that the complete assembly maintains resistance within the specified range of 1.0 x 10^6 to 1.0 x 10^9 ohms to ground.
Surface Contact Resistance Testing
In accordance with ANSI/ESD S4.1 standards, surface contact resistance testing plays an essential role in verifying ESD protection effectiveness. You'll need to perform both RTT (Resistance Top to Top) and RTG (Resistance to Ground) measurements to guarantee your surfaces maintain resistance between 1 x 10^6 and 1 x 10^9 ohms.
For RTT testing, you'll place two 5-pound electrodes 10 inches apart on the surface's most frequently used area.
When performing RTG testing, you'll connect the black lead to a ground point and place one electrode at the furthest convenient point on the surface. Don't forget to remove any ESD-sensitive devices before testing.
Your grounding system must provide a common point for all ESD control items, creating a path that brings everything to the same electrical potential. While conductive materials can dissipate charges through proper grounding, you can't ground insulators to remove their electrostatic charge.
- A technician carefully positioning two electrodes on a clean workbench surface
- Digital resistance meter displaying readings in bright LED numbers
- Black grounding wire running along the edge of a workspace to a common point
- Multiple ESD bonding points mounted at strategic locations around the workstation
Multi-Layer Discharge Paths
Building on proper surface testing practices, effective ESD protection requires a thorough multi-layer discharge system. You'll need to carefully arrange your PCB layers to maximize ESD protection while maintaining signal integrity. By positioning ground and power planes adjacent to signal layers, you're creating an effective shield against voltage differences caused by ESD events.
| Layer Type | Function | Protection Method |
|---|---|---|
| Signal Layer | Data Transfer | Placement between planes |
| Ground Plane | Common Reference | Adjacent positioning |
| Power Plane | Voltage Distribution | Strategic placement |
| Dielectric Layer | Energy Absorption | High permittivity |
| Protection Layer | ESD Components | TVS diode integration |
When you're designing multi-layer PCBs, you'll want to incorporate high-permittivity dielectric materials to absorb and dissipate electrostatic energy efficiently. Your controlled impedance design should minimize reflections and signal degradation, which helps prevent ESD-induced noise from affecting critical circuits. You can enhance protection by adding decoupling capacitors between power and ground planes, creating stable voltage levels throughout your board. Remember to implement isolation barriers to contain ESD events and prevent them from propagating across your PCB's various layers.
Temperature and Environmental Limitations

Temperature capabilities represent a critical factor when selecting anti-static tool grip materials, with most options operating effectively between -40°C and 150°C.
You'll find that Symflex operates reliably from -30°C to 135°C, while ESD Anti-Static Rubber Pad functions from -40°C to 120°C, with brief exposure tolerance up to 125°C for 72 hours. For more demanding applications, High Performance Rubber (HPR) can withstand temperatures up to 285°C, making it ideal for high-heat environments.
Environmental conditions also affect your material choice. Consider these key scenarios:
- Picture a technician working in a freezing outdoor substation, where Symflex's low-temperature tolerance prevents brittleness and cracking.
- Imagine a manufacturing floor where tools experience brief exposure to molten materials, making ESD rubber's 800°C flash tolerance essential.
- Think about an electronics assembly line in a humid climate, where NBR's resistance to moisture and temperatures up to 150°C proves vital.
- Envision a high-precision laboratory setting where Thermoplastic PPA's consistent performance at 150-160°C maintains grip integrity.
When selecting your tool grip material, you'll need to match these temperature and environmental limitations to your specific application requirements.
Chemical Resistance Features
Beyond temperature considerations, chemical exposure presents another key factor in selecting anti-static tool grip materials. You'll find that most anti-static materials offer impressive resistance to various chemicals, but specific materials excel in different areas.
| Material Type | Chemical Resistance | Best Applications |
|---|---|---|
| Neoprene | Chemicals, Solvents | General Manufacturing |
| Silicone | Chemical Corrosion, Acids | Electronics Assembly |
| Stat-Tech TPEs | Acids, Alkalis, Solvents | Food Production, Industrial |
| Xuron-Rubber™ | Oils, General Chemicals | Precision Tools |
When you're working in electronics manufacturing, you'll want to think about anti-static silicone grips, as they're specifically designed to resist chemical corrosion while maintaining static control. For industrial applications, Stat-Tech TPEs provide thorough protection against acids, alkalis, and solvents, making them ideal for conveyor belts and controls.
You'll notice that many of these materials meet strict regulatory standards. Xuron-Rubber™ grips conform to ANSI/ESD.S20.20 standards, while Stat-Tech TPEs meet ATEX and ESD requirements. For cleanroom environments, you can't go wrong with nitrile ESD gloves, which offer inherent anti-static properties without additives or carbon shedding.
Static Discharge Prevention Methods

Preventing static discharge requires a multi-layered approach that combines proper grounding techniques, environmental controls, and protective equipment. When you're working with anti-static tool grips, you'll need to implement various methods to guarantee proper static control.
Start by using ESD wrist straps and grounding mats to create a safe path for static electricity to dissipate. You'll also want to maintain humidity levels above 60 percent in your workspace, as moisture helps disperse electrostatic charges.
For maximum protection, you should use ESD-safe hand tools with conductive materials and wear appropriate protective gear. Don't forget to incorporate antistatic sprays and agents to neutralize static buildup on surfaces, and always store sensitive components in antistatic bags.
Picture yourself wearing an ESD-safe lab coat with a properly connected wrist strap, feeling confident as you handle sensitive electronics.
Imagine a workbench covered with a black grounding mat, tools neatly arranged and ready for use.
Visualize the slight sheen of an antistatic spray coating your workspace, providing invisible protection.
See yourself carefully placing components in metallic-looking antistatic bags, guaranteeing their safety during storage.
Always maintain an ESD-protected work environment by combining these preventive measures with proper static control procedures.
Frequently Asked Questions
How Long Does the Anti-Static Property of Grip Materials Typically Last?
You'll find anti-static properties typically last 6-12 months with proper care, but this depends on your cleaning practices, usage patterns, and storage conditions. Regular inspection helps monitor effectiveness and determine replacement timing.
Can Anti-Static Grip Materials Be Retrofitted to Existing Regular Tools?
Yes, you can retrofit anti-static grip materials to regular tools through surface treatments, material replacements, or specialized coatings. Just guarantee compatibility, proper installation, and verify the effectiveness after retrofitting.
Are Anti-Static Grip Materials Available in Different Color Options?
Yes, you'll find anti-static grip materials in various colors. You can choose from light blue, green, royal blue, dark gray for rubber mats, light gray for vinyl, and bright options for Grypmat Plus tools.
Do Anti-Static Grip Materials Affect Tool Weight or Handling Comfort?
You'll find that anti-static grip materials can slightly increase tool weight, but they're designed to improve handling comfort through better balance, enhanced grip surface texture, and proper weight distribution in your hand.
How Should Anti-Static Grip Materials Be Cleaned Without Compromising Their Properties?
You'll want to use non-abrasive cleaners and microfiber cloths to gently wipe your anti-static grips. Don't use harsh chemicals or excess moisture, and always follow the manufacturer's cleaning guidelines to maintain effectiveness.
In Summary
You'll find anti-static tool grip materials essential for protecting sensitive electronic components during maintenance and assembly. Understanding surface resistivity, material composition, safety standards, grounding mechanisms, environmental limitations, chemical resistance, and discharge prevention will help you select the right tools for your workspace. Remember to regularly test your anti-static equipment and maintain proper grounding protocols to guarantee the best ESD protection.


Leave a Reply