
Start your ESD floor runner installation right with these three essential pro tips. First, thoroughly clean your subfloor and repair any cracks or imperfections to guarantee proper adhesion and conductivity. Second, install copper grounding strips along the runner's length using conductive adhesives, connecting grounding snaps every 20 feet for ideal protection. Third, don't skip testing – use a resistance meter to verify ground connection resistance stays below 1 ohm after installation. These fundamentals will help protect your sensitive equipment, but there's much more to maximizing your ESD flooring's effectiveness.
Measure and Prepare Workspace
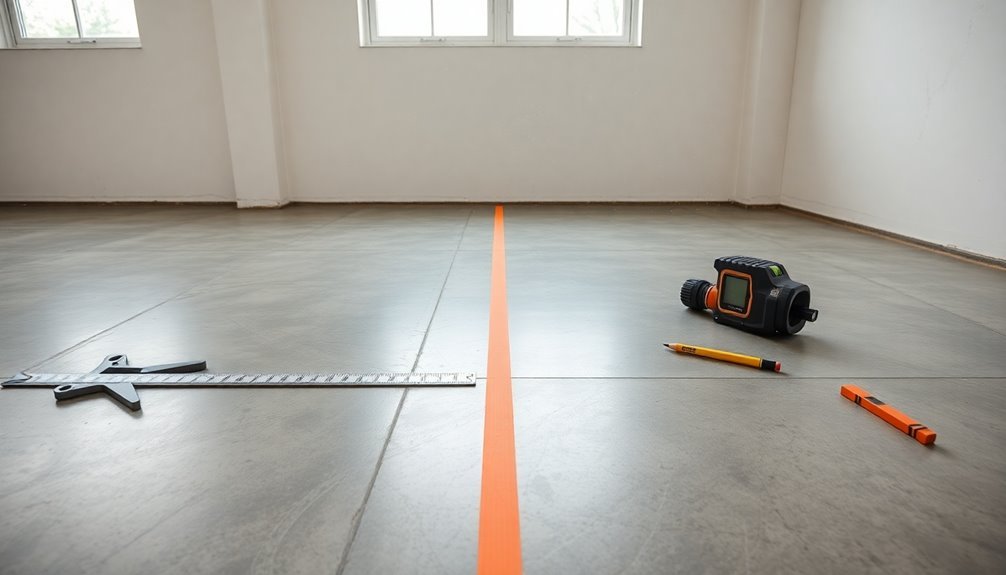
Successfully installing ESD floor runners begins with thorough workspace preparation. You'll need to start by thoroughly cleaning your subfloor, removing all debris, dust, and contaminants that could interfere with proper adhesion.
Inspect the surface carefully for cracks, uneven spots, or other imperfections that require repair. Proper subfloor preparation is one of the most critical factors in preventing ESD flooring failures. You'll need one ground connection for every 1000 square feet of flooring area. Before proceeding, you'll want to assess the environmental conditions of your installation site.
Check the moisture levels in both the subfloor and surrounding environment using a moisture-testing kit. Don't overlook factors like the building's topography and water table, as these can impact your installation's success. If you detect moisture issues, you'll need to install a vapor barrier or moisture-mitigating compound.
Ensure your concrete subfloor has cured for at least 90 days, and apply any necessary curing compounds or base coats to promote adhesion.
You'll also need to acclimate your ESD floor runners to the environment before installation – this prevents future problems like lifting or delamination.
Take precise measurements of your workspace and plan the runner layout according to manufacturer specifications, considering factors like alignment and proper spacing between pieces.
Ground Your Runner Effectively
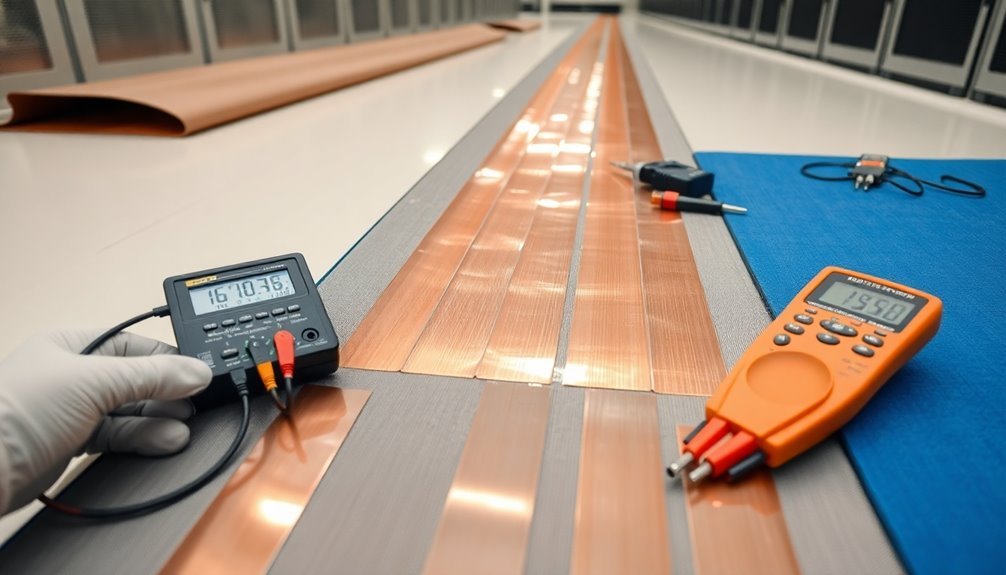
With your workspace properly prepared, you'll now need to establish an effective grounding system for your ESD floor runners. Install copper strips along the runner's length using conductive adhesives to create a continuous path for static discharge. You'll need to connect grounding snaps or clips at strategic points, typically every 20 feet along the runner. Maintaining proper humidity levels between 40-60% helps optimize your grounding system's effectiveness. Daily wrist strap testing is essential to ensure reliable personnel grounding at all workstations.
| Component | Purpose | Installation Tip |
|---|---|---|
| Copper Strips | Creates conductive path | Space evenly along runner |
| Grounding Clips | Connects to ground point | Install every 20 feet |
| Ground Cable | Links to outlet | Include 1-megohm resistor |
| Conductive Adhesive | Bonds components | Apply uniformly |
Connect your grounding cables to electrical outlets, ensuring each connection includes a 1-megohm resistor to regulate static discharge. Test the connections using a multimeter – you're looking for less than 1 ohm of resistance. Don't skip the regular inspection of your grounding points, as loose connections can compromise your ESD protection. If you're working in areas with varying humidity levels, you'll need to pay extra attention to moisture barriers during installation to maintain consistent conductivity throughout your system.
Test and Maintain Conductivity
Testing your ESD floor runner's conductivity requires both pre- and post-installation verification. Before installation, you'll need to test the subfloor's moisture content and conductivity using a resistance meter. Follow established protocols for proper ESD floor installation to ensure optimal performance. Confirm your subfloor is clean, properly prepared, and meets all necessary standards for ESD flooring installation.
Once you've installed your floor runner, use a multimeter to verify the ground connection's resistance, which should be less than 1 ohm. Check all components for proper continuity using a continuity tester, and document your test results for future reference.
To maintain ideal conductivity, you'll need to establish a regular maintenance routine. Inspect grounding connections frequently for wear or corrosion, and keep the ESD flooring surface clean using only ESD-safe cleaners. Monitor humidity levels to confirm they stay within recommended ranges, and replace any worn or damaged sections promptly.
Consider implementing continuous monitoring for critical applications. Use an ESD resistance meter to conduct regular tests according to a set schedule. Watch for environmental changes that could affect conductivity, and adjust your maintenance routine based on test results to confirm consistent performance.
Frequently Asked Questions
Can ESD Runners Be Installed Over Existing Carpet or Vinyl Flooring?
You shouldn't install ESD runners over carpet or vinyl flooring. It won't provide proper conductivity, can cause adhesion problems, and may lead to moisture issues. You'll need to remove existing flooring first.
How Long Does ESD Floor Runner Adhesive Typically Take to Fully Cure?
You'll need to wait 72 hours for typical ESD floor adhesives to fully cure. However, some products may take up to 5-7 days for complete chemical curing, depending on temperature and environmental conditions.
What Temperature Ranges Can ESD Floor Runners Safely Operate Within?
You'll find most ESD floor runners safely operate between -40°C and +120°C, though ranges vary by manufacturer. For ideal performance, you should maintain room temperatures and check your specific product's temperature specifications.
Are ESD Runners Suitable for Areas With Heavy Rolling Equipment Traffic?
You shouldn't rely on ESD runners for heavy rolling equipment traffic. They'll deteriorate quickly under such conditions. Instead, consider ESD mats specifically designed for heavy traffic or custom installations with more durable materials.
How Often Should ESD Floor Runners Be Replaced Under Normal Usage Conditions?
You'll typically need to replace your ESD floor runners every 2-3 years under normal usage conditions. However, check them monthly for signs of wear and always replace them immediately if they show significant deterioration.
In Summary
You've now learned three essential steps for properly installing ESD floor runners. By carefully measuring your workspace, ensuring proper grounding connections, and regularly testing conductivity levels, you'll maintain an effective static-free environment. Remember, taking time to get the installation right will protect your sensitive equipment and prevent costly damage. Don't skip any steps – proper ESD protection is vital for your facility's safety.


Leave a Reply