Start your ESD storage inspection by verifying protected area boundaries with clear markings and signage. You'll need to check all grounding points and connections, ensuring proper resistance values between 10^4 to 10^12 ohms/sq. Next, examine storage shelving for wear and verify conductive properties remain intact. Test floor materials using appropriate meters to confirm ESD-safe conditions. Evaluate packaging materials against ANSI/ESD S541 standards, and monitor environmental controls like temperature and humidity. Don't forget to document all findings thoroughly. These fundamental steps will lay the groundwork for a thorough ESD control program.
Verify ESD Protected Area Boundaries
Four key steps are crucial when verifying ESD Protected Area (EPA) boundaries.
First, you'll need to evaluate your facility's electronic devices and components, identifying all areas where sensitive electronics are handled. This includes determining the ESD sensitivity levels of different devices to establish appropriate protection measures. Implementing a successful program requires diverse control procedures and appropriate materials to ensure comprehensive protection.
Next, you must clearly define and mark your EPA boundaries using visible indicators. Install proper signage, floor markings, or alternative boundary markers like colored tiles or tape. Make sure these indicators are consistent throughout your facility so there's no confusion about protected zones.
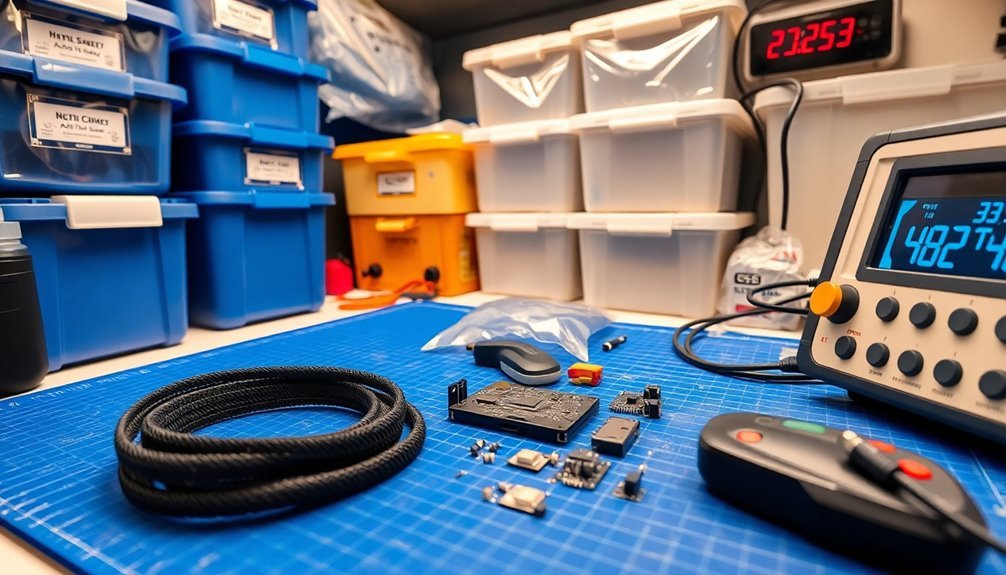
You'll then need to implement proper testing and monitoring procedures. Use surface resistance meters and electrostatic field meters to verify the effectiveness of your EPA. Document all test results and maintain detailed records of your regular audits, which you should conduct monthly.
Finally, make certain your personnel understand and follow EPA protocols through thorough training. You'll want to establish clear access control procedures and use visual reminders to reinforce ESD awareness. Develop a detailed ESD control program plan that outlines all necessary procedures and regularly verify that staff members are following these guidelines correctly.
Check Grounding Points and Connections
You'll need to test ground resistance values with appropriate meters and electrodes to guarantee they fall within the required range of 1.0 x 10^6 to 1.0 x 10^9 ohms.
Perform RTG measurements using a 5 lb electrode connected to your resistance meter's positive terminal to verify proper grounding path integrity.
It's crucial to check all daily connection points, including wrist straps, work surfaces, and equipment bonding points, to maintain effective ESD protection. Regular protective packaging audits should be conducted to ensure storage materials meet anti-static and conductive requirements.
Testing Ground Resistance Values
Testing ground resistance values stands as a critical step in ESD storage inspection, ensuring that static charges can safely dissipate through proper grounding connections.
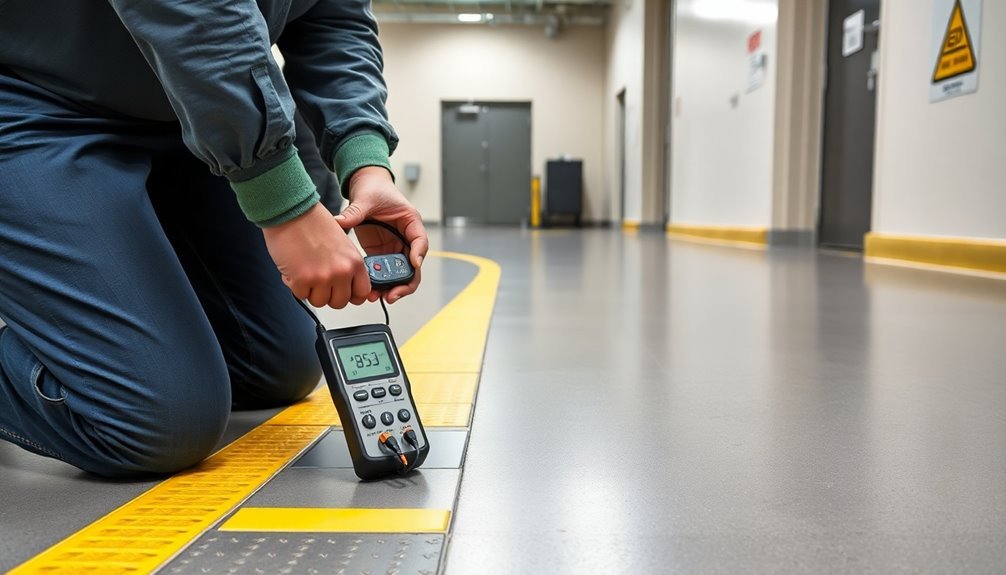
You'll need to use a resistance meter or megohmmeter to measure the electrical resistance of your ESD flooring and mats according to ANSI/ESD standards. Visual inspections alone are inadequate for verifying floor integrity and must be combined with proper resistance testing.
For electronics manufacturing areas, you should confirm that floor resistance measures less than 1.0 x 10E9 ohms, while communications facilities require readings between 1.0 x 10E6 and 1.0 x 10E9 ohms.
When testing ESD mats, you'll need to perform both resistance-top-to-top (RTT) and resistance-to-groundable point (RTG) tests using a surface resistivity meter. Your RTT measurements should exceed 1 x 10E6 ohms, and RTG readings should fall between 1 x 10E6 and 1 x 10E9 ohms.
Don't forget to verify that all ESD bonding points are properly connected to the Earth conductor through approved grounding methods.
You'll want to check that all connection devices, such as metallic crimps, snaps, and banana plugs, are firmly secured and that grounding cords are correctly attached to both the ESD equipment and grounding points.
Verify Daily Connection Points
Regular connection point verification forms a critical foundation for maintaining ESD safety in your workspace. You'll need to check all grounding points daily, including wall outlets, common point grounds, and equipment grounding conductors, to guarantee they're secure and functioning properly.
Start by examining all grounding cord connections at both ends – where they connect to the ground point and where they attach to ESD mats or devices. Testing with an ohmmeter is recommended to ensure proper ground connection verification. Look for loose snaps, damaged eyelets, or worn cords that might compromise your grounding system.
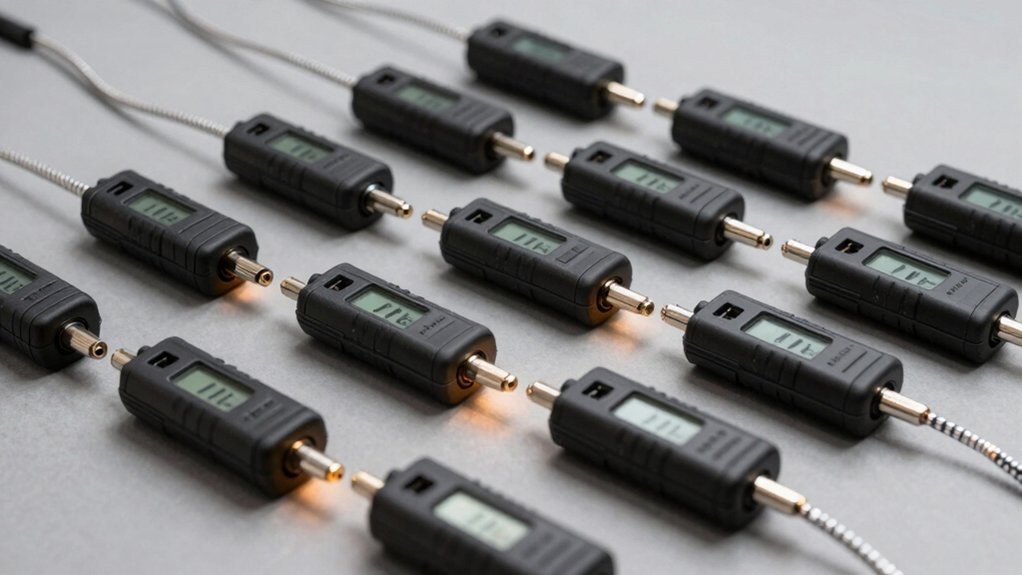
Don't forget to verify that wrist strap connections are properly secured to the common point ground. Use your ESD grounding tester or multimeter to confirm that each connection point maintains proper electrical continuity.
Pay special attention to areas where grounding cords might experience frequent movement or stress. If you're using continuous monitoring systems, check their indicators to guarantee they're showing normal operation.
Document your daily verification results as part of your ESD control program compliance. If you discover any loose connections or malfunctioning components, address them immediately to maintain the integrity of your EPA.
Assess Storage Shelving Conditions

You'll need to verify each storage shelf's grounding connections using a calibrated ground tester to guarantee proper dissipation of static charges.
Next, measure surface resistivity across shelving surfaces with an ohmmeter to confirm they fall within acceptable ESD-safe ranges.
Finally, inspect all shelving materials for signs of wear, scratches, or degradation that could compromise their ESD-protective properties. Maintaining a controlled environment is essential for preserving optimal shelf life of stored ESD bags.
Grounding Connections and Testing
A thorough assessment of grounding connections and testing is critical for maintaining proper ESD storage conditions. You'll need to verify that all conductive and dissipative materials are properly bonded to a known ground point, guaranteeing equipotential balance throughout your storage area.
Don't forget that insulators can't lose electrostatic charge through grounding, so they'll require different handling procedures. Maintaining controlled room temperatures around 68°F helps prevent damage to ESD protective materials.
Start your inspection by checking all grounding points using the two-step procedure recommended by ANSI/ESD S6.1. You should conduct RTG testing using a 5 lb electrode connected to your resistance meter's positive terminal. Place the electrode on the most frequently used areas and connect the negative lead to electrical ground.
Begin testing at 10 volts, switching to 100 volts if necessary. Remember to document all your measurements and maintain detailed records of your testing procedures. You'll want to perform RTG testing even if you have constant monitoring in place, and don't skip the additional RTGP and RTT measurements if your RTG readings exceed limits.
Schedule annual resistance measurements and regular visual inspections to guarantee your grounding system maintains its effectiveness.
Surface Resistivity Measurements
Surface resistivity measurements form the backbone of proper ESD storage shelf assessment. You'll need to conduct these measurements using standardized equipment like the ESI-870 Resistance/Resistivity Indicator while following ANSI/ESD STM11.11 and ASTM D-257 standards. For reliable results, maintain consistent voltage and probe weight during testing. The meter's LED indicators provide clear visual readings of measurement results.
To verify your storage shelving meets ESD protection requirements, you'll want to confirm that surface resistivity falls within the appropriate range of 10^4 to 10^12 ohms/sq. Regular testing helps maintain compliance and prevents static-related incidents.
| Material Type | Resistivity Range (ohms/sq) | Suitable Use |
|---|---|---|
| Conductive | Below 10^4 | Primary grounding |
| Dissipative | 10^4 – 10^11 | General storage |
| Insulative | Above 10^12 | Not ESD safe |
| ESD Protected | 10^4 – 10^6 | Ideal storage |
Remember to implement a regular testing schedule and document your results. Store your shelving components in controlled environments to maintain their resistivity properties. When using portable testing equipment like the Pinion Meter, verify it's properly calibrated for accurate measurements. Follow FIFO inventory practices and conduct periodic audits to confirm ongoing effectiveness of your ESD protection measures.
Material Degradation Check
Regular inspection of storage shelving helps catch early signs of material degradation that could compromise ESD protection.
You'll need to examine your shelving units thoroughly for any wear patterns, scratches, or damage that might affect their conductive properties. Look for areas where the conductive paint or shelf liner may be peeling, wearing thin, or showing signs of deterioration. Dissipative storage boxes should be properly positioned on the shelves to maintain effective ESD control.
Check that all grounding connections remain secure and intact, as loose or broken grounds will compromise your ESD protection system. You should verify that the shelving still meets the ANSI/ESD S20.20 technical requirements of less than 1 x 10^9 ohms.
Pay special attention to high-traffic areas and shelf edges where material wear typically occurs first.
Watch for dust or debris accumulation that could interfere with the shelving's conductive properties. You'll want to guarantee all ESD labels and warning tape remain visible and legible.
If you spot any issues, address them immediately by replacing damaged components or reapplying conductive materials.
Remember to document your findings during each inspection to track degradation patterns over time and plan preventive maintenance accordingly.
Test Floor Material Properties
Testing ESD floor materials requires standardized procedures that conform to established guidelines like ANSI/ESD STM 7.1 and BS EN 61340/5. You'll need to conduct several specific tests to guarantee your ESD flooring meets requirements for static prevention and charge dissipation.
| Test Type | Equipment Needed | Target Range |
|---|---|---|
| Surface Resistance | Resistance Meter | <1.0 x 10E9 ohms |
| RTG Test | Megohmmeter | Two ground points |
| Point to Point | Multimeter | Across seams |
| Body Voltage | Static Meter | Real conditions |
| Static Control Audit | Complete Kit | System-wide |
Start by preparing 12" x 24" floor samples on insulative support material, matching your intended installation method. You'll need to condition these samples for 72 hours in low humidity before testing. Place your test probes according to specification, typically using two 5-pound probes positioned 3 feet apart. Apply 10 volts during resistance testing and take multiple measurements across different locations, including seams. Don't forget to evaluate body voltage generation, as this provides vital data about real-world performance. Remember, your ESD flooring is part of a larger static-control system, so thorough testing is essential for protecting sensitive electronic components.
Evaluate Packaging Material Compliance
While proper flooring creates a foundation for ESD protection, your packaging materials form the next line of defense.
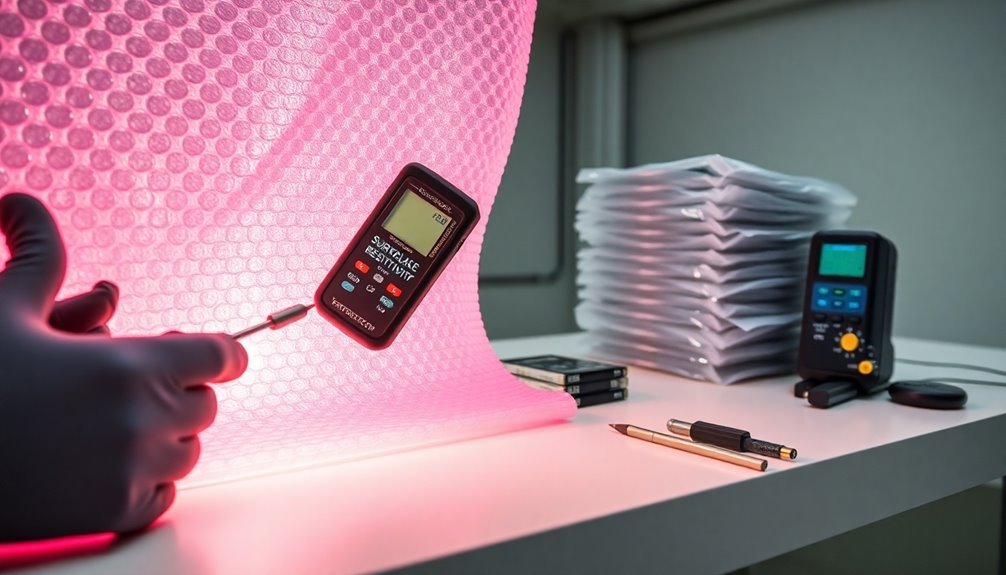
You'll need to confirm that all packaging components meet ANSI/ESD S541 standards and comply with EN 61340-5-1 specifications for conductive, static dissipative, or insulative properties.
Start by examining your barrier bags and shielding materials to validate they're rapidly dissipating electrostatic charges.
If you're handling MIL-PRF-81705 compliant items, confirm they're properly cushioned with ESD materials and heat-sealed within appropriate barrier bags.
You'll want to check that your packaging system matches both the product's ESD sensitivity level and its distribution environment.
Test your materials according to EN 61340-5-1 protocols, paying special attention to their performance against high voltage discharges, vibration, and environmental exposure.
Don't forget to verify that your ESD caution labels meet MIL-STD-129 requirements.
While you're inspecting secondary packaging, remember it doesn't need ESD protection unless specifically used for that purpose.
Make certain you've defined appropriate packaging for all material movements, both within and outside your ESD protected areas, considering factors like humidity, temperature, and potential condensation risks.
Monitor Environmental Control Systems
Monitoring your environmental control systems forms a critical component of your ESD protection strategy. You'll need to maintain strict control over temperature, humidity, air quality, and static levels to guarantee your ESD-sensitive items remain protected. Regular system checks and adjustments help prevent static buildup that could damage your stored components.
To effectively monitor your environmental controls:
- Check temperature readings every shift, maintaining stability and avoiding sudden fluctuations that could increase static risks.
- Monitor humidity levels continuously, aiming for the recommended range, and adjust humidifiers or dehumidifiers accordingly.
- Inspect air circulation systems daily, ensuring proper ventilation and checking that air purifiers are functioning efficiently.
- Test static control measures weekly, including grounding systems and anti-static materials.
Don't forget to document all your environmental readings and system adjustments. When you notice any parameters falling outside acceptable ranges, take immediate corrective action.
Train your staff to recognize warning signs of environmental control issues and establish clear procedures for reporting and addressing problems. Regular ESD audits will help you verify that your environmental control systems are performing effectively and meeting safety standards.
Document Inspection Results

Proper documentation of inspection results serves as the cornerstone of an effective ESD storage program. You'll need to record all findings on standardized audit forms that align with your facility's ESD control document and compliance verification plan. Make sure you're capturing any discrepancies found, recommended corrective actions, and verification results of control device testing.
| Documentation Element | Required Action |
|---|---|
| Audit Forms | Complete standardized forms with all inspection details |
| Test Records | Reference archived records to verify historical compliance |
| Corrective Actions | Document and implement promptly with clear timelines |
| Review Process | Present results to supervisors and plant management |
When documenting your inspections, you must include specific details about ESDP area markers, ionizer functionality, supply cart grounding, and proper trash container usage. Don't forget to verify that cleaning materials are free of insulators. Your documentation should reference relevant ESD standards like ANSI/ESD S20.20 and follow test procedures outlined in your control document. Maintain these records systematically, as they'll be essential for tracking historical performance and determining future verification frequencies. Remember to promptly share completed audit reports with area supervisors and implement any necessary corrective measures.
Frequently Asked Questions
How Often Should ESD Wrist Straps Be Calibrated and Tested?
You'll need to test your ESD wrist straps daily before use, unless you're using continuous monitoring. For calibration, get your wrist strap testers certified annually with NIST-traceable standards for reliable performance.
What Humidity Levels Are Optimal for Esd-Sensitive Storage Areas?
You'll want to maintain humidity levels between 30% and 60% RH in your ESD-sensitive storage areas, with 40% RH being ideal. This range effectively reduces static electricity while avoiding moisture-related problems.
Can Regular Cardboard Boxes Be Modified for Temporary ESD Storage?
Yes, you can modify regular cardboard boxes for temporary ESD storage by lining them with ESD-safe materials, adding conductive coatings, and using proper grounding methods. However, it's not recommended for long-term storage solutions.
When Should Ionizers Be Replaced in ESD Protected Areas?
You'll need to replace ionizers when they fail offset voltage specs or discharge time limits. Test them every 1-6 months, and replace if they can't be adjusted or cleaned to meet performance requirements.
Are Esd-Safe Cleaning Products Effective on Non-Esd Surfaces?
While you can use ESD-safe cleaning products on non-ESD surfaces, they won't provide any special benefits. You'll get the same cleaning results using standard cleaners, which are typically more cost-effective for non-ESD areas.
In Summary
You'll need to consistently follow these seven ESD storage inspection steps to maintain your facility's protection standards. Don't skip any checks, as each plays an essential role in preventing static damage. Make sure you're documenting everything thoroughly and addressing issues immediately. By staying vigilant with these inspections, you'll keep your sensitive components safe and your operations running smoothly.


Leave a Reply