To achieve perfect results with conductive floor wax, you'll need proper preparation and application techniques. Start by thoroughly cleaning and stripping your floor surface, ensuring it's completely dry before proceeding. Apply 2-4 thin, even coats using overlapping strokes with a clean mop, allowing 45-60 minutes between layers. Always alternate application directions and work from the center outward. Test the floor's conductivity regularly and maintain temperatures between 0-25°C with humidity above 20% during application. With the right approach and attention to detail, you'll discover how to transform ordinary flooring into reliable static-dissipative surfaces.
Understanding ESD Floor Wax Properties

When selecting an ESD floor wax, you'll need to understand its core properties as a temporary static control solution. These waxes transform non-ESD flooring into dissipative surfaces, offering a cost-effective alternative to permanent ESD flooring installations.
You can apply them to various floor types, including concrete and different tile materials, making them highly versatile for quick ESD protection needs. Under normal conditions, these formulations can last up to 12 months before requiring reapplication.
It is essential to understand that ESD floor waxes rely heavily on ambient humidity to maintain their conductivity. If your facility's relative humidity drops below 30%, you'll notice a significant decrease in the wax's effectiveness.
You'll also need to take into account that these finishes don't create truly conductive floors but rather provide higher resistance dissipative properties that meet basic ESD protection requirements.
When you're evaluating options, you'll find both standard and low-VOC formulations available to match your environmental requirements. While these waxes are UL classified for slip resistance, they'll require regular maintenance to maintain their ESD properties.
Preparation Steps Before Application
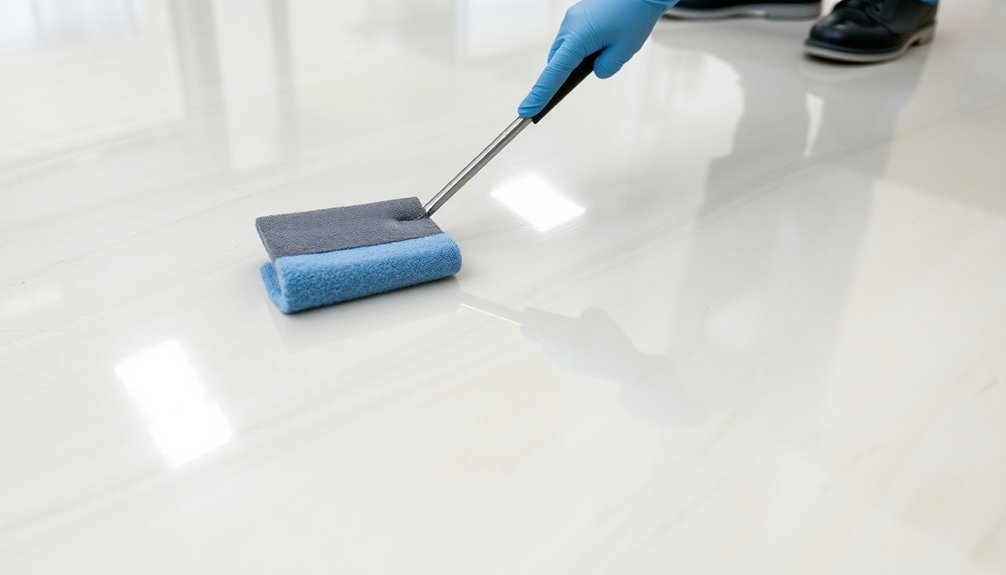
Proper preparation stands as the cornerstone of successful ESD floor wax application. You'll need to start by thoroughly cleaning the floor, removing all dirt and debris with a soft-bristled broom or vacuum.
Use a damp mop to eliminate stubborn stains, but confirm the surface dries completely before proceeding. A regular ohm meter test should be conducted to verify conductivity levels meet standards.
Before applying wax, you'll want to inspect the floor for any damage. Repair cracks or uneven areas, and verify that your substrate meets CSP-2 standards.
Remember to use only ESD-approved cleaning products to maintain the floor's static-dissipative properties.
You'll need to control your environment carefully during preparation. Keep the room temperature between 60-80°F and maintain humidity levels at 40-60%.
Avoid areas with direct sunlight or near heating vents, as these can affect the drying process.
Set up your equipment properly by selecting static-neutral tools, including a lambswool or microfiber applicator.
Have your surface resistivity meter ready to test the floor's performance throughout the process.
Don't forget to clean all tools thoroughly before use to prevent any contamination that could compromise the floor's conductive properties.
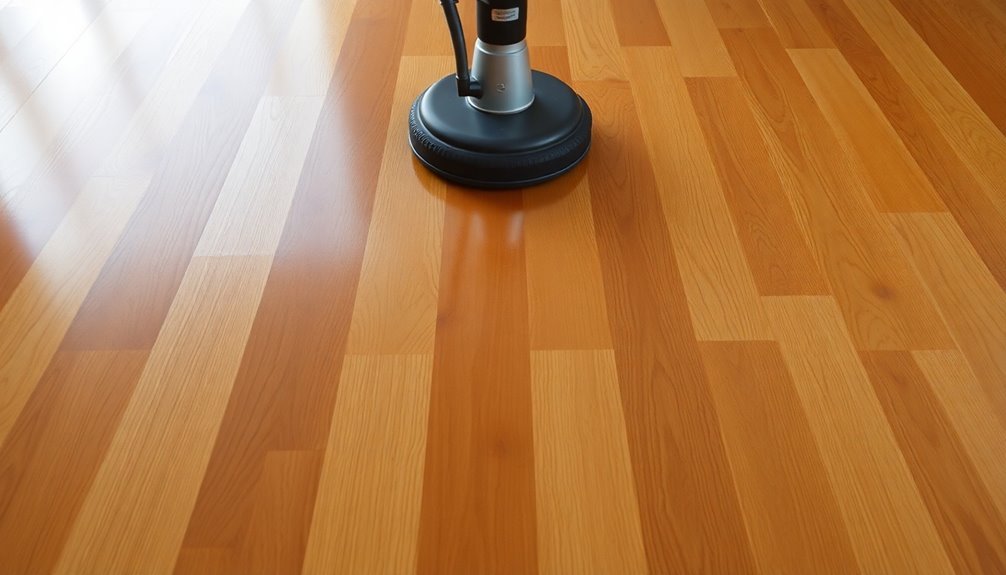
Proper Application Techniques
You'll want to thoroughly clean and prep your floor surface to remove all dirt, dust, and debris before applying any conductive wax.
When applying the wax, work in thin, even layers using overlapping strokes with a clean, dedicated mop, starting from one end and moving toward the exit. Use a gentle neutral cleaner with your mop during the cleaning process to ensure proper wax adhesion.
Let each layer dry completely according to the manufacturer's specified drying times before applying subsequent coats in alternating directions for maximum coverage.
Surface Prep Steps
Three critical phases define successful surface preparation for conductive floor waxing: assessment, cleaning, and final preparation.
Assessment
Start by evaluating your floor's material, wear patterns, and sensitivity to chemicals. You'll need to identify high-traffic areas and determine if stripping is necessary. For conductive flooring, pay special attention to grounding points and confirm you've got compatible wax products ready. Having personal protective equipment on hand is essential before beginning any floor preparation work.
Cleaning
Next, thoroughly clean the surface using a lint-free cotton cloth and a mixture of warm water and mild dish soap. Shield adjacent areas to prevent tracking, and don't skip corners or edges. If you're working with conductive flooring, you may need to install copper tape for grounding points according to manufacturer specifications.
Final Preparation
Before applying wax, confirm the floor is completely dry and free of residue. Run your hand across the surface to check for any remaining stripper or cleaning solution. If you detect residue, rinse again and dry thoroughly. For conductive floors, verify that all grounding points are properly prepared and exposed.
Use fresh equipment for the wax application, including a new pail or plastic liner and a clean mop to avoid contamination.
Layering and Drying Times
Success with conductive floor waxing hinges on precise layering and controlled drying times. You'll need to apply 3-4 thin coats, allowing 2-4 hours of drying time between each layer. Start from the center of the room, working outward in circular motions using a microfiber or rayon finishing mop.
Make each coat thin and uniform, alternating your application pattern between coats. For instance, if you apply the first coat left to right, apply the second coat right to left. Use separate clean equipment for each coat application to prevent contamination.
You'll want to make your second coat slightly thicker than the first for complete coverage. Don't rush the process by using forced air or applying in high humidity conditions above 60%.
Monitor your environment carefully. Maintain humidity levels at 40% or lower for ideal ESD properties.
After your final coat, wait 24-72 hours before allowing foot traffic. Don't buff or burnish the floor for at least 24-48 hours post-application.
If you notice any imperfections like streaks or bubbles, address them immediately.
Testing and Quality Control
Quality testing of conductive floor wax requires strict laboratory conditions to guarantee accurate results. You'll need to maintain humidity levels at 15% +/- 3% for at least 72 hours, as high humidity can skew readings by making ESD flooring materials more conductive. Point-to-point and point-to-ground resistance measurements must be performed according to ANSI/ESD STM7.1 standards.
Don't rely on testing in end-user facilities, as uncontrolled conditions won't provide reliable data.
To confirm proper quality control, you'll want independent lab testing of your conductive floor wax. This is especially important since materials can degrade over time or leach out moisture-gathering chemicals that affect electrical resistance. If you're using ESD waxes like ZeroStat Diamond Coat II, verify that they're maintaining the proper electrical ranges through regular testing.
When testing ESD floor finishes, check that they maintain their inherent static-dissipating properties. Cross-linked polymer structures should demonstrate consistent performance over time.
You'll need to monitor the effectiveness of your floor finish every two years or sooner, depending on wear patterns. Remember that multiple thin coats typically provide more reliable test results than single thick applications.
Common Application Mistakes
While proper testing guarantees quality control, even the best conductive floor wax won't perform correctly if it's applied incorrectly. You'll need to avoid several common mistakes to guarantee optimal conductivity and durability.
Environmental conditions play a vital role in your application process. Don't apply wax when temperatures exceed 25 degrees Celsius or fall below 0 degrees Celsius, and maintain humidity above 20%. Keep air circulating, but never point fans directly at the floor while it's drying. Always leave doors open during the drying process.
Your preparation must be meticulous. Strip the floor thoroughly and remove all residue before applying new wax.
Use separate, clean mops for stripping and waxing, and don't forget to neutralize the floor after stripping. Choose the right tools – microfiber or rayon finishing mops work best for wax application.
When applying the wax, work in thin, even layers from the center outward. Don't rush between coats; each layer needs adequate drying time.
Wait 24-48 hours before buffing or burnishing, and don't allow foot traffic for at least six to eight hours after the final coat. Remember to follow the manufacturer's specific drying time instructions for your product.
Maintenance and Reapplication Schedule
Proper maintenance of conductive floor wax requires a consistent schedule tailored to your facility's traffic levels. You'll need to clean high-traffic areas weekly, while moderate-traffic zones can be maintained monthly.
Daily dry mopping with an anti-static dust pan and broom is essential for preserving ESD properties.
You should regularly test your floor's conductivity and surface resistance to guarantee compliance with IEC-61340-1-5 standards. If you notice readings trending in either direction, take immediate corrective action.
For sanitizing, use quaternary ammonium compounds with soft water to maintain the floor's electrical properties.
Strip your floors annually or more frequently if needed, using Statguard Floor Stripper for multiple layers. When reapplying, don't exceed three thin coats within an 8-hour period, and allow seven days of drying time before wet maintenance.
For heavy-traffic areas, you can spray buff once weekly using Statfree Dissipative Spray Buff or apply burnishing restorer 2-4 times monthly.
Regular dry maintenance will help maintain electrical properties for up to 3-4 months. If your ESD flooring becomes insulative, you may need to perform restorative cleaning to restore its conductive properties.
Choosing the Right Product

Selecting the right conductive floor wax depends on your facility's specific requirements and flooring material. Start by identifying your floor type, whether it's vinyl, tile, or hardwood, and make certain the wax you're evaluating is fully compatible with your surface and any existing finishes.
You'll want to verify that your chosen product meets ANSI/ESD S20.20 standards and carries UL classification for slip resistance. Check the wax's specifications for chemical and abrasion resistance, as these factors will affect its longevity and performance.
Don't forget to think about the product's VOC levels, especially if you're working in an enclosed space.
Before committing to a full application, test the wax on a small area to confirm compatibility and effectiveness. Pay attention to the product's ESD performance ratings and make sure they align with your facility's static control requirements.
If you've got specific grounding systems in place, confirm that the wax will work with your existing setup. Remember to review the manufacturer's recommendations for application techniques and maintenance schedules, as proper installation is vital for peak performance.
Frequently Asked Questions
Can Conductive Floor Wax Be Applied Over Epoxy-Sealed Concrete Surfaces?
While you can apply conductive floor wax over epoxy-sealed concrete, it won't perform effectively due to epoxy's insulating properties. You'll get better ESD protection by removing the epoxy or using conductive epoxy coatings instead.
How Does Extreme Humidity Affect the Performance of ESD Floor Wax?
Extreme humidity substantially impacts your ESD floor wax's performance. Low humidity reduces static protection, while high humidity can weaken adhesion and trap moisture. You'll get the best results maintaining relative humidity between 40-60%.
Will Conductive Floor Wax Interfere With Wireless Signals or Electronic Equipment?
You don't need to worry about signal interference – properly applied conductive floor wax won't disrupt your wireless signals. Instead, it'll help protect your electronic equipment by providing controlled static electricity dissipation.
Is It Safe to Use Automated Floor Cleaning Machines on Esd-Waxed Surfaces?
Yes, you can safely use automated floor cleaning machines on ESD-waxed surfaces, but you'll need to use soft brushes, compatible cleaners, and proper settings. Always avoid abrasive materials and excessive water during cleaning.
Can Different Brands of Conductive Floor Wax Be Mixed for Application?
You shouldn't mix different brands of conductive floor wax, as they have unique chemical compositions. This mixing can compromise antistatic performance and durability. Stick to one brand's system for the best results.
In Summary
Whether you're managing a data center, electronics facility, or healthcare space, proper ESD floor wax application is vital for maintaining static protection. You'll get the best results by selecting the right product, following correct preparation steps, and sticking to a consistent maintenance schedule. Don't skip testing procedures, and you'll guarantee your conductive floor wax continues to provide reliable static control for your sensitive environments.


Leave a Reply