Seven essential ground connections for static control mats give you reliable ESD protection options. You'll find direct electrical outlet grounding as the most common method, while common point ground systems work well for multiple mat setups. Metal building supports provide industrial-strength solutions, and water pipe grounds offer effective alternatives when properly installed. Copper strip applications guarantee consistent coverage, while conductive floor links create extensive protection zones. Earth rod installations round out your grounding choices when other methods aren't feasible. Understanding the proper installation and maintenance of these options will maximize your static control effectiveness.
Direct Electrical Outlet Grounding
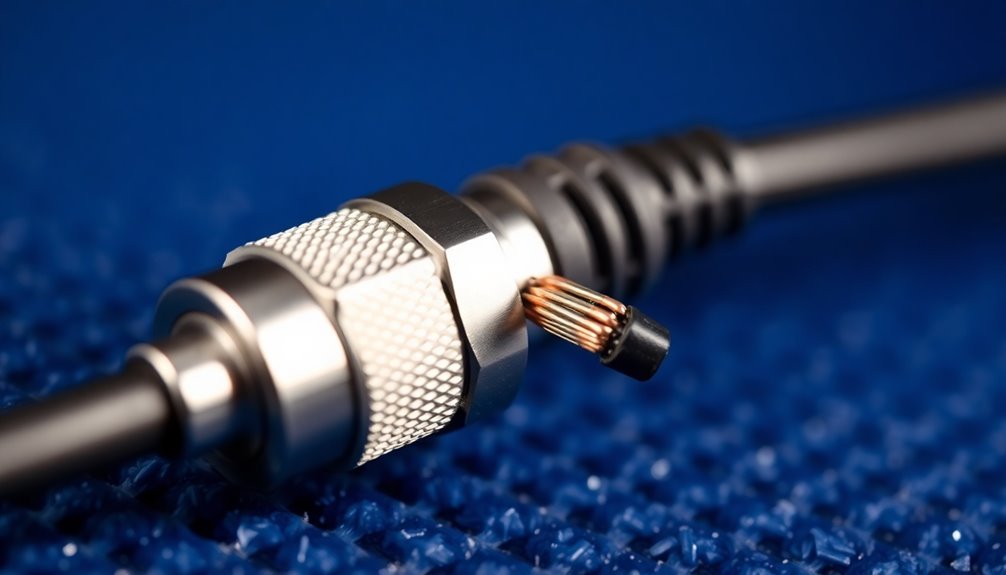
A secure ground connection forms the foundation of any effective static control mat system. When grounding your anti-static mat directly to an electrical outlet, you'll need a grounding cable that terminates in a #10 ring terminal. This eyelet screws directly into your standard electrical outlet, creating a reliable path to earth ground through the building's electrical system. Static discharge damage causes billions in annual losses to electronics manufacturers.
You must verify your grounding cable maintains a resistance of 1 megohm ± 20% for proper static dissipation. Don't daisy-chain multiple mats together – each mat requires its own dedicated grounding cable to maintain effectiveness. Regular mat cleaning helps ensure optimal conductivity for static dissipation. Connect the cable from the mat's snap to the outlet, and verify the connection using a continuity tester or multimeter.
To confirm your mat's performing correctly, conduct resistance top-to-ground tests regularly. Your readings should measure less than 1 x 10E9 ohms for adequate anti-static protection. Use an ESD Resistance Meter to measure voltage dissipation through the mat.
Since electrical outlets connect to your building's piping system and ultimately to earth ground, they're reliable grounding points when properly maintained. Check these connections periodically for corrosion or looseness to maintain peak static protection.
Common Point Ground Systems
While direct outlet grounding works well for single-mat setups, common point ground systems offer a more versatile solution for extensive ESD protection.
Made with durable polished polyurethane material, these systems deliver long-lasting performance in demanding workstation environments.
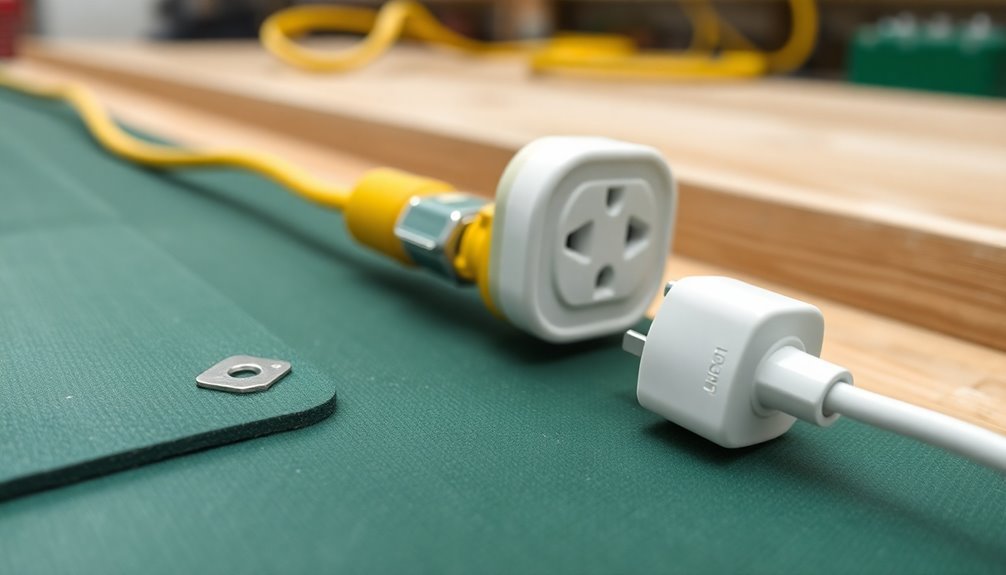
These systems feature 10mm male or female snaps and banana jacks that connect both your wrist strap and mat to a single grounding point. Common point ground cords like the CP1518 and CP2522 provide reliable dual operator connections at workstations. You'll find they're equipped with a 15-foot grounding cable and a built-in 1 megohm resistor for your safety.
To set up your common point ground system, you'll need to snap it onto your ESD mat's 10mm connection point and secure the cable's eyelet end to an earth ground or outlet. The system's low-profile design won't interfere with your work, and you can plug your wrist strap into one of the banana jack receptacles.
If you're working with multiple accessories, you might want to take into account a quad grounding model with four receptacles.
These systems comply with ANSI/ESD standards and provide consistent static protection through their static dissipative materials.
You'll find various options available, including universal snaps and bull dog clips for temporary setups, or metal bench mounts for permanent installations under workbenches.
Metal Building Support Connections
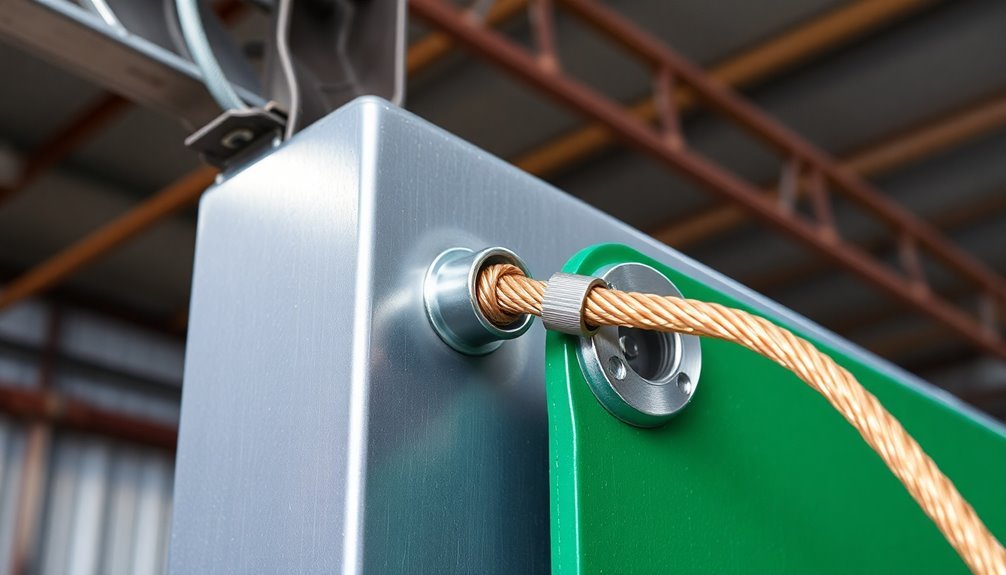
Metal building support connections provide one of the most reliable methods for grounding your ESD mats in industrial settings.
Path-to-ground testing should be performed monthly to verify the integrity of all connections.
You'll need essential materials including conductive adhesive, copper grounding straps, and appropriate grounding screws or clamps to guarantee proper installation.
When installing the connection, first locate a suitable grounding point on the metal support and remove any paint or coating.
Common connection points are recommended for establishing equipotential bonding between multiple ESD elements.
Punch a small hole in the copper grounding strap and secure it to an electrical outlet or grounding bar.
You'll need one copper grounding strap for every 1,000 square feet of ESD flooring, and it's vital to avoid daisy chaining mats – each requires its own dedicated grounding cable.
For testing, use a volt-ohm meter to conduct regular continuity tests.
You'll want to check connections daily and maintain maximum impedance of 1 ohm for equipment grounding conductors to comply with ANSI/ESD S6.1 standards.
When working with aluminum studs, use sheet metal screws with washers for secure attachment.
Remember to regularly inspect your connections for corrosion and maintain cleanliness to guarantee consistent performance of your grounding system.
Water Pipe Ground Methods
Water pipe grounding offers a dependable solution for static control mats when properly implemented.
You'll need to verify the water pipe is metallic and maintains direct earth contact to serve as an effective ground source. Before making any connections, confirm that the pipe isn't electrified and is free from insulating coatings that could interfere with conductivity. The proper installation helps protect sensitive electronics from static discharge damage. Installing a common point ground cord provides an efficient way to connect multiple workstation components.
To establish a proper ground connection, you'll require specific equipment and should follow these essential steps:
- Install appropriately sized grounding clamps that match your water pipe's diameter.
- Secure conductive grounding straps between your static control mat and the water pipe.
- Test the connection using a multimeter to confirm proper grounding.
You must regularly inspect and maintain your water pipe ground connection to guarantee continued effectiveness.
Check for signs of corrosion, damage, or loose fittings that could compromise the grounding system. When performing maintenance, document all inspections and repairs for your records.
Keep the connection point clearly marked to prevent accidental disconnection, and ascertain it's protected from environmental factors that could degrade its performance.
Copper Strip Ground Applications
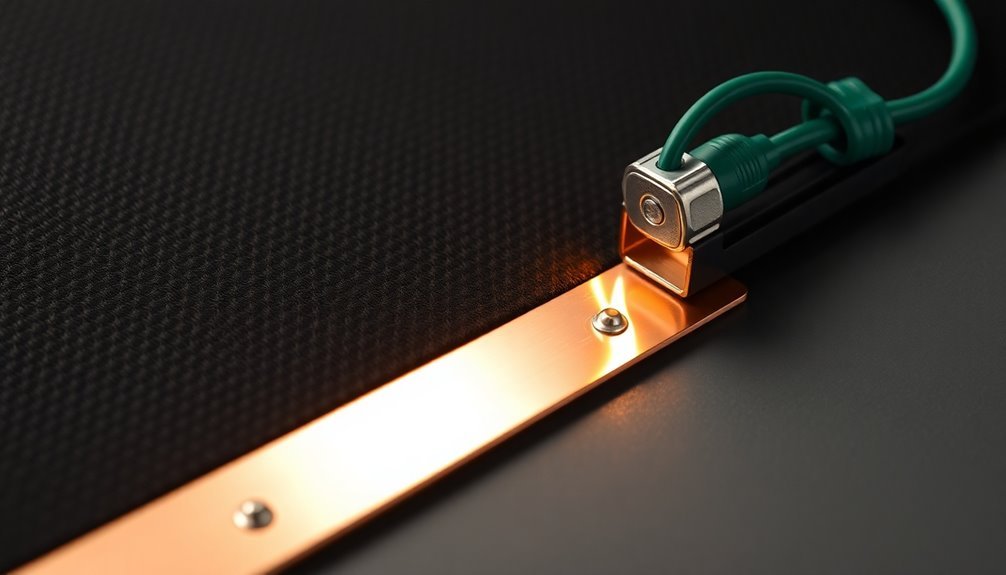
When you're installing copper strips around the perimeter of your static control mat, you'll need to maintain consistent spacing of 2-3 feet between multiple strips to guarantee complete coverage.
You must securely bond the copper strips using conductive adhesive, making sure there aren't any gaps or loose connections that could compromise the grounding effectiveness.
The strips should be positioned flush against the mat's surface and connected to a common ground point, creating a reliable path for static discharge.
Perimeter Installation Best Practices
Properly installing copper strip ground applications around the perimeter of your static control mat system requires careful attention to detail and precise measurements.
You'll need to guarantee proper coverage and grounding connections to maintain effective static control throughout your facility.
When installing copper grounding straps, follow these essential guidelines:
- Install one copper grounding strap for every 1,000 square feet of ESD flooring, with a minimum of one strap per room regardless of size.
- Mount the copper strap by removing the grounding screw from an AC electrical outlet, securing the strap with the same screw, and running it down the wall to create a 90-degree angle where wall meets floor.
- Extend at least 6 inches of copper along the floor surface, securing it with conductive adhesive before covering with flooring material.
Before you begin installation, you'll want to verify that your mounting surface is completely smooth, with no protrusions exceeding 1/8 inch.
Check adjacent surfaces for elevation differences, and correct any variations greater than 1/8 inch to guarantee proper contact.
Don't forget to test the installation with a volt ohm meter to confirm proper grounding connectivity before completing the final flooring layer.
Multiple Strip Spacing Requirements
Beyond perimeter installation, spacing requirements for multiple copper strips demand careful consideration to maintain consistent static dissipation across your ESD mat system.
You'll need to position copper strips at intervals no greater than 60 cm apart to guarantee effective static control throughout the mat's surface.
When installing multiple strips, maintain a minimum 2-inch (5 cm) distance from the mat's edges to prevent edge effects.
You'll want to verify that resistance between strips and from strips to ground doesn't exceed 1 x 10^9 ohms for ideal static dissipation. For applications involving Charged Device Model (CDM) concerns, you should consider implementing lower resistance limits around 1 x 10^4 ohms.
Test your installation using a surface resistivity meter to measure both point-to-point (RTT) and point-to-groundable point (RTG) resistances.
Use 5-pound electrodes placed 10 inches apart during RTT testing.
You'll need to conduct these measurements at multiple points, including edges and center areas.
Remember to establish multiple grounding points for easier testing and verification, and perform periodic checks to guarantee your system maintains compliance with ANSI/ESD S4.1 standards.
Adhesive Bonding Methods
A secure adhesive bond forms the foundation of reliable copper strip grounding systems. You'll need to use conductive adhesive specifically designed for ESD applications to guarantee proper electrical continuity between the copper strips and flooring materials. The adhesive contains special conductive-coated fibers that maintain excellent conductivity while providing strong mechanical adhesion.
When applying the adhesive, you must cover at least 6 inches of the copper strap where it contacts the floor. This coverage guarantees both mechanical stability and electrical connectivity.
For ideal installation results:
- Apply the conductive adhesive generously across the copper strap and new flooring material interface.
- Confirm complete coverage of the copper strip where it meets the floor's surface.
- Maintain consistent adhesive thickness throughout the application area.
The adhesive serves dual purposes by creating both a mechanical bond and an electrical bridge between components.
You'll want to verify the bond's integrity through continuity testing using a volt ohm meter (VOM) after installation. Remember that proper adhesive application is vital where copper strips meet GroundBridge strips or conductive subfloors, requiring at least 2 inches of contact area for reliable grounding performance.
Conductive Floor Link Setup
You'll need to space floor strips at 1000 square-foot intervals while ensuring each room has at least one grounding strap connected to the building's electrical ground.
When applying adhesive to secure the copper strips, you must follow the manufacturer's specifications and run the strips down to the subfloor for proper connection.
To verify your installation, you should conduct daily continuity tests using a volt ohm meter and check that the resistance measures 1 megohm ± 20%.
Floor Strip Spacing Requirements
Proper spacing and installation of floor grounding straps is essential for maintaining effective static control in ESD-protected areas.
You'll need to install one copper grounding strap for every 1,000 square feet of ESD flooring, with at least one strap per room. The conductive adhesive connects to ground through copper connector straps placed along the room's perimeter.
When installing the grounding straps, follow these key steps:
- Remove the center screw from the AC outlet cover and locate the grounding screw inside.
- Create a small hole in the 24" copper grounding strap.
- Secure the strap to the outlet using the grounding screw, then run it down the wall and fold at 90 degrees.
Your flooring system must maintain specific resistance requirements to function effectively.
The maximum resistance should be 2 x 10E10 ohms between the floor surface and ground reference. For conductive vinyl tile, you'll need resistance between 25,000 and 1,000,000 ohms, while static-dissipative vinyl should measure between 1,000,000 and 1,000,000,000 ohms.
Remember that lower resistance values will provide better static discharge capabilities, but shouldn't fall below 150 kilohms when measured between points 3 feet apart.
Adhesive Application Methods
Building on the floor grounding requirements, successful ESD floor installation depends heavily on the correct application of conductive adhesives.
You'll need to start by confirming your subfloor is completely clean, dry, and free of any debris that could interfere with proper bonding and conductivity.
When you're applying the adhesive, maintain room temperature conditions and follow the manufacturer's specific instructions for your chosen product, whether it's GroundTack acrylic emulsion or StatBond epoxy.
You'll want to spread the adhesive evenly across the surface to create a consistent conductive layer that effectively channels static electricity to ground.
Pay special attention to preventing air bubbles during application, as these can disrupt both the mechanical bond and electrical conductivity.
You'll achieve the best results by selecting an adhesive that's more conductive than your ESD flooring and compatible with your specific tile type.
If you're working with a temporary installation, consider DryFix dry adhesive for its releasable properties.
Remember to verify that your chosen adhesive meets ANSI/ESD S20.20 standards and accounts for your subfloor's specific conditions, including humidity levels and surface texture, to confirm long-lasting performance.
Testing Ground Connections
Through regular testing and monitoring, ground connections for conductive floor mats must maintain consistent electrical continuity to guarantee effective static control. You'll need to verify the path-to-ground integrity using specific testing equipment, including surface resistance meters and continuous monitors. These tools help ascertain your setup meets ESD protection standards and maintains proper grounding.
To effectively test your ground connections, follow these essential steps:
- Use a surface resistance meter to measure the electrical resistance between your mat's surface and the ground point, confirming it falls within acceptable ESD protection ranges.
- Install continuous monitors to track real-time ground connection status, particularly in critical areas where maintaining consistent static control is vital.
- Check all grounding hardware components, including snaps, cables, and straps, to identify any loose connections or signs of wear that could compromise the system's effectiveness.
When testing dome style ground cords or common point grounds, pay special attention to the connection points where operators' wrist straps attach.
You'll want to verify that bench mount grounds remain securely fastened and that any ESD drag chains maintain proper contact with the floor surface.
Earth Rod Ground Installation

For a reliable static control system, earth rod ground installation serves as the foundation of effective grounding protection. You'll need to select either copper or galvanized steel rods that meet your local electrical codes and guarantee proper conductivity.
Before installation, you should conduct soil resistivity tests to identify the ideal placement location where your rod will achieve the best ground connection.
When installing the rod, you'll need to take into account both depth and spacing requirements. If you're working in an area with high soil resistivity, you might need to install multiple rods to achieve adequate grounding performance.
Make sure you secure all connections properly to prevent accidental disconnection and protect them from corrosion.
You'll need to maintain and test your ground rod installation regularly. Use a ground resistance tester to verify the system's effectiveness and keep detailed records of all testing and maintenance activities.
Don't forget to clearly mark your grounding points and keep them accessible for future inspections. If you discover any issues during testing, address them immediately to maintain the integrity of your static control system.
Remember to install appropriate overcurrent protection devices to prevent electrical hazards.
Frequently Asked Questions
Can Static Control Mats Be Stacked on Top of Each Other?
You shouldn't stack static control mats, as it'll compromise their effectiveness and grounding capabilities. It's best to use a single mat that's properly sized and grounded for your workspace needs.
How Often Should Anti-Static Mats Be Cleaned and With What Products?
You'll need to clean your anti-static mat weekly with mild detergent or specialized ESD cleaners. Use distilled water and lint-free cloths, avoiding harsh chemicals. Daily cleaning may be needed in high-traffic areas.
What Is the Typical Lifespan of an ESD Mat Before Replacement?
You'll typically need to replace your ESD mat every 3-6 months with heavy use, or up to several years with light use. Regular cleaning and proper care can greatly extend your mat's effective lifespan.
Do Temperature and Humidity Affect the Performance of Static Control Mats?
Yes, both temperature and humidity greatly affect your static control mat's performance. High temperatures can degrade materials and increase sensitivity, while humidity levels impact conductivity and static dissipation effectiveness. You'll need regular testing.
Can Laptops Be Safely Placed Directly on Anti-Static Mats?
Yes, you can safely place your laptop directly on an anti-static mat, as long as it's properly grounded and clean. The mat's static dissipative properties protect your device from harmful electrostatic discharge while working.
In Summary
You've now learned the key grounding methods to properly connect your static control mats. Whether you're using direct outlet grounding or installing earth rods, remember that proper installation is essential for effective static dissipation. Don't skip regular testing of your ground connections to guarantee they're maintaining proper resistance levels. With these techniques, you'll create a safer workspace that protects sensitive equipment from ESD damage.


Leave a Reply