Installing conductive floor tiles requires five essential steps to guarantee proper ESD protection. First, you'll need to thoroughly clean and prepare the subfloor, removing all debris and making sure it's level and dry. Next, install a copper ground bus system around the room's perimeter, connecting it to proper grounding points. Then, apply conductive adhesive evenly using a square-notched trowel, allowing it to flash off for 20 minutes. Carefully place and secure the tiles from the room's center, using a 150-pound roller to embed them properly. Finally, test the electrical conductivity using NFPA probes to verify resistance levels meet specifications. Following these detailed steps will guarantee a professional installation that meets all safety standards.
Floor Preparation and Cleaning

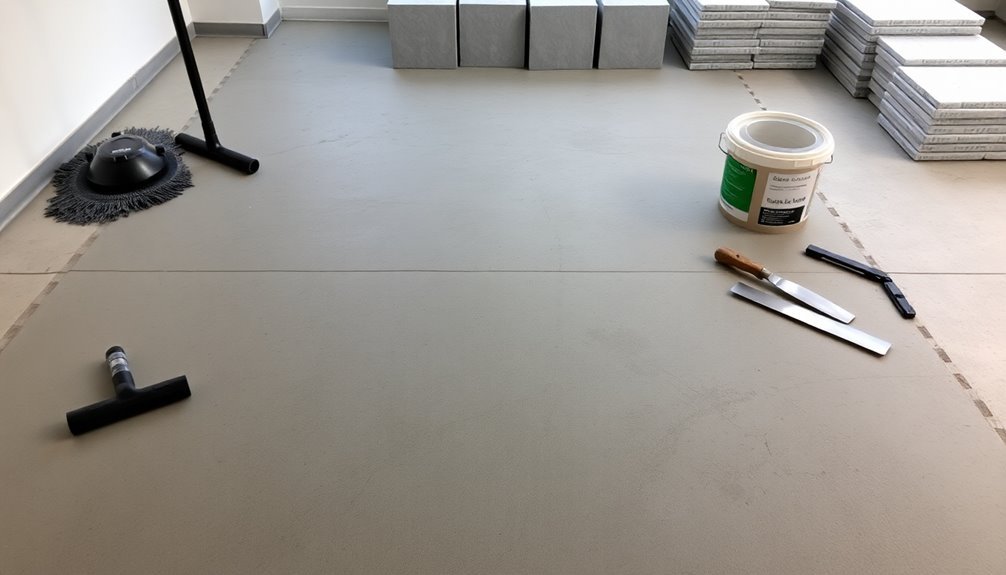
Proper floor preparation stands as the cornerstone of a successful conductive tile installation. You'll need to start by thoroughly cleaning the subfloor, removing all debris, dust, dirt, wax, paint, grease, and any manufacturing residue that could compromise the installation's integrity.
Make sure you've removed all moldings, trim, and appliances that might interfere with your work. Moisture testing should be performed to determine if a vapor barrier is needed for protecting the flooring system.
Before proceeding, you'll want to assess the subfloor's condition carefully. Fill any cracks or uneven areas with an approved cement-based patching compound, and guarantee the surface is well-nailed at the joints without any spring.
You must maintain the subfloor at 70 degrees for at least 48 hours to achieve proper thermal acclimation.
Use appropriate cleaning tools and solutions to remove stubborn contaminants. You'll need foam rollers for applying conductive primers uniformly, and don't forget to mix your adhesives properly using hand tools or power drills with mixing paddles.
Remember to wipe down the back of each tile to remove any manufacturing residue. Double-check that all surfaces, including edges and corners, are clean and dry before you begin the installation process.
Install Ground Bus System
A reliable ground bus system serves as the foundation for effective static control in conductive flooring.
You'll need to install copper strips at the room's periphery under the conductive ground plane, using one 12-inch strip per 1000 square feet of ESD flooring. These strips create a path for static charges to flow from the flooring material to earth ground.
You can ground your system using several methods. If you're working with steel support columns, drill and tap holes to fasten copper strips using machine screws.
For a ground bus connection, solder a #12 or #14 wire to the copper strip and connect it directly to the bus. The installation requires conductive adhesive materials to ensure proper electrical connectivity between tiles.
When using grounding straps, lay them into wet adhesive, extending one foot into the room while leaving 10-12 inches exposed for connection.
Remember that grounding work should be completed by a qualified electrician, not your flooring contractor. You'll need to guarantee all connections meet applicable building and electrical codes.
Once the system's installed, static charges will drain through the ESD flooring to the conductive ground plane, across to the copper strips, and finally to earth ground.
Apply Conductive Adhesive Layer

Successful conductive tile installation depends on meticulous adhesive application. Before applying the adhesive, you'll need to properly prepare your subfloor by cleaning it thoroughly and making certain it's level, dry, and free of cracks.
Fill any uneven surfaces with cement-based patching compound and prime extremely porous areas to guarantee proper adhesive absorption.
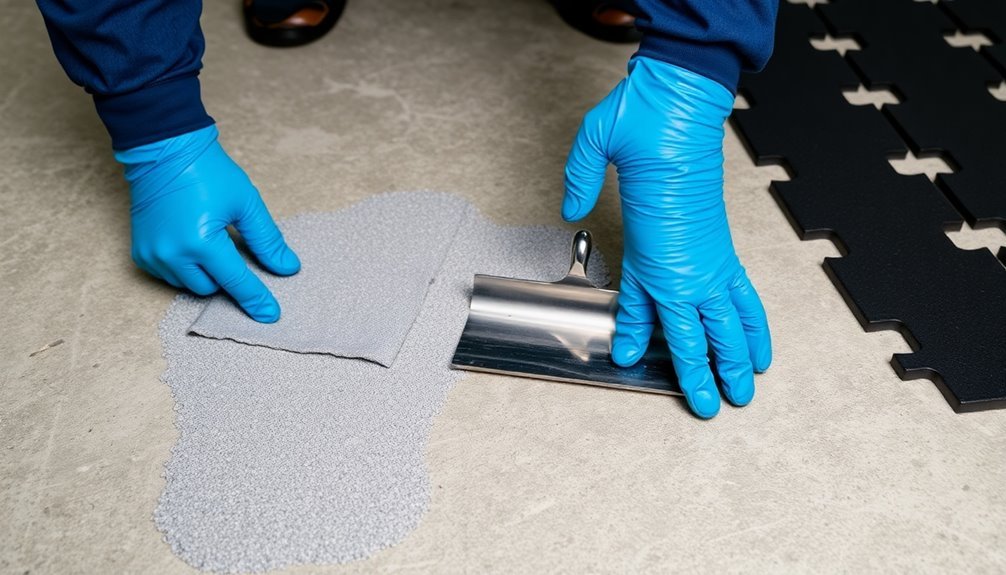
When you're ready to apply the conductive adhesive, use a 1/16" square-notched trowel at a 45° angle. Spread the adhesive evenly over the copper ground strips in manageable sections. Let it sit for about 20 minutes to allow solvent flash-off before laying tiles.
You'll need to check coverage periodically by lifting embedded tiles – verify 80-90% of each tile's back has adhesive contact for proper bonding and conductivity.
Once you've laid the tiles, roll them with a 150-pound sectioned roller to embed them firmly and remove air pockets. You may need multiple passes for proper placement.
Don't allow any foot traffic for 24 hours and heavy traffic for 72 hours. Clean excess wet adhesive with water immediately, and avoid wet cleaning the floor for at least 5 days to guarantee proper curing.
Place and Secure Tiles
Starting from the room's center point, you'll need to establish a precise layout using chalk lines before placing any conductive tiles. Mark sections that match your adhesive's spread rate, ensuring your pattern aligns properly with the room's dimensions for a uniform appearance. Divide the area into smaller workable sections using additional parallel chalk lines.
Once you've applied the conductive adhesive over the copper grounding strips and within your marked sections, wait about 20 minutes before laying tiles.
Drop each tile carefully into position, pressing adjacent tiles firmly together. You'll need to use a 150-pound roller to embed the tiles properly into the adhesive, rolling twice in perpendicular directions for maximum adhesion.
To protect your work and prevent damage while installing, use a kneeler board when working on freshly laid tiles. Check periodically by lifting tiles to verify 80-90% adhesive coverage on their backs.
Clean any excess adhesive immediately before it dries. Make sure the copper grounding strips are fully embedded in the adhesive layer.
Don't forget to treat joints according to the manufacturer's specific instructions for conductive tiles. Before allowing foot traffic, let the adhesive cure completely for the recommended time period.
Test Electrical Conductivity Performance

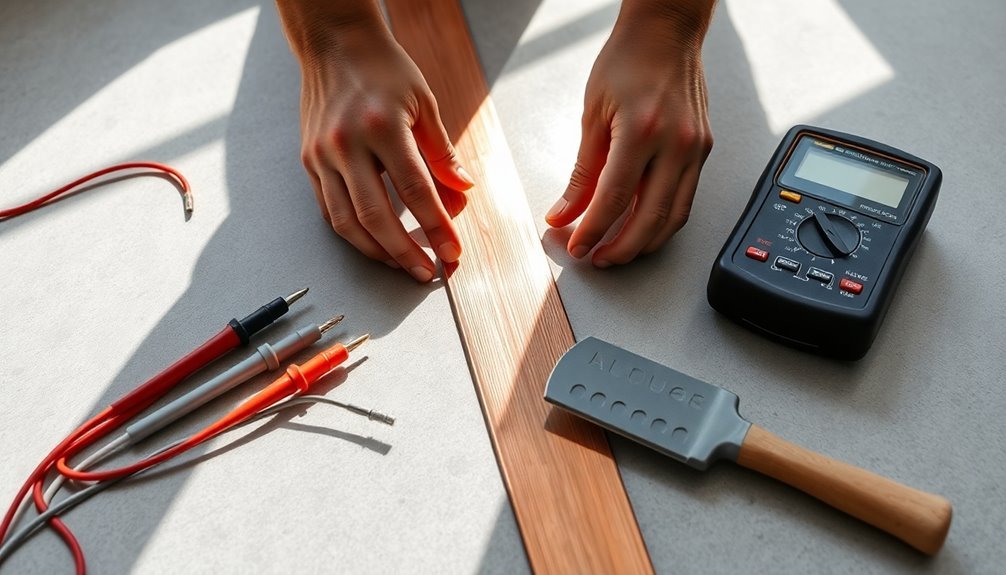
Testing the electrical conductivity of your newly installed conductive floor tiles requires specialized equipment and careful measurement procedures. You'll need NFPA probes or cylindrical electrodes connected to a resistance measurement meter to perform both point-to-point and point-to-ground testing according to ANSI/ESD STM7.1 and ASTM F150 standards. A comprehensive static audit should be conducted to evaluate the entire ESD control system's effectiveness.
For point-to-point testing, place two probes 36 inches apart on your floor's surface and measure the resistance, which should be less than 1 x 10^6 ohms.
When testing point-to-ground resistance, connect one probe to the floor and the other to a ground point, guaranteeing readings remain within the same threshold.
Steps for Testing
- Conduct performance resistance testing using a static charge plate recorder to measure voltage generation while walking and standing.
- Verify that resistance values fall within the conductive range (< 1.0 x 10^6 ohms) or static dissipative range (> 1.0 x 10^6 and < 1.0 x 10^9 ohms).
- Test multiple locations across your floor to guarantee consistent conductivity.
- Document all test results for compliance records and future reference.
If readings fall outside acceptable ranges, you'll need to investigate potential installation issues or material defects before proceeding with final approval.
Frequently Asked Questions
How Long Is the Typical Lifespan of Conductive Floor Tiles?
You'll find that properly installed conductive floor tiles typically last 15-20 years, maintaining their ESD properties indefinitely when you use quality materials and follow correct maintenance protocols with appropriate ESD waxes.
Can Conductive Floor Tiles Be Installed Over Existing Ceramic Tiles?
Yes, you can install conductive floor tiles over existing ceramic tiles if they're structurally sound. You'll need to clean and scarify the surface, use proper conductive adhesive, and install grounding strips correctly.
What Maintenance Products Are Safe for Cleaning Conductive Floor Tiles?
You'll need to use pH-neutral, ESD-safe cleaners like Bondline's KillStat or StaticWorx Formula 20.20. Don't use standard cleaners, as they'll damage your conductive tiles' static-dissipative properties and electrical performance.
Are Conductive Floor Tiles Safe to Install in Areas With High Moisture?
You shouldn't install conductive floor tiles in high-moisture areas without proper moisture mitigation. They'll become overly conductive and pose safety risks. Instead, consider dissipative flooring options and install vapor barriers first.
How Often Should Electrical Conductivity Testing Be Performed After Installation?
You'll need to test electrical conductivity immediately after installation and then annually. Don't skip regular visual inspections, and always document your results to maintain compliance with industry standards like ASTM F150.
In Summary
You've successfully installed your conductive floor tiles by following these key steps. Remember to maintain regular conductivity testing to guarantee top performance. Don't forget to document your installation process and keep the testing records for future reference. If you've noticed any inconsistencies in the readings, it's best to address them immediately. Your new conductive flooring will serve you well with proper maintenance and monitoring.


Leave a Reply