You can build your own ESD wrist strap using common materials like conductive fabric, alligator clips, and a coil cord with a 1 MegOhm resistor. Start by measuring your wrist size, adding an inch for adjustment. Cut the conductive fabric to size, attach the alligator clip to one end, and connect your grounding wire with the resistor to create a 6-foot lead. Test the completed strap with a multimeter to verify resistance falls between 750 kΩ to 35 mΩ for safe static protection. While DIY assembly is straightforward, following proper safety protocols will guarantee your sensitive electronics stay protected during handling. Let's explore the essential steps to create a reliable ESD protection system.
What Is ESD Protection
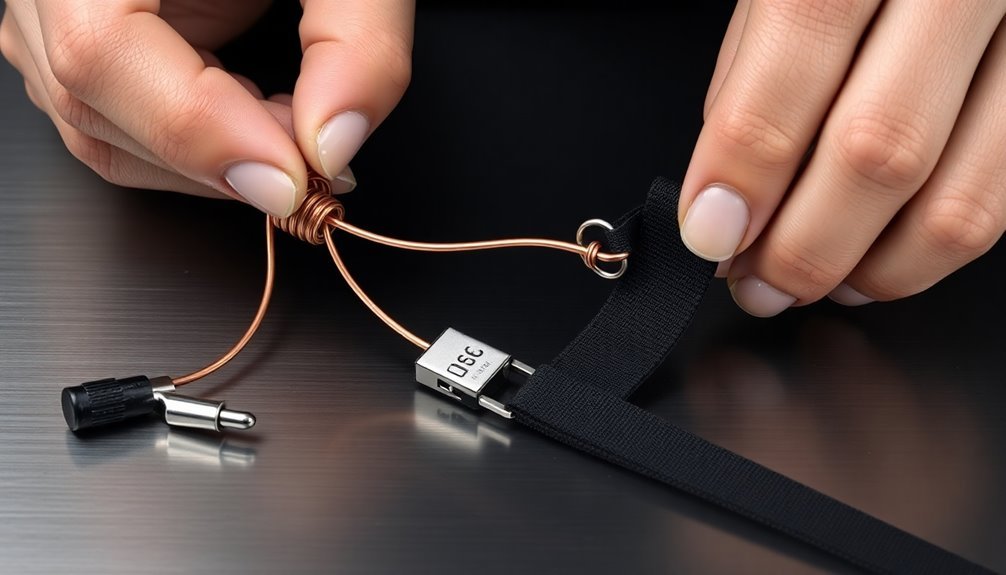
Three essential aspects define Electrostatic Discharge (ESD) protection: prevention, control, and dissipation of static electricity.
You'll need to understand these fundamentals before creating your own ESD wrist strap, as they're vital for protecting sensitive electronic components from damage.
When you handle electronic devices, you're dealing with components that can be destroyed by even a small static discharge. ESD protection acts as your defense system against this invisible threat. Regular training sessions help ensure proper understanding and implementation of ESD safety protocols.
It's governed by international standards like IEC 61000-4-2, which guarantees consistent protection across the electronics industry.
You'll encounter various types of ESD protection in electronics work. These include external devices like TVS diodes and varistors that absorb static discharge, grounding systems that safely channel static away from sensitive components, and controlled environments that maintain specific humidity and temperature levels. Roughly 30% of customer claims are related to damage from ESD or electrical overstress.
In professional settings, you'll find ESD Protected Areas (EPAs) equipped with specialized equipment and materials designed to prevent static buildup.
These areas use antistatic materials, proper grounding systems, and ionization technology to neutralize charged surfaces.
Understanding these protection methods is vital as you prepare to create your own ESD safety equipment.
Required Materials and Tools
Now that you understand ESD protection principles, let's gather everything you'll need to build your own wrist strap. The key components fall into three main categories: conductive materials, fabrics, and additional elements.
| Material Type | Essential Components |
|---|---|
| Conductive | Metal bands/carbon-filled rubber, conductive thread, stainless steel clasps |
| Fabric | Anti-allergic fabric, hypoallergenic materials, adjustable bands with steel/nylon filaments |
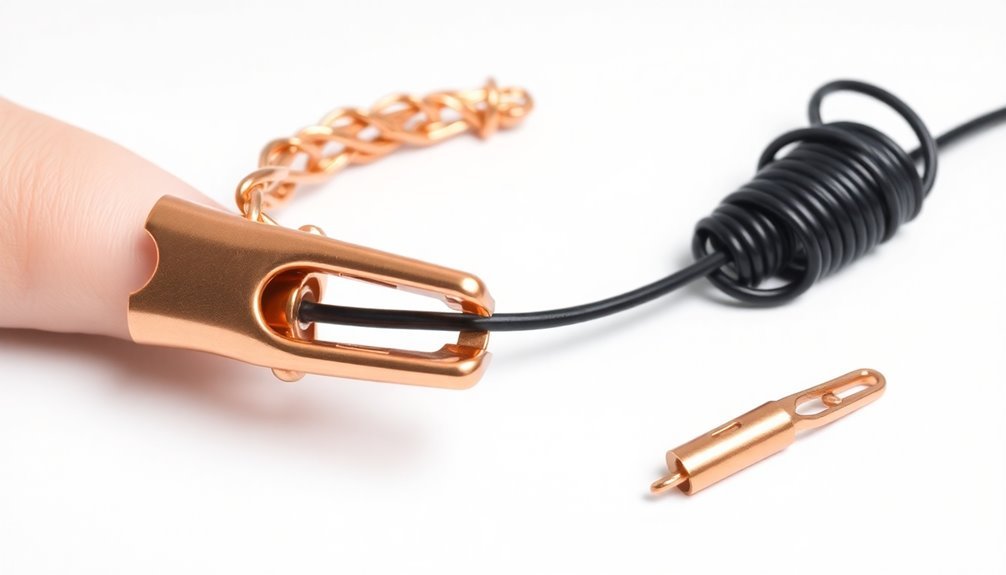
| Accessories | Alligator clips, coil cords (4mm-10mm), grounding plugs |
You'll need to select conductive materials that can effectively dissipate static electricity. Choose between metal bands or fabric with fine conductive fibers, along with conductive thread for securing components. For durability and safety, consider using silver-plated nylon thread in your design to minimize potential skin reactions. For comfort and safety, pick anti-allergic fabric that won't irritate your skin during extended wear. Standard coil cords should be approximately 1.8 meters long for optimal workspace mobility.
Don't forget the vital connecting components: alligator clips, coil cords in various sizes, and proper grounding plugs. You'll also want to include a locking clasp to guarantee a snug fit and eliminate excess band material. For testing purposes, an ESD wrist strap tester will help verify proper grounding once you've completed assembly.
Preparing Your Strap Components
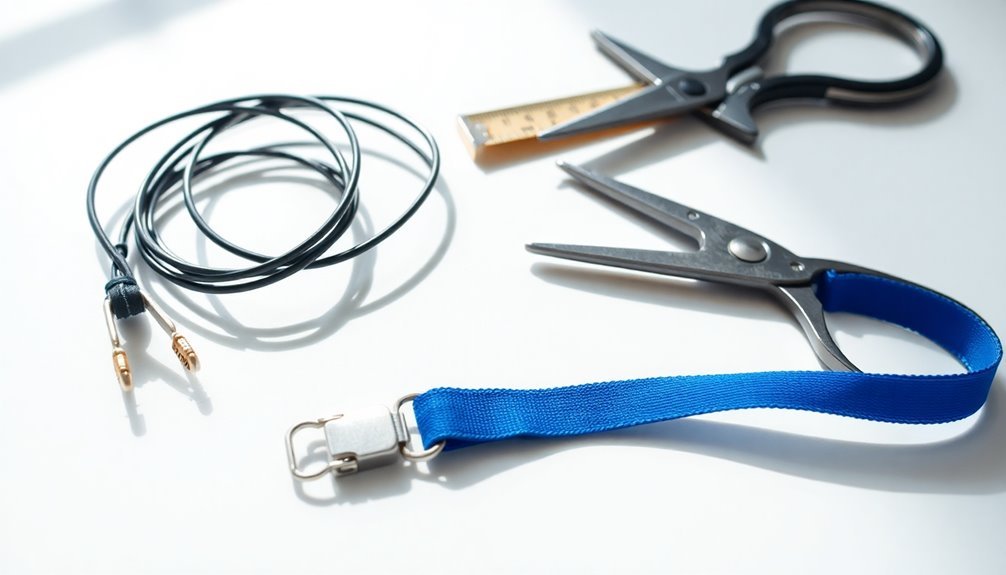
Before assembling your ESD wrist strap, you'll need to properly prepare and inspect each component. Start by examining your conductive material, whether it's elastic nylon with metal conductive fibers or stainless steel. Verify there aren't any tears, frays, or damage that could compromise the electrical continuity. This quality control ensures surface resistance of 10e6 ohms for proper ESD protection. Many professionals choose ESD metal straps for their reliable adjustable designs.
For the wristband portion, measure around your wrist and add an extra inch for adjustment. If you're using elastic material, check that the conductive fibers are evenly distributed throughout the band. You'll want to achieve 360-degree conductive contact around your wrist for maximum effectiveness.
Prepare your grounding cord by measuring out approximately 6 feet of PVC-coated wire. Install a 1 MegOhm resistor inline with the cord – this is vital for your safety as it provides controlled discharge.
Check that both ends of your cord are properly stripped and ready for connection points. Inspect your chosen connection types, whether they're banana plugs or alligator clips, verifying they're clean and free from oxidation.
Wire Assembly Steps
Throughout the wire assembly process, you'll begin by selecting 16ga wire and cutting it to your desired length, typically around 6 feet for comfortable movement. Strip both ends of the wire carefully, guaranteeing you expose enough material for proper connections. Current limiting resistors are essential components in wrist straps, typically rated at 1 megohm for safety purposes.
Static electricity damage can destroy expensive computer components, so proper wire assembly is crucial. You'll need to attach ring terminals to maintain secure connections and add heatshrink tubing for protection against wear and tear.
For the grounding plug assembly, remove the AC blades to eliminate any shock hazard. Connect one end of your wire to the ground post terminal on the plug using a ring terminal. Secure this connection with heatshrink tubing.
On the other end, you'll need to prepare the wrist strap adapter assembly. To complete the adapter assembly, crimp a ring connector to one end of the wire and solder the opposite end to a banana plug. Cover both connections with heatshrink tubing for durability.
Test your connections to guarantee proper grounding. When connecting everything, insert the bolt through your mat from below, add necessary washers, and attach both the grounding plug and wrist strap adapter. Secure the assembly with a nut, but don't overtighten it.
Safety Precautions During Construction
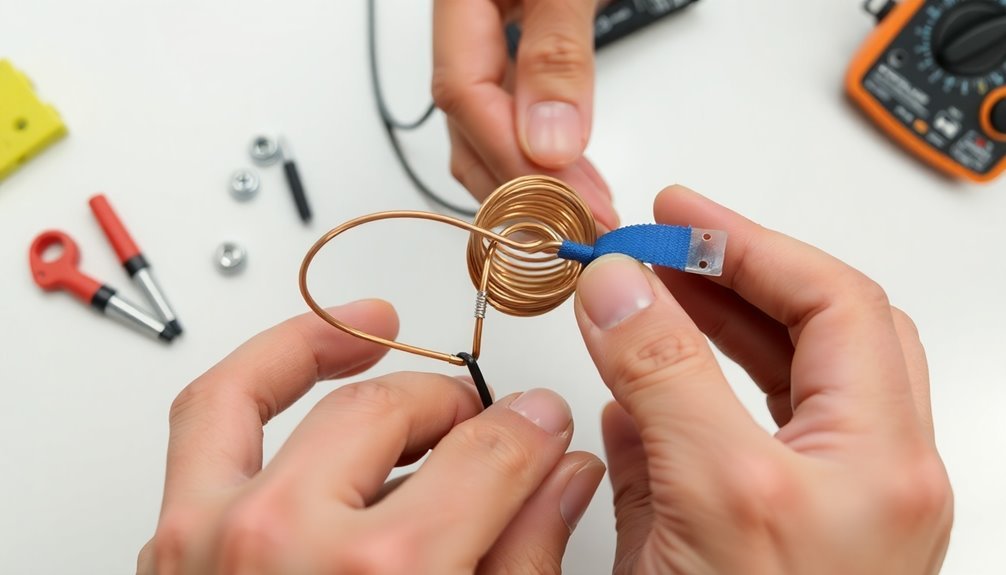
You'll need to test your wrist strap's voltage output with a multimeter before wearing it to guarantee it falls within the safe 1-10 Mohm resistance range.
When constructing your DIY wrist strap, protect yourself from electrical shock by working on a non-conductive surface and keeping all components properly insulated.
Always verify that your grounding point is properly connected to earth ground before attaching your completed wrist strap to prevent any risk of electrical accidents.
Voltage Testing Before Use
Testing your DIY ESD wrist strap is critical before using it with any electrical equipment. You'll need to verify that your wrist strap meets the industry standard of less than 35 megohms resistance using an ESD Test Station. Don't skip this step, as both high and low resistance failures can create safety hazards.
Remember that you can't use your DIY wrist strap with voltages exceeding 250 VAC or 500 VDC under any circumstances. The built-in 1-megohm resistor limits current to 0.25 milliamps at 250 volts, providing essential safety protection.
| Test Parameter | Acceptable Range | Common Issues |
|---|---|---|
| Total Resistance | <35 megohms | Soiled wristband, poor fit |
| Voltage Limit | <250 VAC | Exceeding safety threshold |
| Current Limit | 0.25mA at 250V | Faulty resistor |
| Ground Path | Single path only | Multiple ground connections |
If you're working with higher voltages, you'll need to use ionization methods instead of wrist straps. Verify you're following local safety requirements and consult your safety personnel if you're unsure about specific applications. For ongoing safety, either test your wrist strap daily or implement continuous monitoring to maintain proper functionality.
Basic Circuit Protection Rules
When constructing your DIY ESD wrist strap, following proper safety precautions can prevent accidents and guarantee reliable protection.
You'll need to confirm you're connecting all components to a common point ground and using a grounding cord with a one-megohm current-limiting resistor rated at 1/4 watt with a 250-volt working voltage rating.
Don't use insulative materials in your ground paths, as they'll prevent static charges from flowing properly. You must handle all electronic components by their edges or metal mounting brackets to avoid direct contact with sensitive parts.
Make sure you're working on an ESD mat or table that's properly grounded, and avoid constructing your wrist strap in static-prone environments with carpets or synthetic materials.
Before finalizing your DIY wrist strap, verify all connections are secure and properly grounded. You'll want to test the completed wrist strap before each use to confirm it's functioning correctly.
Remember to comply with ANSI/ESD S20.20 standards for performance requirements, and don't attempt to create wireless versions, as they won't meet ESD protection standards.
If you're using gloves during construction, make sure they're dissipative or conductive to maintain proper grounding.
Testing Your DIY Strap
Once you've assembled your DIY ESD wrist strap, it's crucial to verify that it functions within safe resistance limits of 750 kΩ to 35 mΩ.
You'll need an ESD tester that complies with industry standards like EN 61340-5-1 and ANSI/ESD S20.20 to properly evaluate your creation.
Test your wrist strap daily if you're using it regularly. Make sure to check the entire system: the wristband, ground cord, and the contact with your skin.
Your tester should show a green LED for a pass or a red LED for a fail, often accompanied by an alarm sound for failures.
If you're getting high resistance readings, check for common issues like poor skin contact, a soiled wristband, or a broken ground cord.
Low resistance failures might indicate a shorted resistor in your cord. Don't forget that dry skin can affect readings – you might need to apply ESD lotion to maintain proper conductivity.
For maximum safety, consider adding a continuous monitoring system to your setup.
While it'll increase your initial investment, it'll provide real-time alerts if your DIY strap fails during use, protecting your sensitive electronics from damage.
Proper Grounding Methods
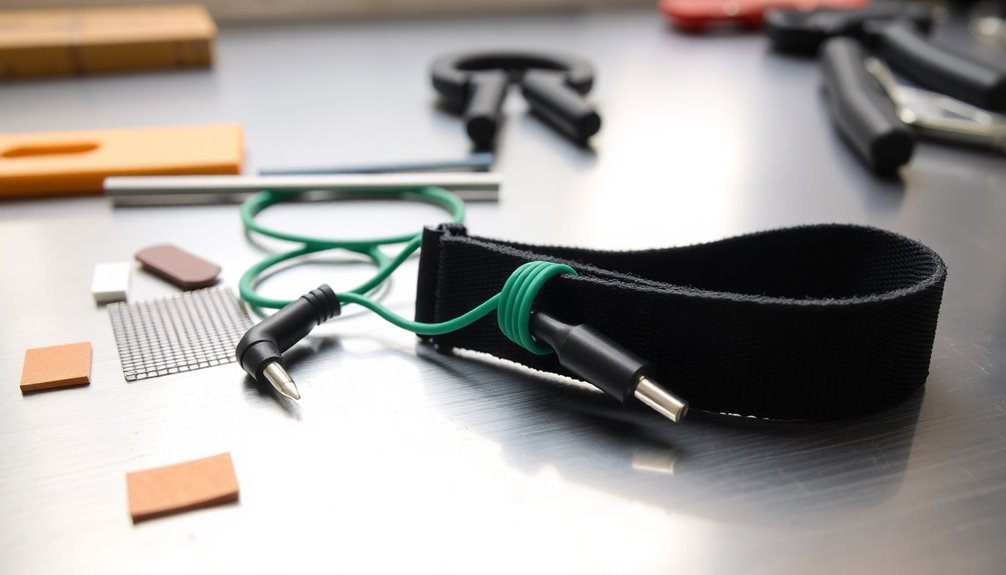
After confirming your DIY wrist strap works correctly, you'll need to implement proper grounding methods to secure reliable ESD protection. Connect your wrist strap directly to an unpainted metal surface or a dedicated Earth Bonding Point (EBP) using a reliable banana plug connection.
Don't daisy-chain multiple straps together, as this increases resistance and reduces effectiveness.
You'll want to ascertain your workstation has a common point ground where all ESD protective elements connect. This includes your wrist strap, conductive work surface, and any tools or equipment you're using.
Connect everything to the equipment ground (the green wire) or a designated ground bus to maintain equipotential balance.
When you're wearing the strap, make sure it's snug against your skin for proper conductivity. If you're working at a standing station, consider complementing your wrist strap with ESD-control footwear and static dissipative floor materials.
This creates multiple paths to ground and enhances your protection.
Remember that insulators can't be grounded effectively, so keep non-conductive materials away from your work area whenever possible.
Test your grounding connections regularly to maintain reliable ESD protection.
Maintenance and Storage Tips
You'll need to clean your ESD wrist strap after each use with mild liquid detergent and guarantee it's completely dry before storage.
Check your strap's integrity monthly by inspecting for wear, conducting resistance tests, and replacing any damaged components immediately.
Store your wrist strap in a dry, cool place away from direct sunlight, and keep it separate from other straps to prevent tangling or stretching damage.
Clean After Each Use
Proper maintenance of your ESD wrist strap starts with regular cleaning after each use. Using a mild detergent and cool or warm water, gently clean your wristband to remove skin oils, dirt, and other contaminants.
Don't use bleach, as it can damage the material and compromise the strap's effectiveness. If you're cleaning a metallic expansion wristband, make sure to dry it thoroughly to prevent corrosion.
When laundering elastic wristband strips, use these essential guidelines:
- Wash in cool or warm water (never exceeding 50°C) using non-ionic detergents
- Choose the gentle cycle on your home washing machine or a "Pony" industrial machine
- Tumble dry on low heat or hang to air dry
Remember to avoid heavy industrial laundry machines, as they can cause premature wear.
For ideal performance, apply ESD lotion to your wrist area to improve the strap's contact with your skin. Always trim any frayed ends and conceal them under the cap to maintain professional appearance and prevent further damage.
Set up a regular testing schedule every six months to guarantee your wrist strap maintains proper grounding capabilities.
Check Strap Integrity Monthly
Through regular monthly inspections, you'll maintain your ESD wrist strap's reliability and extend its lifespan. Start by examining the strap for any visible damage like fraying, cuts, or excessive stretching. Check metal components for corrosion and guarantee the coil cord and connectors remain intact.
Test your wrist strap's electrical resistance using a proper tester, making sure it meets the 35 megohm limit. You'll need to test both the strap and coil cord separately to identify potential issues. Document your findings to maintain compliance records and track any degradation over time.
| Inspection Area | What to Check | Action Needed |
|---|---|---|
| Strap Material | Fraying/Cuts | Replace if damaged |
| Metal Parts | Corrosion/Wear | Clean or replace |
| Electrical | Resistance/Continuity | Test with meter |
Store your wrist strap in a clean, dry place to prevent contamination and damage. Don't use the strap near equipment exceeding 250 VAC, and always connect to approved grounding points. If you notice any issues during inspection, replace the strap immediately rather than risking ESD damage to sensitive components.
Proper Storage Techniques
In accordance with ESD safety protocols, storing your wrist strap in an ESD-safe container protects it from damage and static buildup.
You'll need to keep your wrist strap in a controlled environment away from moisture and extreme temperatures, using shielding bags or containers with a Faraday Cage effect for ideal protection.
When storing your DIY ESD wrist strap, focus on these essential practices:
- Store in conductive or dissipative containers that are properly sealed to prevent static charges
- Place storage containers on grounded shelving or racks in a clean, dust-free area
- Maintain proper humidity and temperature levels in your storage space
You'll want to avoid common storage mistakes like using standard bubble wrap, plastic bags, or Styrofoam, as these materials can generate static electricity.
When you're handling or transporting your wrist strap, always verify you're properly grounded and use ESD-safe packaging materials.
Remember to regularly inspect your storage containers for cleanliness and potential static buildup.
Frequently Asked Questions
How Long Does a Homemade ESD Wrist Strap Typically Last Before Needing Replacement?
You'll need to replace your homemade ESD wrist strap every 1-2 months due to its lower quality materials and less durable construction. It's crucial to inspect it regularly for wear and conductivity issues.
Can I Wear the ESD Wrist Strap While Working Outdoors?
You can wear ESD wrist straps outdoors, but you'll need careful planning to guarantee proper grounding. It's more challenging to control static outside, so you must identify reliable ground points for safety.
Will Humidity Levels Affect the Effectiveness of My DIY Strap?
Yes, humidity levels will affect your ESD strap's performance. While higher humidity (30-40% RH) helps reduce static buildup, your strap's effectiveness primarily depends on proper grounding, regardless of moisture in the air.
Is It Safe to Wear Multiple ESD Straps Simultaneously?
You shouldn't wear multiple ESD straps simultaneously. It's unnecessary since one properly functioning strap provides sufficient protection. Multiple straps won't increase safety and could potentially cause interference with ESD control systems.
Can I Use the Same DIY Strap for Both Computer Repair and Jewelry Making?
Yes, you can use the same DIY ESD strap for both activities. Just guarantee it's properly grounded and clean between uses. Always test the strap's functionality before each application to maintain safety.
In Summary
Building your own ESD wrist strap isn't just cost-effective – it's a practical way to protect sensitive electronics. You'll find it's simple to assemble and maintain when following proper safety guidelines. Remember to test your DIY strap regularly and always connect to a proper ground point. With proper care and storage, your homemade ESD protection will serve you reliably during all your electronics projects.



Leave a Reply