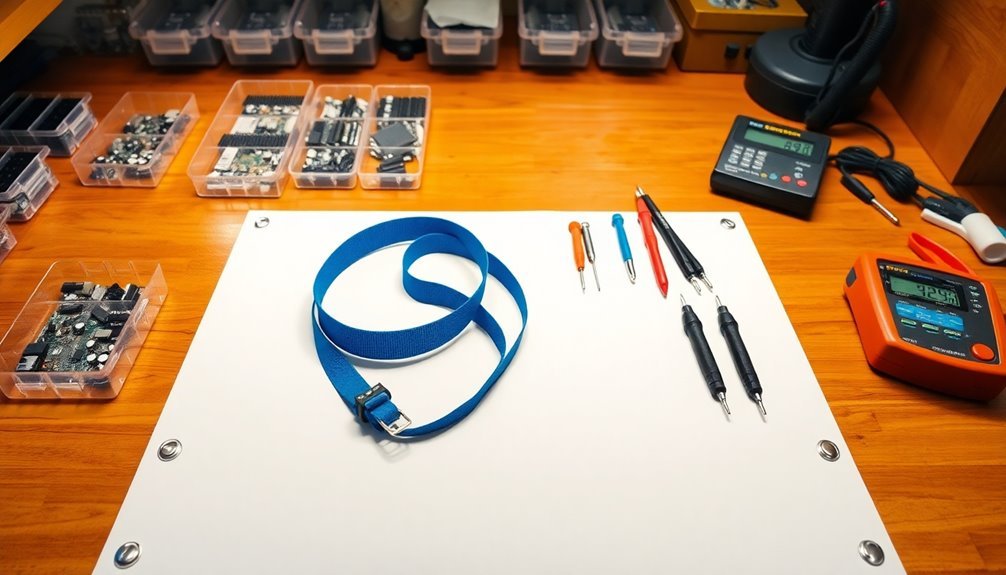
To build a static-safe electronics workbench, you'll need an ESD mat, wrist strap, and proper grounding connections. Start by selecting a location away from high-traffic areas and close to power outlets. Place your ESD mat flat on the work surface and connect it to a verified ground point using a grounding cord with secure connectors – avoid using alligator clips. Attach your wrist strap directly to skin and connect it to the same ground point. Position your tools and equipment within easy reach on the protected surface. The right setup now will protect your sensitive electronics from costly static damage, and there's much more to discover about optimizing your workspace.
Essential ESD Safety Equipment

Setting up an ESD-safe workbench requires several critical pieces of equipment to protect sensitive electronic components. Your primary focus should be on acquiring an ESD-safe workbench with conductive materials that effectively dissipate static electricity to the ground. Custom configurations are available through modular workbench designs for different workspace needs.
You'll need to install ESD mats, which conduct static electricity safely away from your work area through their continuous conductive front edge.
Since human handling accounts for 90% of all ESD damage, you'll need to wear an ESD wrist strap whenever you're working with sensitive electronics. The wrist strap connects you directly to the workbench's grounding system, preventing harmful static discharge.
Make sure you've got ESD-safe components like castors and leveling feet to maintain the integrity of your protected workspace.
You'll also want to invest in ESD test equipment, including wrist strap testers and surface resistance meters, to verify your safety measures are working properly.
For storage, use ESD-safe foam to protect components when they're not in use. Remember that your conductive materials should maintain a surface resistivity between 10^6 and 10^9 Ω/sq for ideal protection against static discharge.
Choosing Your Workbench Location
Where you place your electronics workbench can substantially impact your ESD protection efforts and overall work efficiency. You'll want to select a low-traffic area away from common walkways to minimize static buildup from passing movement.
Position your workbench near power outlets to avoid long, hazardous extension cords while guaranteeing it's away from areas where static-inducing materials are handled.
Consider environmental factors carefully. Avoid locations with direct sunlight or high humidity, as these can compromise your ESD protection measures. You'll need good ventilation and controlled temperature conditions, so verify your chosen spot has access to air conditioning and proper airflow. Using ESD-safe storage solutions like bins and racks will help maintain a protected environment.
Don't forget about lighting – you'll need adequate illumination to prevent eye strain during detailed work.
Make sure your workspace layout promotes ergonomic efficiency. Your workbench should be adjustable to accommodate different working heights, and you'll want enough space to organize tools and equipment within easy reach.
Implement proper cable management systems and plan for future expansion needs.
Remember to maintain compliance with ESD standards by regularly inspecting your setup and documenting your procedures. Keep sensitive equipment at a safe distance to prevent accidental static discharge.
Setting Up Ground Connections

You'll need to establish a common point ground system by connecting your ESD mat and other protective equipment to a single grounding point on your workbench.
Before making any connections, test your outlet's ground integrity using a ground/polarity tester to verify it's properly wired and functioning.
Once you've confirmed proper grounding, connect your ESD mat to the verified ground point using appropriate grounding cords and connectors like metallic crimps or banana plugs. A well-organized workspace helps ensure all grounding connections remain secure and easily accessible.
Common Point Ground Setup
A proper common point ground setup forms the backbone of any static-safe electronics workbench. You'll need to establish a central grounding point that connects all your ESD protection equipment to maintain everything at the same electrical potential.
This setup is essential for compliance with ESD safety standards and prevents damaging static discharge. The M.S powder coated finish ensures durability and allows for space-saving installation under the workbench.
Start by selecting an accessible location on your workbench for the grounding block. Mount it securely using the provided holes, and route the grounding wire neatly to your equipment ground connection.
You'll want to connect your wrist straps, work surface mats, and foot grounders to this common point through the grounding block's banana jacks.
Don't forget to test the resistance between the banana jacks and the common ground point using an ohmmeter.
Your grounding components should include wrist straps for personal grounding, anti-static mats for work surfaces, and appropriate grounding cords to connect everything together.
Keep the design compact to maximize your workspace, and make sure you've got multiple connection points available for various grounding devices.
Remember to test your ground connections regularly to maintain proper ESD protection.
Verify Outlet Ground Integrity
Properly verifying outlet ground integrity stands as the first critical step in setting up a static-safe workbench. You'll need either a multimeter or a receptacle tester to confirm your outlet's ground connection meets safety standards.
When checking with a multimeter, connecting the probes to the main meter body requires placing the red lead in VAC before testing. If you're using a multimeter, set it to AC voltage and test between the live and ground ports. You'll want to check readings between live-neutral, live-ground, and neutral-ground connections.
Make sure you've connected the red probe to Ω/V/+ and the black probe to COM for accurate measurements.
For a simpler approach, plug in a receptacle tester. You'll see a pattern of lights that indicates whether your ground connection is functioning correctly. While these testers can't measure ground resistance to the rod, they'll quickly reveal common grounding issues at the outlet.
Your ground connection should measure 25 ohms or less to meet National Electrical Code requirements, though some testing equipment uses a stricter 10-ohm threshold.
If you're unsure about your readings or discover problems, don't attempt repairs yourself – call a qualified electrician. Remember to power off the outlet before conducting any physical inspections.
Connect ESD Mat Ground
Every successful ESD workbench requires proper grounding of the anti-static mat through a dedicated grounding cord and secure connections. You'll need to verify that your mat's grounding cord has a resistance of 1 megohm ± 20% and connects directly to a verified ground source.
The carbon-impregnated material of conductive mats helps ensure consistent static dissipation throughout the surface.
Don't daisy chain multiple mats together, as this can exceed the desired resistance levels – each mat needs its own dedicated ground connection.
For a reliable setup, follow these essential grounding steps:
- Attach a grounding snap, eyelet, or #10 ring terminal to your ESD mat
- Connect one end of the grounding cord to the mat using metallic crimps or snaps
- Secure the other end to a properly tested electrical outlet ground
- Avoid using alligator clips, as they don't provide consistently reliable connections
- Test your ground connection daily before working with sensitive components
Remember that both your benchtop mat's dissipative surface layer and conductive layer need proper grounding to function effectively.
For high-value components, consider installing a real-time monitoring system to alert you of any grounding failures.
Maintain your setup by regularly cleaning both the mat and connections to maintain optimal static protection.
Installing ESD Work Surface
You'll want to position your ESD work surface mat flat on the bench with the connector facing your work area for ideal access.
Connect the grounding wire securely to the mat's stud, ensuring it's properly attached to your common point ground connection.
The mat's surface should lie smooth without wrinkles or air bubbles, creating complete contact with your workbench to maintain consistent static protection. Using mild heat from natural sunlight exposure can help remove any shipping creases in the mat.
Mat Placement Best Practices
Setting up an ESD work surface begins with proper mat preparation and placement. Before installing your ESD mat, let it acclimate to room temperature for about four hours to flatten out any shipping-induced rolls or creases. If stubborn creases persist, you can use mild heat like sunlight to help remove them. Dissipative surfaces are recommended for handling electronics since they safely discharge static at a controlled rate.
When you're ready to place the mat, verify that your work area meets these critical requirements:
- Position the mat flat on your workbench with the snap connectors facing your work position
- Cover the entire work surface area to maintain consistent protection
- Install a 10mm grounding snap every 10 feet for longer mats
- Connect each mat directly to its own common point ground
- Keep ground wires tidy and protected from damage
Don't daisy-chain multiple mats together, as this can compromise your ESD protection by exceeding resistance limits.
You'll need to connect each workstation to its own common point ground using an earth bonding point cord.
Remember to regularly test your setup for proper resistance and continuity to ground.
If you're working with mobile personnel, complement your setup with ESD floor mats and heel grounders for complete protection.
Secure Grounding Wire Setup
With proper grounding as your foundation, installing an ESD work surface requires careful attention to wire setup and connection points.
You'll need to connect your grounding cords firmly to both the work surface mat and the designated ground point, typically the building's green wire ground as specified in EOS/ESD Standard 6.
Don't use alligator clips for your connections – they're unreliable for grounding purposes. Instead, opt for secure metallic crimps, snaps, or banana plugs to guarantee consistent conductivity.
Before making any connections, verify your outlet grounding using a ground/polarity tester, and make sure all equipment is unplugged for safety.
Connect your common point ground cord to both the table mat and floor mat, guaranteeing all connections are tight and secure.
You'll want to test the setup using a surface resistivity meter to confirm proper conductivity from the ground point to all parts of your workstation.
In areas where you must keep insulative materials, install an ESD air ionizer to neutralize static charges.
Remember to inspect your ground connections regularly to maintain their effectiveness and replace any worn or loose components immediately.
Proper Wrist Strap Usage

A properly worn wrist strap is essential for protecting sensitive electronic components from static discharge. You'll need to verify that the metal part makes direct contact with your skin for effective conductivity.
When attaching the strap, first secure it snugly around your wrist, then connect the grounding wire to a non-painted metallic surface on your equipment or workbench.
For maximum protection while working with sensitive electronics, follow these vital steps:
- Wear the strap directly against your skin, never over clothing
- Connect the grounding wire before handling any components
- Check that the metal contact point remains flush with your skin
- Select a proper grounding point that's free of paint or coating
- Test the strap's conductivity before each use
You can wear the strap on either wrist or ankle, depending on what's most comfortable for your work setup.
Always use an ESD mat in conjunction with your wrist strap to create a complete static-free workspace. Remember that even common materials like wood and plastic can generate harmful static charges, making proper grounding vital for protecting your electronic components from damage.
Floor Protection Measures
Proper floor protection serves as the foundation of a static-safe electronics workspace. You'll want to start by placing ESD mats strategically at your workstation, particularly under chairs and at table edges to maintain continuous grounding. Connect these mats to a common grounding point to guarantee effective static dissipation.
When selecting your floor protection, opt for high-quality ESD mats made from static dissipative natural rubber or nitrile compounds. These materials offer superior durability and resistance to chemicals, while dual-layer designs provide extremely low electrical resistance for safer static control.
Don't overlook the importance of your overall flooring solution. If you're setting up a dedicated workspace, consider installing anti-static flooring and remove any carpeting, as it's a major source of static buildup.
You'll also need to maintain proper humidity levels – dry air increases static electricity, while higher humidity helps dissipate it.
For enhanced protection, you can supplement your floor measures with ionizers to neutralize airborne static charges and anti-static sprays for additional surface treatment.
Remember to regularly clean and inspect your mats, checking grounding points to maintain their effectiveness.
Testing Your ESD Setup
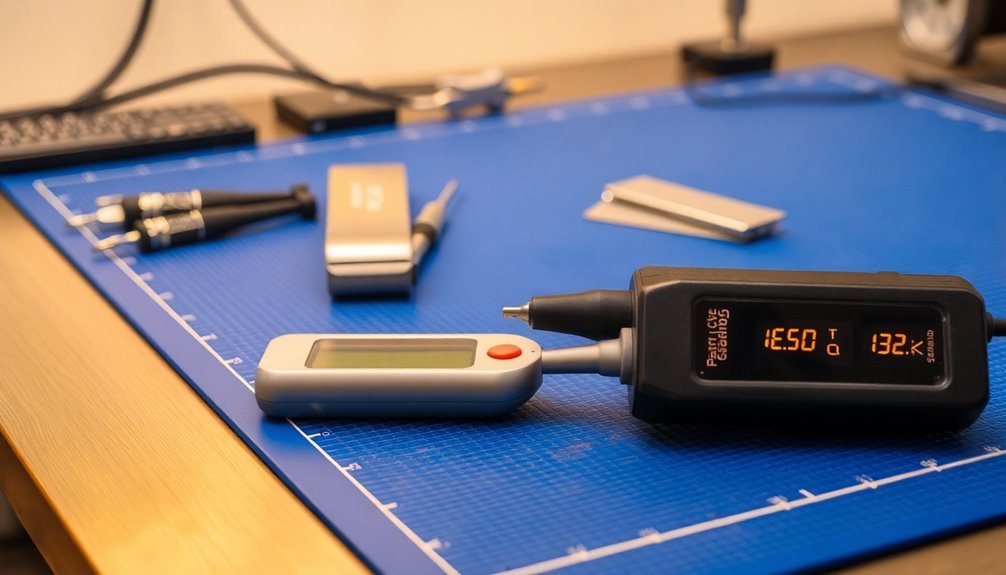
Regularly testing your ESD setup guarantees its continued effectiveness in protecting sensitive electronics. You'll need to perform both resistance testing and walking body voltage tests to confirm your workbench area meets safety standards.
Using an ESD simulator and proper test equipment, you can verify that your setup effectively dissipates static charges and protects your components.
To thoroughly test your ESD workbench setup, focus on these key areas:
- Check your floor mat's resistance using a megohmmeter, confirming it falls within the specified resistance range for static dissipation.
- Test your wrist strap daily with a wrist strap tester to confirm proper grounding connection.
- Measure the resistance between your work surface and ground point using appropriate testing equipment.
- Verify that all equipment on your workbench is properly bonded to the common ground point.
- Conduct periodic walking body voltage tests to confirm your floor materials effectively prevent charge buildup.
Document all your test results and maintain a regular testing schedule. If you discover any issues during testing, perform a root cause analysis and make necessary adjustments to your setup.
Remember to retest after making any modifications to confirm your workbench maintains proper ESD protection levels.
Storage Solutions for Components
Once you've established a reliable ESD-safe workbench, protecting your components during storage becomes the next priority. You'll need to invest in proper ESD storage solutions that meet IEC 61340-5-1 standards to safeguard your components from static damage during storage and transportation.
| Storage Type | Best For |
|---|---|
| Conductive Boxes | Shipping sensitive components |
| Modular Systems | Organized workspace storage |
| Layer Pads | Stacking multiple components |
Your storage strategy should focus on both protection and accessibility. Choose conductive polypropylene containers for daily-use components and consider ESD fiberboard boxes for long-term storage. If you're dealing with limited space, collapsible conductive totes offer an excellent solution while reducing storage demands.
Don't forget to customize your storage solutions based on your specific needs. You can add dividers, custom foam inserts, or handles to make your storage more efficient. When selecting containers, remember there's a vital difference between anti-static and static shielding products – static shielding offers superior protection by acting as a Faraday cage against external static discharges. This additional protection is essential for highly sensitive components.
Daily Maintenance Tips

Maintaining your ESD workbench requires daily attention to guarantee its protective properties remain effective. Start each day by inspecting your grounding connections and testing your wrist straps with an ESD tester.
You'll want to wipe down the surface with ESD-approved cleaning solutions using lint-free cloths, avoiding standard household cleaners that could compromise the anti-static properties.
Keep these essential daily maintenance tasks in mind:
- Clean your workbench surface with ESD wipes to remove dust, oils, and contaminants
- Check all grounding points and cables for secure connections
- Test your wrist straps and other grounding equipment with an ESD tester
- Organize tools and components to prevent accidental surface damage
- Monitor humidity levels in your work area
Don't forget to regularly inspect your ESD mat for signs of wear or damage. If you notice deep scratches or cracks, you'll need to think about replacement or resurfacing.
Remember to keep heavy or sharp tools from directly contacting the work surface, and maintain a clutter-free environment to prevent accidental damage.
Frequently Asked Questions
Can I Use Regular Cleaning Products on My ESD Mats?
No, you shouldn't use regular cleaning products on ESD mats. They'll damage the mat's static-fighting properties and can leave harmful residue. Instead, use ESD-specific cleaners to maintain your mat's effectiveness and longevity.
How Often Should I Replace My ESD Wrist Strap?
You don't need to replace your ESD wrist strap on a fixed schedule. Instead, test it daily, inspect it regularly for wear and tear, and replace it when it shows damage or fails testing.
Will Humidity Levels Affect My ESD Protection Setup?
Yes, humidity substantially affects your ESD protection. You'll need to maintain 40-60% relative humidity for ideal protection. When it's too dry, you're at higher risk of damaging your electronics through static discharge.
Can I Work on Electronics While Wearing Synthetic Clothing?
It's risky to wear synthetic clothing while working on electronics. You'll generate more static electricity, which can damage sensitive components. Stick to cotton clothes for better safety during electronic work.
Do I Need ESD Protection When Working With Low-Voltage DC Circuits?
Yes, you'll definitely need ESD protection for low-voltage DC circuits. Even small static discharges can destroy sensitive components instantly. Don't risk damaging your electronics – always use proper ESD protection when handling circuits.
In Summary
You'll find that investing a little time in proper ESD protection pays off tremendously. With your workbench now properly grounded, your work surface installed, and all safety measures in place, you're ready to start working on electronics projects with confidence. Don't forget to test your setup regularly and maintain good habits like wearing your wrist strap. Your components will thank you with longer life and reliable performance.


Leave a Reply