Testing your ESD ionizers requires strict adherence to IEC 61340-4-7 and ANSI/ESD STM3.1 standards. You'll need to maintain specific environmental conditions of 23 ± 2 °C and 12 ± 3% relative humidity during testing. Using a calibrated Charged Plate Monitor (CPM), you must measure discharge time and offset voltage to guarantee they meet required specifications. Your testing equipment needs regular calibration, and you should document all results for compliance. Proper maintenance, including routine cleaning of emitter points, is essential for peak performance. Understanding these thorough standards and procedures will strengthen your ESD protection strategy.
Key Testing Standards Overview

Industry-standard ESD ionizer testing relies on two primary standards: IEC 61340-4-7 and ANSI/ESD STM3.1. These standards define specific test methods and instrumentation requirements for measuring discharge time and offset voltage of air ionization equipment.
You'll need to use a Charged Plate Monitor (CPM) for testing under carefully controlled conditions, including 12 ± 3 % relative humidity and 23 °C ± 2 °C temperature. Auto-balancing feedback systems can help maintain optimal performance between testing intervals. The CPM operates with a 20 picofarads capacity for standardized measurements.
For periodic verification under actual use conditions, you'll want to follow ANSI/ESD SP3.3. This standard offers a simplified procedure using portable test equipment, making it more practical for regular maintenance checks.
You'll establish a baseline during initial acceptance, which you'll use for future performance comparisons.
If you're working with newer ionizer technologies, you'll find specific test procedures developed for air-assist bar ionizers and soft x-ray ionizers. These methods define measurement distances and locations for various ionizer types, guaranteeing proper compliance verification.
The ESD Association Workgroup 3 continuously updates these standards during five-year review cycles, incorporating new definitions and technical requirements.
You'll need to verify your testing procedures align with the latest standards, as they undergo regular industry review and updates through Technical Advisory Support.
Test Equipment Requirements
You'll need several calibrated tools to properly test ESD ionizers, including a high-voltage power supply, voltmeter with high input impedance, and specialized conductive plates.
Setting up your test environment requires careful attention to temperature (23°C ± 2°C) and humidity (12 ± 3% RH) conditions while ensuring there aren't any airflow obstructions between the ionizer and test surface. A charged plate monitor should be used after any cleaning to verify proper operation.
Your testing equipment must undergo semi-annual calibration per JESDD625-A standards, though you can adjust these intervals based on performance data.
Essential Calibration Tools
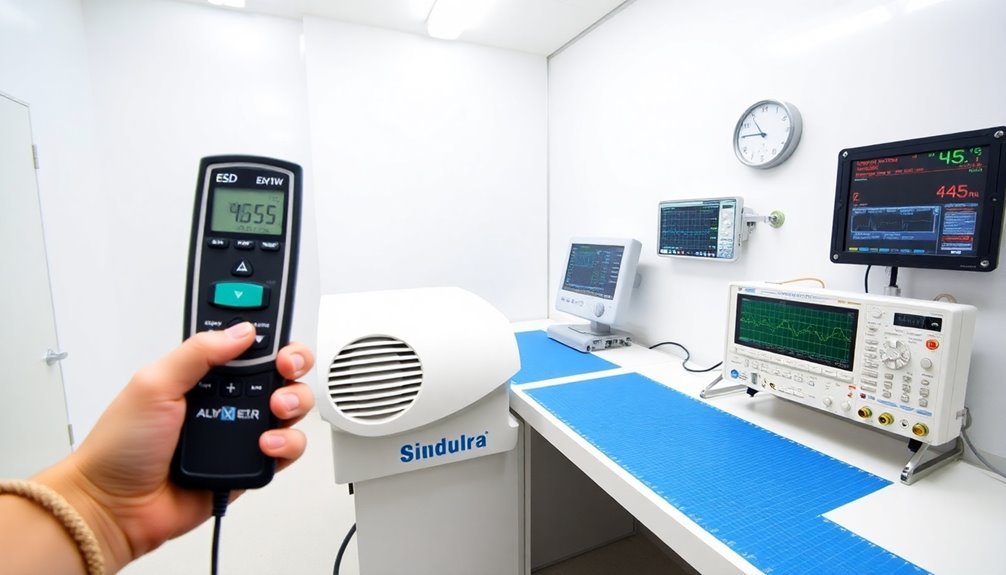
Three essential tools form the foundation of accurate ESD ionizer testing and calibration. You'll need a Charge Plate Monitor (CPM) to perform thorough ionizer testing, an electrostatic voltmeter for precise DC measurements, and an ESD Field Meter to measure accumulated static charges and verify ionizer performance.
When selecting your calibration tools, confirm they meet industry standards like ANSI/ESD STM3.1 and ANSI/ESD S20.20. Your electrostatic voltmeter should maintain an accuracy of +/- 0.5 volts or better, while your test kit must include ion balance plates, grounding cables, and proper calibration documentation. Digital readouts enhance measurement accuracy and repeatability during testing procedures. Non-contact measurement capabilities allow for safer and more efficient data collection during testing.
You'll want to calibrate your instruments semi-annually, as recommended by JESDD625-A, though you should adjust this interval based on your specific application and ionizer performance.
When performing measurements, you'll need to maintain proper distance and avoid grounded bodies that can affect readings. Be particularly careful with small objects, as they can produce significant measurement errors.
Remember to use NIST-approved instruments like the FM-1126 ESD Field Meter and confirm all calibrations are performed by certified entities with traceable certificates.
Test Environment Setup
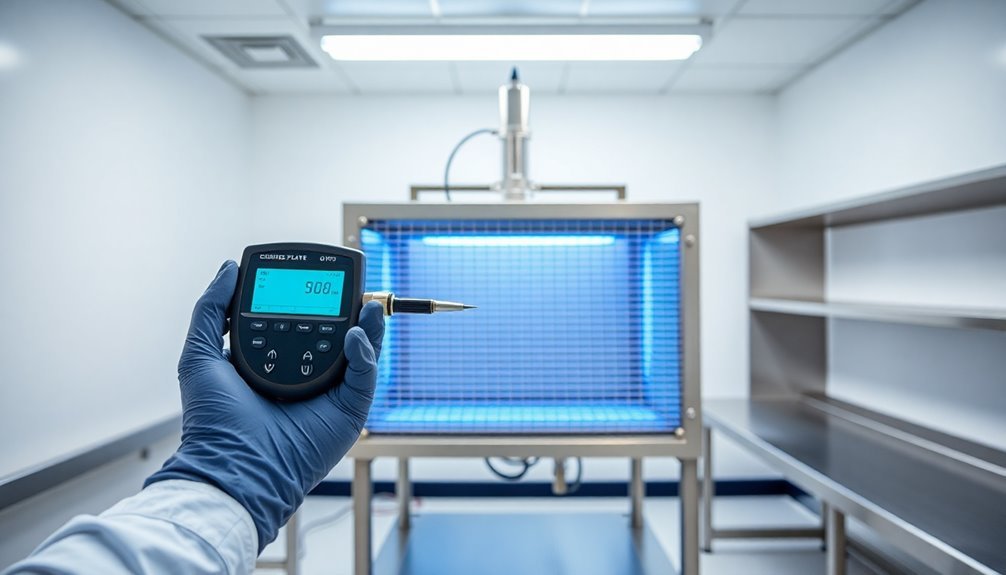
Setting up reliable ESD ionizer testing starts with assembling the right equipment. You'll need a Charged Plate Monitor (CPM) as your primary measurement tool, which you'll use to evaluate both discharge time and offset voltage. This essential device works in conjunction with a conductive plate and charger to assess your ionizer's performance accurately.
Don't overlook the importance of a quality static sensor, which you'll require for measuring electrostatic fields and confirming proper grounding conditions. You should also invest in an air ionizer test kit that complies with ANSI/ESD SP3.3 and ESD TR53 standards – it's a portable solution that'll make your testing process more efficient.
You'll need to ascertain all your equipment is properly grounded, so invest in reliable grounding equipment.
When you're setting up your test area, remember that environmental conditions matter greatly. You'll want to maintain a temperature of 23°C ± 2°C and humidity at 12 ± 3% RH for accurate qualification and compliance verification.
If you're working with compressed air ionizers, you'll also need to control air pressure and volume to meet testing specifications.
Environmental Testing Conditions
Maintaining precise environmental conditions stands as a significant requirement for accurate ESD ionizer testing. You'll need to guarantee your testing environment meets the specific temperature requirement of 23 ± 2 °C as outlined in IEC 61340-4-7. This standardized temperature range isn't optional – it's fundamental for reliable performance verification.
You must also maintain the relative humidity at 12 ± 3% RH during testing. If you don't control these environmental parameters, you'll risk obtaining unreliable or inconsistent test results. Remember that both temperature and humidity directly impact ionizer effectiveness.
Your testing setup should include proper air flow configurations according to ANSI/ESD STM3.1 specifications. You'll need to monitor compressed air pressures and volumes carefully, as they're essential for proper ionization and accurate measurements.
Don't overlook the importance of laminar flow and interlock systems – they're crucial components of your testing environment.
When you're setting up your test conditions, make sure you've implemented all required systems correctly. You'll need to follow detailed procedures for laminar flow and interlock systems to maintain test integrity and prevent contamination that could compromise your results.
Discharge Time Measurement Protocols
You'll need a charged plate monitor with a 20 pico-farad capacitance and a 6" x 6" conductive plate to properly measure ionizer discharge times.
For accurate measurements, maintain specific distances between your ionizer and the CPM based on the ionizer type you're testing – typically following manufacturer guidelines or standard testing positions.
Control your testing environment by eliminating nearby objects that could affect readings and ensuring stable, laminar airflow during measurements.
Testing Equipment Requirements
Modern ESD ionizer testing requires specific measurement equipment and protocols to confirm accurate discharge time evaluation. The vital components of your test kit must include a charger capable of placing a ±1000V charge on the conductive plate, along with a digital static field meter for precise measurements.
You'll need a conductive plate assembly featuring an isolated plate and teflon spacers to guarantee proper testing conditions. Your testing setup should incorporate a high voltage power supply and a voltmeter with an input impedance exceeding 50 kilohms for accurate readings. The PCS-730B Electrostatic Charger provides the necessary voltage output for standardized testing procedures.
The test fixture must contain a metal plate with a minimum area of 5 square inches and appropriate connectors to interface with the high voltage power supply. When setting up your equipment, you'll need to verify that the charger can deliver at least 1.1 kV for both positive and negative voltage applications.
To maintain testing accuracy, you must confirm your equipment meets calibration requirements, including verification that the total capacitance of the test circuit falls within 20 picofarads ± 2 picofarads.
Remember that proper equipment maintenance and regular calibration are essential for reliable ionizer performance verification.
Measurement Distance Best Practices
Proper measurement distances directly impact the accuracy of ESD ionizer testing results.
You'll need to follow specific distance protocols based on the type of ionizer you're testing. For air ionizers, position your equipment 1,200 mm from the test surface and take measurements at 300 mm, 600 mm, and 900 mm vertically, ensuring test locations are no more than 600 mm apart.
When testing non-airflow alpha ionizers, install them 7.5 cm above the CPM plate, with the plate positioned 15 cm from the test surface.
For soft X-ray ionizers, space the bars 2,000 mm apart and place the CPM plate 1,500 mm below the ionizing bars. You'll need to record airflow at the CPM height in the test area's middle.
For static sensor measurements, maintain a 1-inch distance from the target surface.
Remember that the measured object should be at least a 3-inch square when measuring at this distance to maintain the proper aspect ratio of 3:1.
You'll need to apply corrections when measuring objects different in size from the calibration plate, as small objects can greatly distort the electric field and produce measurement errors.
Environment Control Parameters
Successful ESD ionizer testing depends on strict environmental control and standardized discharge time protocols. When you're conducting ionizer tests, you'll need to maintain specific environmental parameters to guarantee accurate and reliable results. The temperature must stay within 23 °C ± 2 °C, while humidity levels should be maintained at 12 ± 3 % RH.
- Test environments must simulate actual use conditions whenever possible for periodic and compliance verification tests.
- Temperature and humidity control directly impact the accuracy of your test measurements.
- Different ionizer types require varying environmental considerations and test protocols.
Your discharge time measurements require precise execution using a Charged Plate Monitor (CPM). You'll start by charging an isolated conductive plate to 1000 volts and measure the time it takes to discharge to 100 volts (10% of the initial voltage).
It's vital to test both positive and negative polarities to guarantee balanced ion emission. When you're following ANSI/ESD STM3.1 standards, you must maintain consistent environmental conditions throughout the testing process.
Remember that environmental variability can greatly affect ionizer performance, which is why laboratory-controlled conditions are essential for reliable test results.
Offset Voltage Testing Methods

| Test Equipment | Primary Function | Key Feature |
|---|---|---|
| Charge Plate Monitor | Measures offset voltage and decay rate | Built-in timer and peak voltage display |
| Ionization Test Kit | Tests ionizer performance | Includes field meter and attachments |
| Portable CPM | Provides mobile testing solution | Compact, handheld design |
When conducting offset voltage tests, you'll need to follow ANSI/ESD STM3.1 standards, which specify the proper testing methods. You must maintain regular testing schedules, as recommended by JESDD625-A's semi-annual requirement. Don't forget to take into account potential interference sources and maintain proper distance from the ionizer during measurements. If your readings exceed the ANSI/ESD S20.20 limit of ±35 volts, you'll need to calibrate your ionizer. Remember to test at multiple locations for thorough results, especially when working with different ionizer types like air-assist bars or soft x-ray systems.
Performance Verification Steps
Several critical steps must be followed when verifying ESD ionizer performance to guarantee compliance with industry standards.
Regular ESD compliance verification is essential to prevent costly electronic component damage. You'll need to conduct tests using specialized equipment capable of measuring both discharge times and offset voltage according to ANSI/ESD STM3.1 guidelines. When performing these verifications, you should position your ionizer and test equipment approximately one foot apart, ensuring proper grounding for accurate measurements.
- Test both positive and negative discharge times using a charge plate monitor, verifying rates are under 6 seconds when neutralizing from ±1,000V to ±100V.
- Document all results meticulously to establish baseline performance and track changes over time.
- Conduct tests semi-annually, adjusting frequency based on your specific application needs and observed maintenance requirements.
During verification, you'll need to account for environmental factors and potential airflow obstructions that might affect performance.
Your testing setup should comply with standards like ANSI/ESD SP3.4 for confined spaces and follow the recommendations outlined in ESD TR53 for maintenance procedures.
Remember to include these verifications in your compliance plan, documenting all test results and any adjustments made to maintain peak ionizer performance.
Calibration and Maintenance Schedule

A thorough calibration and maintenance schedule involves two distinct timing intervals based on your facility's specific needs.
You'll need to calibrate ionizers every 6 months for essential clean room applications, while general environments may require less frequent intervals. Initial performance checks should be conducted one month after installation. Regular compliance monitoring using a Charge Plate Monitor helps validate ioniser balance and decay performance. Follow ANSI/ESD STM3.1 and IEC 61340-4-7 standards for proper calibration procedures to maintain ideal discharge times and ion balance.
For maintenance, you should inspect your ionizers every 1 to 6 months, depending on your environment. You'll need more frequent checks in areas with high particle contamination or extreme environmental conditions.
Regular cleaning of emitter points is vital, as particle buildup and erosion can greatly impact performance. If you're using fan-type ionizers with built-in cleaning brushes or auto-balancing technology, you can extend your maintenance intervals.
You can reduce costs by implementing automated cleaning features and choosing ionizers with innovative technologies.
Remember that environmental factors like humidity, temperature, and airborne particles will affect your maintenance schedule. By maintaining proper calibration and cleaning routines, you'll prevent ESD damage to sensitive components and minimize repair expenses.
Compliance Documentation Procedures
Proper documentation of your ESD ionizer testing requires strict adherence to multiple international standards, including ANSI/ESD STM3.1 and IEC 61340-4-7. You'll need to maintain detailed records of both initial baseline measurements and ongoing performance verification tests to guarantee compliance and traceability.
- Record all test conditions, including humidity levels (12 ± 3% RH) and temperature (23°C ± 2°C)
- Document discharge time measurements (must be less than 20 seconds) and offset voltage readings (must remain within ± 35V)
- Include specific details about your test equipment, especially your Charged Plate Monitor (CPM) model and calibration status
When preparing your compliance documentation, you'll need to reference the specific standards you've followed and include detailed test locations and measurement distances for your ionizer type.
Keep a log of all performance records, as they'll help you identify when recalibration is necessary. Make sure you're using the verification procedures outlined in ANSI/ESD SP3.3 for your periodic testing under actual use conditions.
Your documentation should clearly show that your ionizers meet all performance requirements and that you're following the proper test methods for your specific ionizer design.
Frequently Asked Questions
How Do Ionizer Failures Affect Product Yields in Semiconductor Manufacturing?
When your ionizers fail, you'll see reduced yields due to static-induced ESD damage, equipment malfunctions, and particle contamination. These issues directly harm your products, disrupt production, and cause costly defects in semiconductor manufacturing.
Can Multiple Ionizer Technologies Be Used Together in the Same Workspace?
Yes, you can use multiple ionizer technologies together in your workspace. You'll benefit from extensive coverage when combining overhead, benchtop, and handheld ionizers, as long as you properly plan their placement to avoid interference.
What Causes Sudden Changes in Ionizer Performance Between Scheduled Verifications?
You'll notice sudden changes in ionizer performance due to dust buildup, environmental interference from nearby equipment, improper placement, and equipment failures. Regular cleaning and proper positioning help maintain consistent performance between checks.
How Do Seasonal Humidity Variations Impact Ionizer Effectiveness and Testing Results?
You'll notice your ionizer's effectiveness fluctuate with seasonal humidity changes. When humidity drops, ionization becomes less efficient, while higher humidity improves performance by increasing air conductivity and helping ions reach targets faster.
When Should Overhead Ionizers Be Preferred Over Benchtop Units for ESD Protection?
You'll want overhead ionizers when you've got limited bench space, need consistent coverage for large work areas, or have obstructions on your workbench. They're especially effective for protecting sensitive electronics in complex environments.
In Summary
You'll need to maintain rigorous testing procedures and documentation to guarantee your ESD ionizers perform reliably. Keep your testing equipment calibrated, follow established standards, and document all results thoroughly. Don't skip regular performance checks or maintenance schedules. By consistently verifying discharge times and offset voltage levels, you're protecting sensitive components and maintaining compliance with industry requirements.


Leave a Reply