To build a complete anti-static electronics repair station, you'll need essential ESD protection equipment including a grounded wrist strap, anti-static mat, and ESD-safe tools. Start by selecting a dedicated workspace with controlled humidity (40-60%) and temperature (20-25°C). Ground your anti-static mat to a reliable ground point and connect your wrist strap to the same ground. Organize your workspace with ESD-safe storage containers and maintain a clean, dust-free environment using proper ventilation and an ionizer. Implement daily testing of ground connections and safety checks to guarantee consistent protection. The following guide will equip you with detailed steps for maximum component safety.
Understanding ESD Fundamentals

Properly understanding Electrostatic Discharge (ESD) is critical before setting up any electronics repair station. When you work with electronic components, you're handling devices that can be destroyed by static electricity levels you can't even feel.
Your body alone can generate several thousand volts of static electricity, which can instantly damage sensitive integrated circuits and PCB components. Hidden component damage can develop slowly over time, making ESD-related issues difficult to diagnose immediately.
ESD occurs when there's a sudden flow of electricity between two charged objects through direct contact or proximity. You'll need to recognize that this invisible threat requires thorough protection at every point where you or objects might contact electrical devices.
Without proper safeguards, you're risking expensive repairs and potential device failures that mightn't be immediately apparent.
To effectively combat ESD, you'll need to implement multiple layers of protection. This includes using personal grounding equipment like wrist straps and heel grounders, wearing appropriate ESD-safe clothing, and utilizing proper storage solutions such as ESD bags.
You'll also need to follow industry standards like ESDA TR53-01 and maintain regular testing protocols to confirm your protective measures remain effective over time.
Essential Anti-Static Equipment Checklist
Setting up your anti-static electronics repair station requires specific equipment to protect against ESD damage.
You'll need a reliable grounding wrist strap that meets the 1-megohm resistance standard to safely dissipate static charges from your body to a common ground point. Regular testing of your wrist strap confirms it's functioning correctly.
Your workstation must include an anti-static mat made from conductive materials. Place it on your work surface and connect it to the same ground point as your wrist strap. This creates a safe zone for handling sensitive electronic components.
You'll also want anti-static gloves that meet resistance standards between 10^6 and 10^8 ohms to protect components from static discharge while maintaining tactile sensitivity. Good air circulation in your workspace helps prevent static charge buildup.
Don't forget additional protective equipment that completes your ESD-safe workspace. Consider ESD shoes or heel straps for full-body grounding, and stock up on ESD bags and packing materials for component storage.
If you're setting up a professional repair station, add ESD jackets or smocks and specialized shelving units. Keep an ESD tester handy to regularly verify your equipment's effectiveness and maintain safety standards.
Preparing Your Workspace
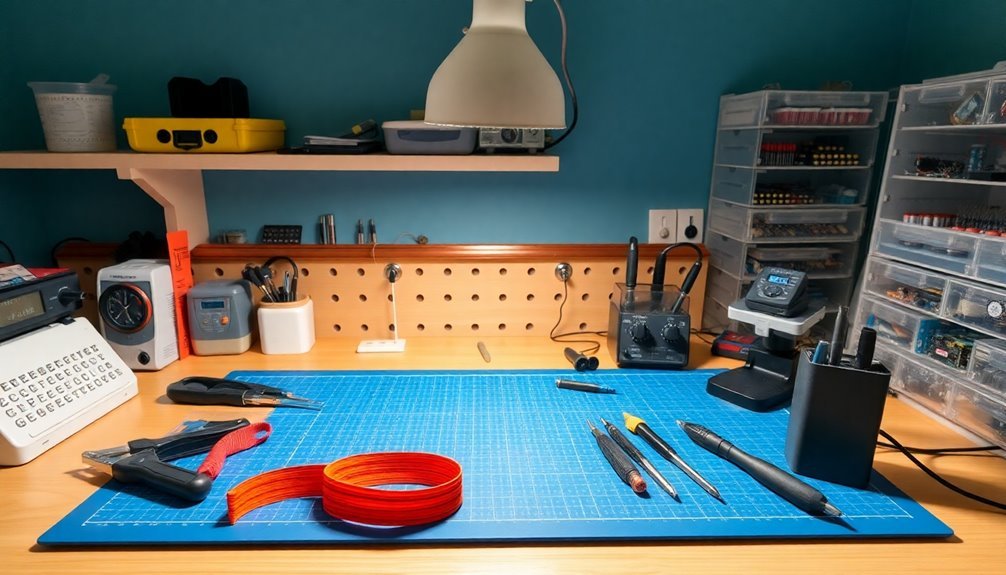
Now that you've gathered your ESD protection equipment, creating an organized and controlled workspace will maximize its effectiveness. Start by selecting a dedicated area for your repair station, ideally in a space where you can control environmental conditions like temperature and humidity.
Install anti-static mats on your workbench and floor, ensuring they're properly connected to your grounding system. Using proper cable management will help reduce static buildup and maintain an organized workspace.
Keep your humidity levels between 40-60% using humidifiers or dehumidifiers as needed. This range helps naturally dissipate static charges while preventing moisture-related issues.
Set up efficient storage solutions with anti-static bags and compartmentalized organizers for your components and tools. Label everything clearly to maintain organization and workflow efficiency.
Establish a clean, dust-free environment by regularly wiping down surfaces and maintaining good ventilation. Position an ionizer near your work area to neutralize airborne static charges.
Create designated zones for different activities: one for diagnostics, another for repairs, and a separate area for storing sensitive components. Don't forget to implement a clear labeling system for your tools and parts storage.
These measures will help you maintain consistent ESD protection while working efficiently.
Proper Grounding Techniques
Establishing a reliable ground connection serves as the cornerstone of ESD protection in electronics repair. You'll need to connect your anti-static wrist strap to a proper ground point, not just clip it to your workbench or computer case. The most effective method is using a grounding probe connected to the center screw of a properly wired electrical outlet or a dedicated grounding point. Effective static dissipation requires a resistance below 10 ohms.
| Grounding Method | Best For | Key Consideration |
|---|---|---|
| Wrist Straps | Personal Protection | Must maintain skin contact |
| ESD Mats | Work Surfaces | Connect to ground probe |
| Ground Probes | Direct Grounding | Test outlet first |
Don't rely on intermittent grounding – you'll need continuous protection throughout your repair work. Set up your station with both a grounding mat and wrist strap connected to the same ground point. In dry environments, you'll want to take extra precautions by maintaining proper humidity levels and using additional grounding measures. Test your ground connections regularly with a ground resistance meter to verify they're functioning correctly. Remember to inspect your grounding equipment for wear and tear, replacing any damaged components immediately to maintain proper ESD protection.
Selecting Quality Soldering Tools
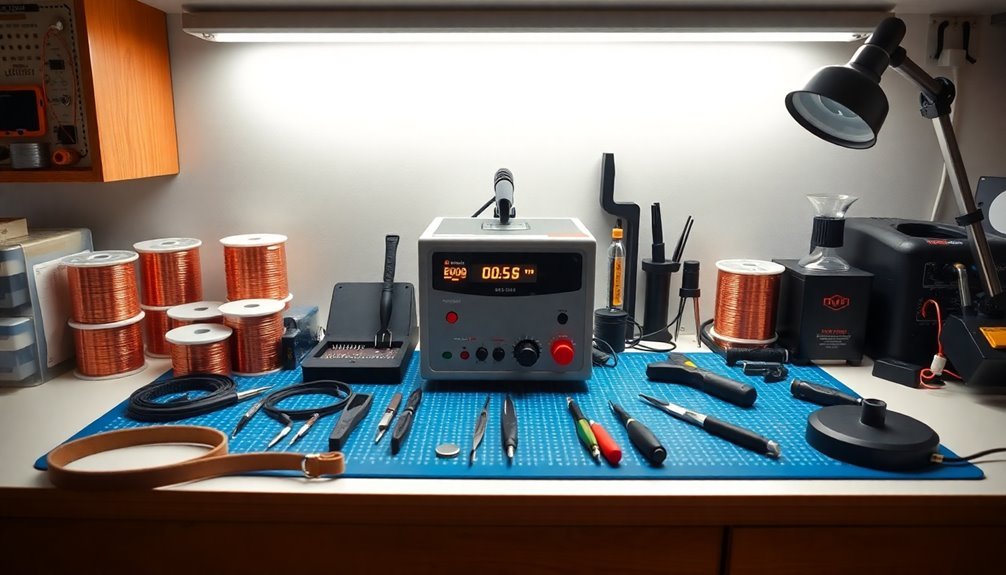
A well-grounded workspace sets the stage for your next important investment – quality soldering tools. When building your anti-static repair station, you'll need a reliable soldering iron with adjustable temperature controls and ergonomic features.
Professional-grade options like the Hakko FX-888D offer precise temperature settings and comfortable handling, while the Weller WE1010NA provides excellent value for serious technicians. For maximum efficiency and safety, the Weller WE1010NA includes password-protected settings to prevent unauthorized changes.
For your electronics repair station, consider these essential soldering tool characteristics:
- Temperature control capabilities with multiple presets (ranging from 392°F to 752°F) to handle various component types
- Ergonomic design features, including non-slip coating and flexible silicone cords to prevent accidental damage
- High-quality tips that match your specific repair needs, from fine-point surface mount work to standard through-hole components
- Proper maintenance accessories like tip cleaners and replacement parts
Don't skimp on quality when selecting your soldering equipment. Match your tool selection to your project complexity and frequency of use.
Remember to maintain your tools regularly by cleaning tips, replacing worn components, and inspecting the station for peak performance. This investment in quality tools will greatly impact your repair success rate.
Storage Solutions for Components
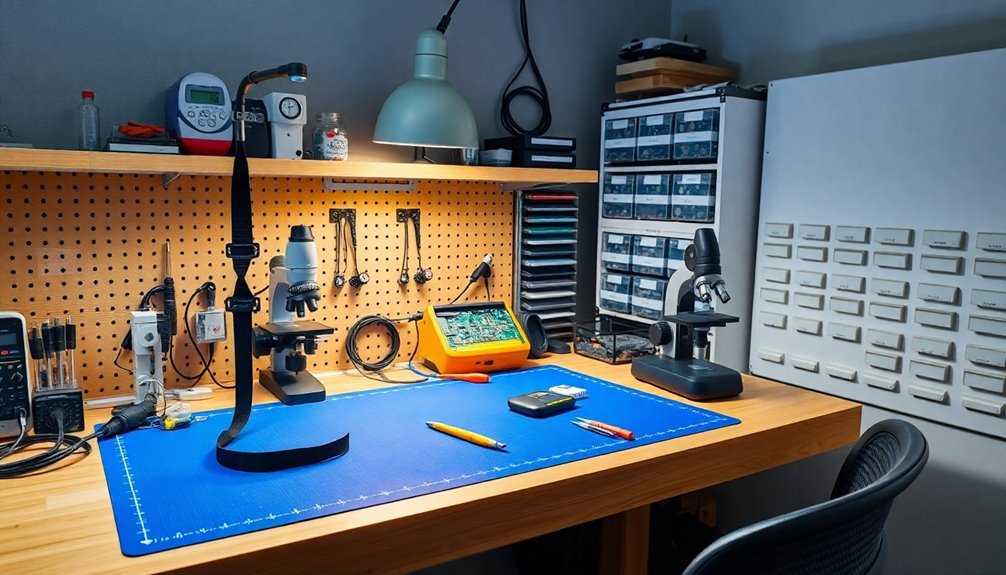
Proper storage solutions protect your valuable electronic components while keeping them organized and easily accessible. You'll need a combination of storage options including plastic cases with divisions, tote boxes, and anti-static containers to safely house different types of components.
For SMD parts, use zip-lock or ESD bags to prevent damage, while larger components can go in divided tote boxes.
Always store static-sensitive components like ICs and transistors in anti-static bags or specialized containers. Consider using glass-topped aluminum cases for extra protection of delicate SMD devices.
You'll want to implement a clear categorization system based on component type, size, and lifecycle to maintain order and prevent loss. Maintaining a stable temperature range of 20-25°C will ensure optimal longevity of your components.
For efficient retrieval, label everything clearly and consider implementing a barcode scanning system.
If you're managing a larger inventory, vertical lift modules (VLMs) can maximize your storage space while protecting components from dust and environmental factors.
Keep your storage area temperature-controlled to prevent damage from heat and humidity.
Remember to maintain a real-time inventory system, whether it's through custom software or a simple spreadsheet, to track your components effectively.
Daily Maintenance Requirements
You'll need to clean your anti-static mats daily with appropriate ESD-safe cleaners to remove dust and debris that can compromise their effectiveness.
Regular walk-off mats should be placed at entrances to minimize contaminants tracked into work areas.
Test your workstation's grounding points at the start of each day using an ohmmeter to verify proper electrical connections and safety standards are maintained.
Before beginning work, perform quick safety checks on your tools and equipment, looking for any signs of wear, damage, or loose connections that could pose risks during repairs.
Regular Mat Cleaning Protocol
Maintaining a clean ESD mat requires daily attention in high-use electronics repair environments. You'll need to establish a consistent cleaning routine using approved methods to preserve your mat's anti-static properties and guarantee workplace safety. The conductive materials inside help collect and discharge static electricity effectively.
Start with dry cleaning methods like sweeping or wiping with a lint-free cloth to remove surface debris, then follow up with specialized ESD mat cleaners for deeper cleaning.
- Remove all tools and components from your work surface before cleaning
- Spray ESD-safe cleaner evenly across the mat's surface
- Wipe thoroughly with a clean, lint-free cloth using straight, overlapping strokes
- Allow the mat to dry completely before resuming work
Don't use regular household cleaners, alcohol-based solutions, or abrasive tools, as these can damage your mat's conductive properties. Instead, stick to biodegradable, quick-drying ESD cleaners specifically designed for anti-static surfaces.
Remember to test your mat's effectiveness after each cleaning session and maintain a cleaning log for quality control purposes. Clean underneath the mat regularly to prevent debris buildup and potential slip hazards.
For lower-traffic workstations, you can adjust the cleaning frequency to weekly, but always monitor the mat's condition and clean as needed.
Test Grounding Daily
In the domain of electronics repair, daily grounding tests form a critical part of your workstation's safety protocol.
You'll need to verify your anti-static equipment's grounding integrity using specific tools like a multimeter, circuit tester, or body voltage meter to guarantee proper protection for your sensitive electronic components.
Start your daily testing routine by powering down your work area. Set your multimeter to its lowest resistance range and establish a baseline reading by touching the probes together.
Then, test your mat's ground connection by placing one probe on the mat's surface and the other at the grounding point. You're looking for a low resistance reading, which indicates proper grounding.
Don't forget to inspect your grounding wires and connections for signs of wear, corrosion, or damage.
Equipment Safety Checks
Daily equipment safety checks stand at the forefront of proper electronics repair station maintenance. You'll need to inspect your anti-static tools and equipment each day before starting work to confirm they're functioning correctly and providing adequate protection for sensitive electronic components.
Begin your day by conducting these essential safety checks:
- Examine your ESD wrist straps and mats for signs of wear, cuts, or damage that could compromise their effectiveness – pay special attention to connection points and grounding cords.
- Test all anti-static devices, including footwear and gloves, looking for deterioration or areas that might need replacement to maintain proper static discharge capability.
- Verify that all workstation equipment is properly grounded, including benches, tools, and storage containers – even a single ungrounded item can create risk.
- Check your ESD-safe containers and anti-static bags for tears or damage that could expose components to static discharge.
Document any issues you find during these inspections and address them immediately. Don't work with compromised equipment, as it puts your electronic components at risk.
Keep a maintenance log to track recurring issues and schedule preventive replacements of worn items.
Testing Your ESD Protection
Testing your ESD protection is a critical step in ensuring your electronics repair station remains safe and effective. You'll need to regularly verify that your ESD safeguards meet IEC 61000-4-2 standards using specialized testing equipment and procedures.
Start by checking your grounding systems with a continuous monitor to confirm proper electrical connections and discharge paths.
Set up your ESD testing equipment in a controlled environment, maintaining consistent temperature and humidity levels. You'll want to test your workstation's protection levels using both contact and air discharge methods at standard voltage levels (2 kV, 4 kV, 6 kV, and 8 kV).
Don't forget to evaluate all ESD-safe materials, including mats, shoes, and gloves, to verify they're functioning as intended.
Monitor your test results carefully and document any variations or failures. If you discover areas that don't meet protection standards, address them immediately.
Pay special attention to your ESD Protected Areas (EPA) where sensitive components are handled. Remember that regular testing isn't just about compliance – it's about preventing costly damage to electronic components and ensuring your repair work remains reliable and professional.
Workspace Layout Best Practices
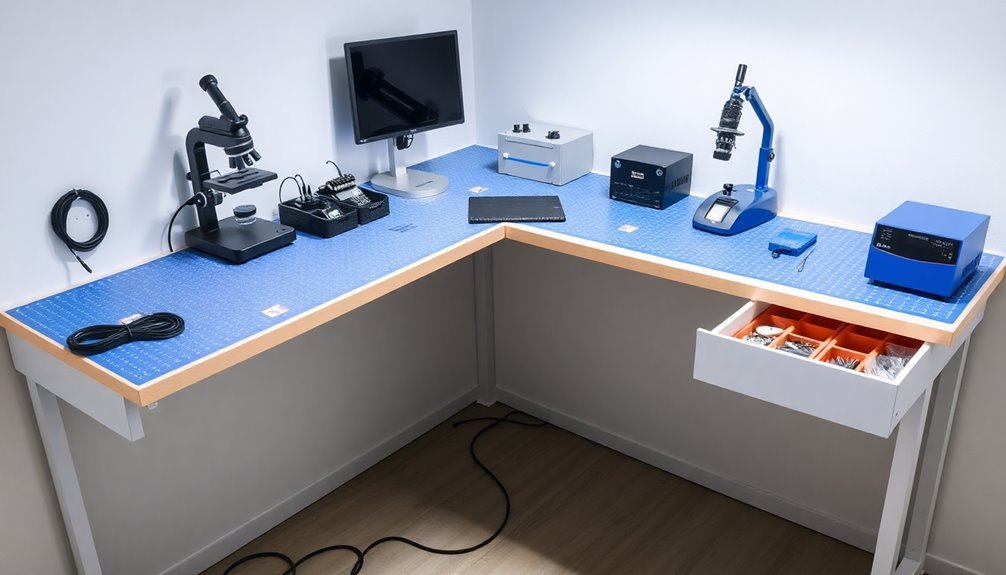
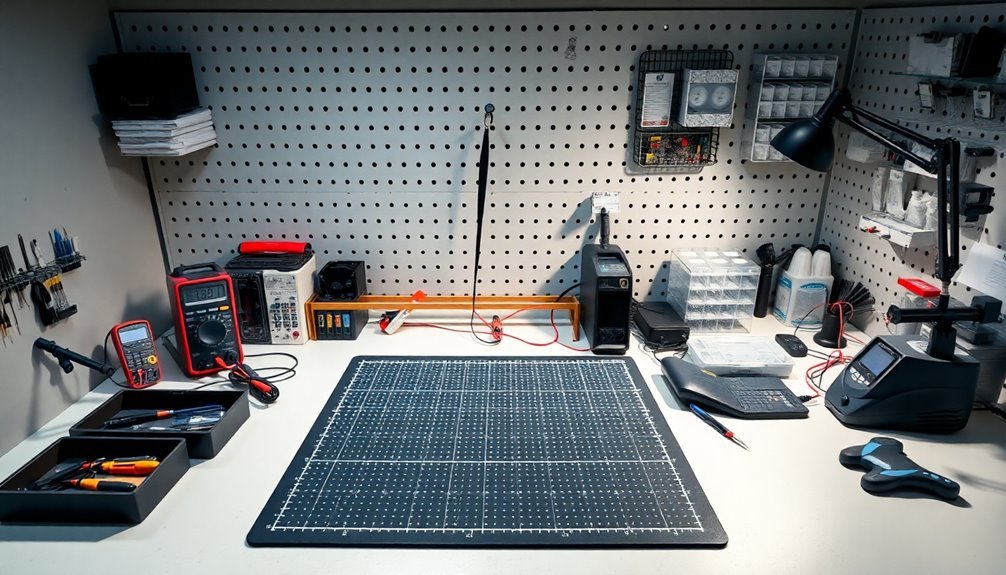
Having a well-tested ESD system means little without proper workspace organization. Your electronics repair station needs to be thoughtfully designed to maximize efficiency while maintaining strict ESD protection protocols.
Start by selecting a sturdy workbench made of non-conductive material, and guarantee it's height-adjustable for your comfort during long repair sessions.
- Position your anti-static mat centrally on the workbench, connecting it to a reliable earth ground with a coiled cable. Keep this area designated specifically for handling ESD-sensitive components.
- Mount a tool cabinet or chest within arm's reach, using drawer dividers and clear labels to organize your tools by category and frequency of use.
- Install wall-mounted hooks above your workbench for frequently used tools, making sure they're easily accessible without cluttering your work surface.
- Create distinct zones on your workbench for different tasks – separate areas for soldering, testing, and component storage to prevent cross-contamination and maintain order.
Remember to keep your workspace clean and well-ventilated, with safety equipment like fire extinguishers and first aid kits readily available.
Use storage containers with lids to protect components and tools from dust when they're not in use.
Emergency Safety Protocols
You'll need to know exactly where to find your emergency equipment, including fire extinguishers and first aid kits, which should be clearly marked and easily accessible within your anti-static repair station.
Your workspace must have well-defined evacuation routes with clear signage pointing to emergency exits, and you should regularly practice evacuation drills to maintain readiness.
When facing electrical hazards, you'll need to follow your workplace's established response procedures, including immediate power shutoff protocols and proper use of intrinsically safe equipment for damage assessment.
Emergency Equipment Locations
Strategic placement of emergency equipment at our anti-static repair stations guarantees rapid response during critical situations.
You'll want to position emergency equipment in easily accessible locations within your 12,000 to 17,000 square foot facility, similar to professional service centers' layouts.
Confirm your safety stations are well-marked and maintain clear pathways to them, following the example of certified repair facilities that prioritize rapid emergency response.
- Position your primary emergency response station near the main repair area, equipped with diagnostic tools and safety documentation, keeping it within 15-20 feet of technician workstations.
- Install emergency phone lines with 24/7 support capabilities at each major workstation cluster, providing immediate access to assistance.
- Place mobile emergency response kits at strategic intervals throughout your facility, similar to how professional service centers maintain their rapid response equipment.
- Set up a central documentation station where you'll store both electronic and written safety records, inspection reports, and compliance documents.
Remember to maintain clear signage indicating emergency equipment locations and keep all pathways unobstructed, just as certified repair facilities do to confirm quick access during critical situations.
Evacuation Procedures
Beyond equipment placement, robust evacuation procedures form the backbone of your repair station's safety system. You'll need to respond immediately when hearing emergency alarms and follow the two-stage evacuation protocol. During Stage One, prepare to evacuate while listening to public address system announcements. When Stage Two activates, exit the building immediately using designated routes.
Establish clear paths to your assembly point and never use elevators during an evacuation. Keep emergency numbers readily visible, and confirm you've identified the nearest fire wardens who'll guide you during emergencies. Before starting any repair work, disconnect power sources and remove batteries to prevent electrical hazards.
| Safety Action | Primary Response | Backup Plan |
|---|---|---|
| Alarm Sounds | Listen for stage | Exit immediately |
| Power Issues | Cut main power | Call supervisor |
| Fire Emergency | Use fire exit | Contact 911 |
| Injury Event | First aid kit | Emergency services |
Remember to maintain grounded circuits and never modify three-prong power cords. Label all electrical controls clearly and regularly check wire conditions. Keep your repair station organized so evacuation routes remain clear, and confirm you've posted emergency contact information where it's easily visible during a crisis.
Electrical Hazard Response
When electrical emergencies strike, immediate and precise response can mean the difference between life and death. You'll need to establish clear protocols and maintain proper emergency equipment at your repair station to guarantee everyone's safety during an electrical incident.
- Keep a Class C fire extinguisher within arm's reach of your workstation, and make sure it's clearly visible and routinely inspected.
- Mount an emergency power shutoff switch that's easily accessible and clearly labeled, allowing for quick power termination in case of emergency.
- Store insulated tools and voltage testers in a designated emergency response kit, along with PPE including rubber gloves and safety goggles.
- Post step-by-step emergency response instructions near your workstation, including local emergency numbers and CPR guidelines.
Always guarantee you're trained in proper emergency response procedures before working with electronics.
You'll need to know how to safely disconnect power, move affected individuals using non-conductive tools, and administer first aid if necessary.
Keep your emergency protocols updated and regularly practice response scenarios with your team to maintain readiness.
Document all incidents and near-misses to improve safety measures continuously.
Frequently Asked Questions
How Long Does an Anti-Static Mat Typically Last Before Needing Replacement?
You'll need to replace your anti-static mat every 1-2 years with regular use. However, if you notice physical damage, reduced performance, or failed resistance tests, you should replace it sooner.
Can Humidity Levels Affect the Effectiveness of ESD Protection Measures?
Yes, humidity substantially impacts your ESD protection. You'll notice reduced effectiveness in low humidity, as static charges build up more easily. For best protection, you'll want to maintain 30-70% relative humidity levels.
Are Wireless Anti-Static Wrist Straps as Effective as Wired Ones?
You shouldn't rely on wireless anti-static wrist straps, as they're less effective than wired ones. Traditional wired straps provide direct grounding and faster static dissipation, making them your safest choice for ESD protection.
Should Anti-Static Equipment Be Used When Working With Low-Voltage Arduino Projects?
Yes, you should use anti-static equipment with Arduino projects. Even low-voltage components are sensitive to ESD damage. While they won't instantly fail, static can cause hidden damage that'll affect your project's reliability later.
Can Regular Carpet Be Safely Used Under an Anti-Static Workstation?
No, you shouldn't use regular carpet under your anti-static workstation. It can generate dangerous static charges up to 3500 volts. Instead, you'll need proper ESD flooring or static-dissipative mats for safe electronics work.
In Summary
You'll now have a complete anti-static electronics repair station that protects both you and your sensitive components. Remember to test your ESD protection regularly, maintain your equipment, and follow proper grounding procedures every time you work. Don't skip safety protocols, even for quick repairs. With your well-organized workspace and proper anti-static measures, you're ready to tackle electronics repairs safely and professionally.


Leave a Reply