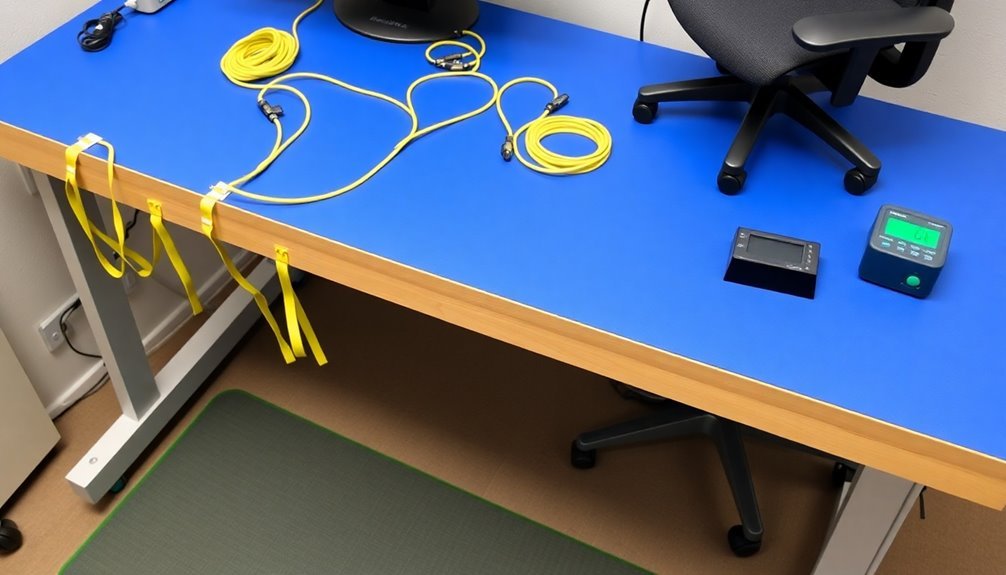
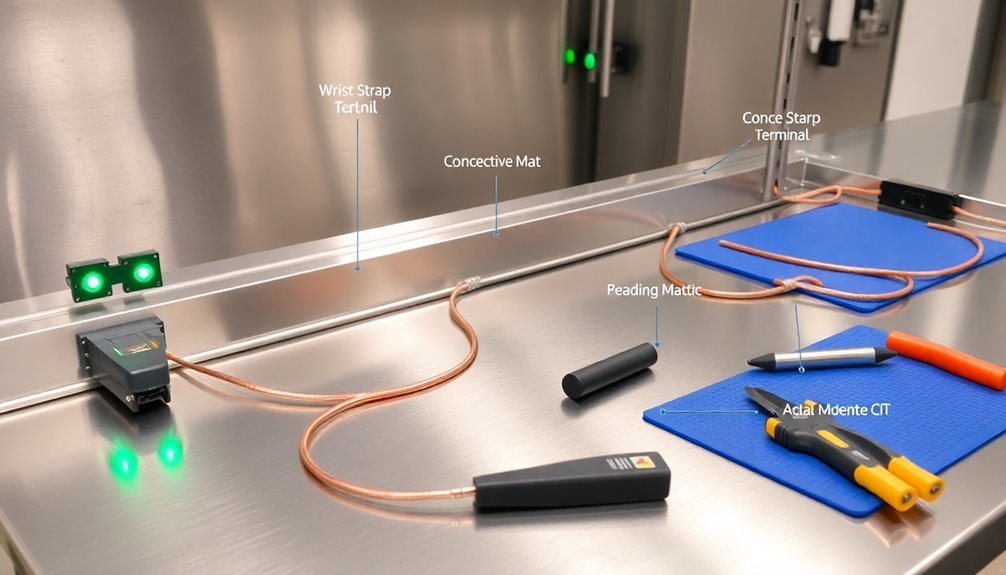
To properly ground your ESD workbench, you'll need a thorough system that includes a static-dissipative work surface mat, common point ground unit, and personnel grounding equipment. Connect your work surface mat to a designated ground point using secure metallic connectors, verifying that resistance falls between 1 × 10^4 and 1 × 10^9 ohms. Install conductive floor mats and use wrist straps or foot grounders to maintain continuous grounding while working. Test your setup regularly with an ESD meter to verify resistance levels and compliance with standards like IEC 61340-5-1. Understanding the complete requirements for your specific workspace will help guarantee maximal protection for sensitive electronic components.
Essential Grounding Components
A properly grounded ESD workbench relies on four key components working together. You'll need to establish a common point ground as your foundation, which connects to the equipment grounding conductor (green wire) in your electrical system. This serves as the central connection point for all your grounding elements. Controlled dissipation through 1-10 megohm resistance helps prevent sudden discharge events.
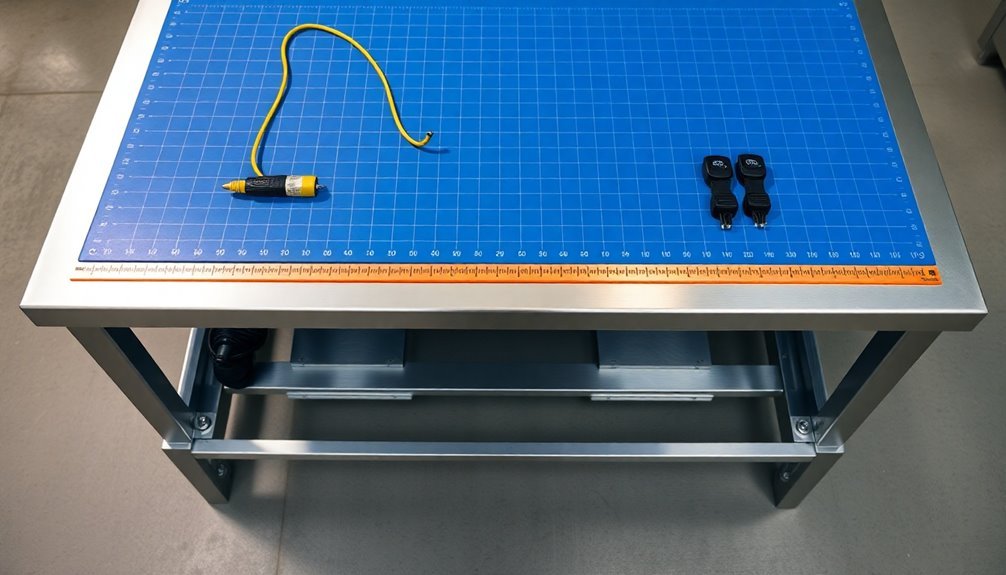
Next, you'll require personnel grounding equipment, including wrist straps with secure connecting devices like metallic crimps or banana plugs. Your wrist strap system must connect to the same electrical ground point as your workstation, and you can monitor its effectiveness using electronic continuous monitoring devices.
For mobile operators, you'll need floor matting and foot grounders. Install dissipative floor mats and connect them to ground using appropriate grounding cords or copper foil. Remember to use heel grounders on both feet to maintain consistent grounding while moving.
Finally, you must ground all workbench equipment to the same electrical ground point. This includes installing earth bonding points for connecting grounding cords and setting up ionizers to neutralize static on non-conductive materials that can't be directly grounded.
Regular evaluation of these connections confirms your grounding system remains effective.
Work Surface Mat Requirements
You'll need to test your ESD mat's resistance regularly to verify it meets the standards of 1 × 10^4 Ω minimum point-to-point resistance and less than 1 × 10^9 ohms resistance to ground.
To properly ground your work surface mat, connect it using a ground cord with secure metallic crimps or snaps to a designated common ground point.
Multi-layer mats with continuous monitoring capabilities are your best choice for maintaining consistent ESD protection across the work surface. Quality mats provide heat and chemical resistance for enhanced durability and protection.
Mat Resistance Testing Specifications
Proper ESD mat resistance testing guarantees your workbench meets critical safety standards for protecting sensitive electronic components.
You'll need to perform two essential measurements: resistance top-to-top (RTT) and resistance-to-groundable point (RTG) using an ESD meter kit.
To confirm your mat's effectiveness, verify its surface resistance falls below 10^9 ohms/square for dissipative properties. Your mat should measure between 1 x 10^5 and 1 x 10^11 ohms/square for dissipative protection, or less than 1 x 10^5 ohms/square if you need conductive properties. Two-layer and three-layer mats often provide optimal ESD control through their specialized composition.
Don't use materials measuring above 1 x 10^12 ohms/square, as they're considered insulative and won't provide ESD protection.
For charged device model (CDM) protection, maintain a minimum point-to-point resistance of 1 × 10^4 Ω.
When testing, always measure the top surface of the mat that'll be in contact with your components. Follow ANSI/ESD S4.1 guidelines for accurate measurements, and document your results to verify ongoing compliance.
Remember that proper resistance ranges have been extensively tested in manufacturing environments, so staying within these specifications verifies reliable ESD protection.
Proper Mat Grounding Methods
Three critical components establish reliable ESD mat grounding: a quality grounding cord, secure connection fittings, and a common point ground system. You'll need to use firm metallic fittings like crimps, snaps, or banana plugs for your connections – avoid alligator clips as they're unreliable. Connect your work surface mat directly to Ground using appropriate cords and guarantee all conductive objects share the same ground point. The resistance of your work surface should measure less than 1E9 ohms. When installing your mat, lay it flat with studs facing up and connect the grounding cord securely. You'll need to cover your entire bench-top with ESD matting for complete protection. If you're using floor mats, connect them using proper grounding cords and wear foot grounders on both feet. Remember to regularly inspect all connections to maintain an effective grounding system that meets standards like IEC 61340-5-1.
| Component | Requirement | Purpose |
|---|---|---|
| Grounding Cord | Properly rated cord with secure ends | Creates path to Ground |
| Connection Points | Metallic snaps or banana plugs | Guarantees reliable contact |
| Common Ground | Earth Bonding Point (EBP) | Equalizes all potentials |
| Monitoring System | Continuous or constant verification | Maintains compliance
Common Point Grounding System
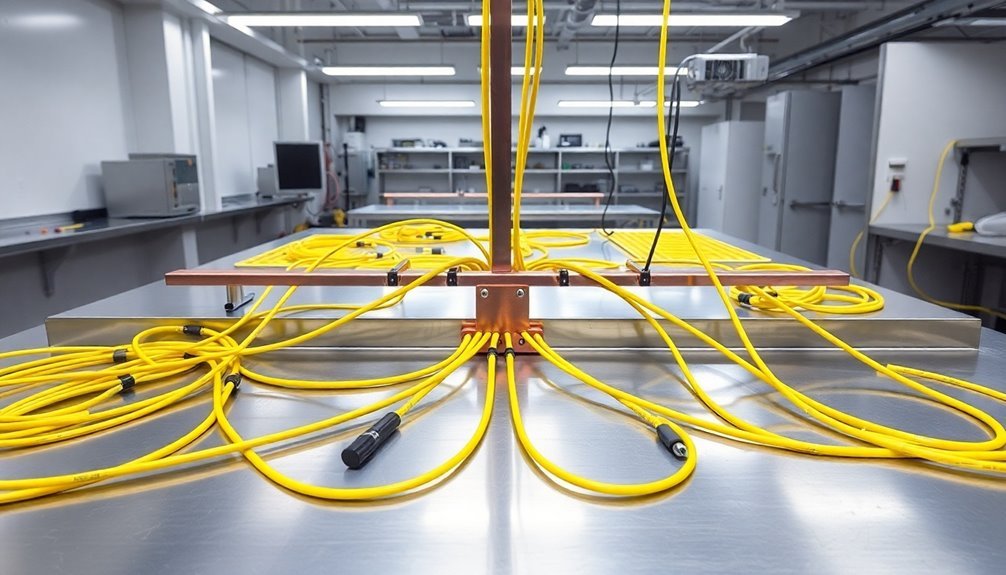
A thorough common point grounding system forms the backbone of any effective ESD workbench setup. You'll need to connect all conductors to a single known ground point, ensuring every component maintains the same electrostatic potential. This includes your work surfaces, equipment, and handling fixtures.
To create this system, you'll want to use specialized equipment like the 13580 Multi Grounding Hub, which offers six banana jacks and six ring terminal connections.
Connect your ground wire directly to the nearest utility "green wire" ground point, typically found at the center screw of a standard 110VAC outlet. Daily testing protocol is essential for maintaining system reliability. You can verify this connection using an ohmmeter before proceeding.
Your common point ground setup should include essential components like the 13570/13575 quad common point ground unit and appropriate ground cords. Don't forget to incorporate wrist strap ground connectors and, if needed, 1 megohm resistors to control discharge events.
When you're setting up your workstation, you'll need to connect all ESD protective surfaces, which should have a resistance to ground between 1.0 x 10^6 and 1.0 x 10^9 ohms.
Remember to test your grounding system regularly to maintain its effectiveness.
Personnel Grounding Equipment
Protecting sensitive electronic components requires reliable personnel grounding equipment at your ESD workbench. You'll need to choose between wrist strap systems for seated work and heel grounding systems for mobile operations, depending on your specific work requirements.
For seated operators, you'll want to install a wrist strap grounding system underneath your bench top. These systems use adjustable wristbands connected to ground through coiled cords, available in 5' or 10' lengths. Proper grounding can be enhanced by using ESD workstation covers that create a protective shield against electrostatic discharges.
Make sure you're using firm-fitting connectors like metallic crimps, snaps, or banana plugs for secure ground connections.
If you're working in a standing or mobile position, you'll need heel grounding systems combined with conductive or dissipative flooring. Choose from options like cup-style grounders, elastic straps, or 3-layer rubber designs. Full coverage grounders are recommended over heel-only versions for better effectiveness.
Don't forget to include essential grounding accessories in your setup. You'll need grounding blocks for multiple wrist strap connections, dual phone jacks for visiting workers, and appropriate ground cords.
Regular testing of all grounding equipment guarantees continuous protection and compliance with safety standards.
Floor Mat Installation Guidelines
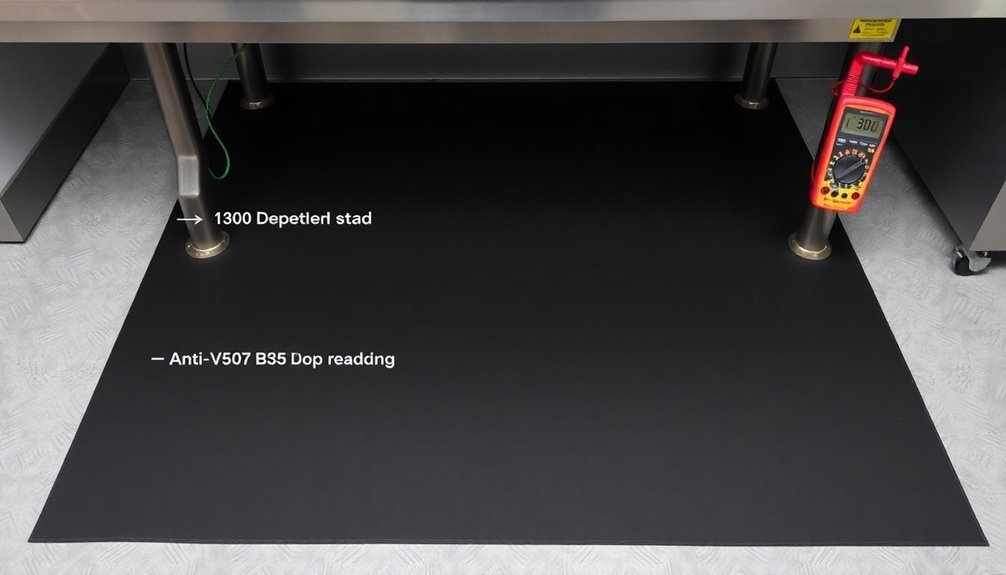
Proper floor mat installation begins with essential pre-installation steps that guarantee maximum ESD protection. You'll need to acclimate your mat to room temperature for at least 8 hours and lay it flat to remove any rolling effects. Using conductive adhesive material provides crucial bonding while maintaining proper grounding characteristics.
Before installation, select your common point grounding system and identify your mat type to choose the appropriate grounding snap kit.
When installing the grounding snap, you'll need to punch a hole in the mat using a Philips screwdriver or awl. Select the right snap type – whether screw-on, push & clinch, or rivet style – and assemble it according to manufacturer specifications. Make sure you've secured the snap assembly tightly to prevent disconnection.
Connect your ground cord to the installed snap and route it to your common ground point using a ring terminal. You'll want to manage the cord carefully to avoid creating trip hazards.
Place your mat flat on the floor with the grounding snap facing up, and don't forget to test the resistance between the snap and ground point.
For larger installations over 1000 square feet, you'll need to install copper grounding straps and consider additional grounding points for enhanced protection.
Resistance Testing and Specifications
Regular resistance testing forms the backbone of a reliable ESD protection system, requiring three essential measurements: Resistance to Ground (RTG), Resistance to Groundable Point (RTGP), and Resistance Point to Point (RTT).
To perform RTG measurements, you'll need to connect a 5 lb electrode to your resistance meter's positive terminal and the negative lead to electrical ground. Heavily used areas should be prioritized when placing electrodes for the most accurate readings.
Start testing at 10 volts, switching to 100 volts if resistance exceeds 1.0 x 10^6 ohms. You'll want to use a grounding plug like the AD22 for reliable AC Ground connection.
For RTGP testing, attach the negative lead to the work surface's grounding point instead of AC Ground. This helps you verify the connection between the surface and its grounding snap.
If you get high readings, there's likely an issue between the snap and AC Ground.
RTT measurements require two 5 lb electrodes placed 10" apart on your work surface. This test confirms the material's performance using 100 volts when resistance exceeds 1.0 x 10^6 ohms.
It's particularly useful for identifying problems that RTG or RTGP tests might miss.
Auxiliary Ground Connections
You'll want to locate secondary ground points strategically throughout your ESD workbench setup, typically near metal structures and water pipes that can serve as auxiliary grounds.
When establishing multi-branch grounding networks, connect your auxiliary grounds to the main equipment ground using low-resistance metal wires or straps to guarantee proper bonding.
To create reliable bonds between ground points, you should use mechanical fasteners or soldered connections while avoiding daisy-chain configurations that could lead to inconsistent grounding potentials.
Secondary Ground Point Locations
In addition to primary grounding points, auxiliary ground connections serve as supplementary anchors in an ESD-protected workspace. You'll need to bond these secondary points to your equipment ground to maintain consistent electrical potential throughout your workstation. This bonding is essential as it prevents potential differences that could damage your ESDS items.
When you're installing secondary ground points, you must use low-resistance connectors, typically metal wire, and verify they're properly soldered or mechanically attached. Your connections should maintain less than 1.0 ohm AC impedance.
You can utilize various auxiliary grounds, including water pipes, building frames, and ground stakes, but they must all connect to your equipment ground.
You'll want to follow the equipment ground as your preferred connection method since it effectively links all electrical equipment to the same ground potential. To guarantee compliance, you must adhere to ANSI/ESD S6.1, S20.20, and the ESD Handbook TR20.20 standards. These guidelines aren't just recommendations – they're essential requirements for maintaining a reliable ESD control system.
Multi-Branch Grounding Networks
Building on the foundation of secondary ground points, multi-branch grounding networks expand your ESD protection system through interconnected grounding elements. You'll need to integrate multiple components, including ground rods, mesh networks, and ground plates, while maintaining impedance levels below 1 ohm for superior performance.
When implementing auxiliary ground connections, you must bond them to your AC equipment ground, keeping resistance between these points under 25 ohms. Your system should follow ANSI/ESD S20.20 standards and incorporate proper grounding topology through dedicated earth pits or plant grid connections.
| Grounding Type | Resistance Limit | Primary Purpose |
|---|---|---|
| AC Equipment | <1 ohm | Main facility protection |
| Auxiliary | <25 ohms | Supplemental safety |
| Local Isolated | System-specific | Equipment protection |
| Common Ground | <1 ohm | System integration |
You'll need to establish a layered grounding approach using isolated local grounds, control system grounds, and dedicated plant earth grounds. Connect your ground bus bars to earth pits using green cables with yellow marks for proper identification. Remember to verify all connections using the three-probe measurement method to guarantee your multi-branch network maintains consistent electrical potentials throughout the system.
Bonding Methods For Grounding
Proper bonding through auxiliary ground connections forms the backbone of effective ESD protection at your workbench. You'll need to verify that all auxiliary grounds, like water pipes, building frames, and ground stakes, connect directly to your equipment grounding conductor. This connection creates a unified electrical potential that's essential for preventing ESD damage.
When you're setting up your bonding connections, remember these critical requirements:
- Use metal wire with appropriate soldering or mechanical attachments
- Keep resistance between AC and auxiliary ground below 25 ohms
- Avoid temporary solutions like alligator clips, which aren't reliable
You'll want to follow ANSI/ESD S6.1 standards for your grounding setup. Make sure you're using low-resistance connectors and materials throughout your system.
Don't forget to regularly test and inspect your bonds – they're critical for maintaining workplace safety and protecting your sensitive components.
The equipment ground serves as your primary connection point, and you'll need to verify that all auxiliary grounds are properly bonded to it. Regular resistance measurements between grounds will help you catch potential issues before they compromise your ESD protection system.
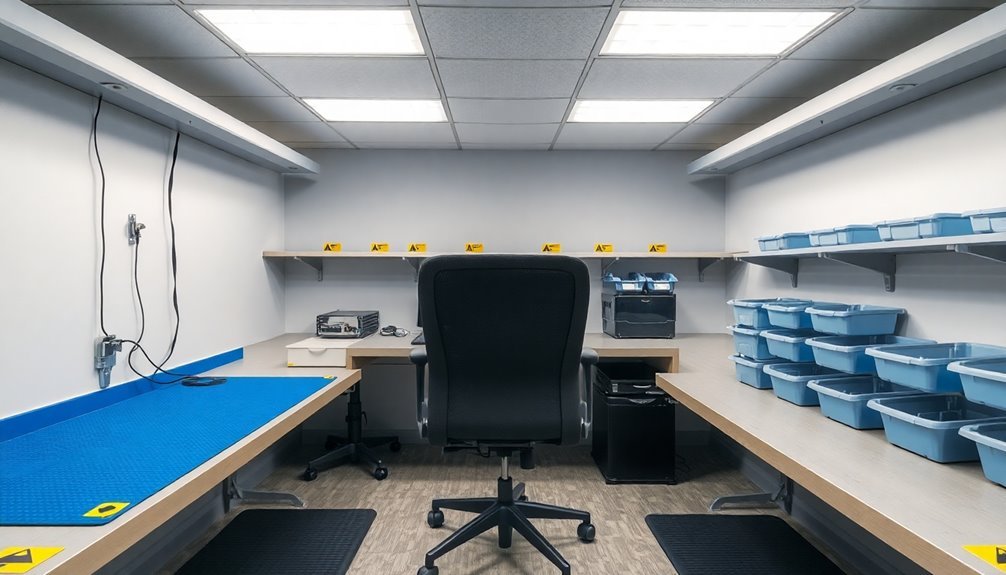
ESD Protected Area Setup
An effective ESD Protected Area (EPA) requires careful planning and precise implementation of multiple safety components. You'll need to start by creating a controlled environment with proper humidity and temperature levels to minimize static buildup risks.
Install conductive or static-dissipative flooring throughout your EPA and guarantee all surfaces are connected to a common ground point.
Your workspace must include essential protective equipment like ESD-safe wrist straps, clothing, and shoes. Set up your worksurface with a static-dissipative mat connected to ground using appropriate grounding cords and firm-fitting connectors. Don't use alligator clips for these connections, as they're unreliable for proper grounding.
Install clear signage to mark EPA boundaries and implement strict access control measures to prevent unauthorized entry.
You'll need to establish proper storage protocols using ESD-safe containers for sensitive electronics. Connect your floor mats to ground using dedicated grounding cords and verify all grounding connections regularly.
Remember to integrate these components into a thorough grounding system that maintains continuous protection. Each element of your EPA setup must work together to create a complete static-safe environment for handling sensitive electronic components.
Workstation Layout Best Practices
The strategic layout of your ESD workstation directly impacts both safety and efficiency. You'll need to arrange your workspace with both ergonomics and ESD protection in mind, using conductive or dissipative materials for maximum safety.
Start by covering your metal or wooden workbench with a properly grounded, pliable ESD mat that extends across the entire surface.
Your workstation should incorporate these critical elements:
- A static-dissipative work surface with resistance to ground between 1.0 x 10^6 and 1.0 x 10^9 ohms
- A common point ground system connecting all components, including personnel and equipment
- Multiple ground points with metal hardware snaps and cords for reliable connectivity
Don't forget to think about mobility and comfort in your setup. If you're working in a standing or mobile position, you'll want conductive floor mats and foot grounders.
For seated work, use ESD-safe chairs with hard floor casters. Additionally, install ionizers to neutralize any process-essential insulators in your workspace.
Remember to avoid high-charging insulative plastics anywhere in your workstation layout, as they can compromise your ESD protection measures.
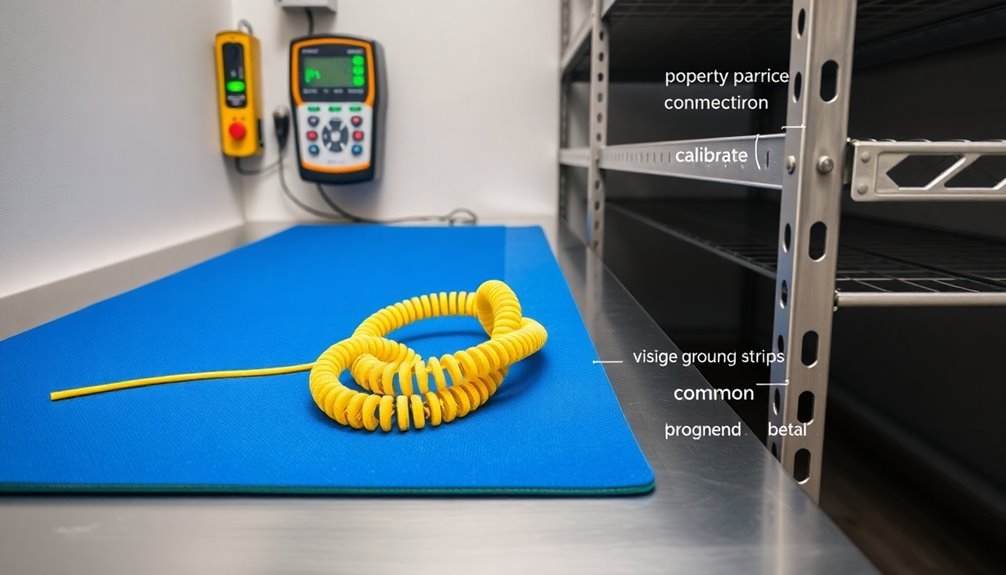
Maintenance and Testing Procedures
You'll need to perform regular resistance value testing using calibrated equipment to verify your ESD workbench maintains proper grounding specifications.
Check your testing equipment monthly for accuracy, and document all readings in a maintenance log to track any concerning trends.
Conduct thorough visual inspections of all grounding components, including cables, straps, and connection points, replacing any worn or damaged items immediately.
Regular Resistance Value Testing
Regular testing of resistance values forms three critical measurements for maintaining ESD workbench safety: Resistance to Ground (RTG), Resistance to Groundable Point (RTGP), and Resistance Point-to-Point (RTT).
Begin your testing at 10 volts, but switch to 100 volts if measurements exceed 1.0 x 10^6 ohms.
For RTG testing, you'll need to connect the negative lead to electrical ground using a grounding plug, while RTGP testing requires connecting to the work surface's snap.
RTT measurements use two 5 lb electrodes placed 10 inches apart on the work surface.
Key testing requirements include:
- Verify proper outlet wiring before using grounding plugs for RTG measurements
- Check all connections between the work surface and AC equipment ground when RTGP exceeds limits
- Replace the work surface if RTT measurements fall outside acceptable ranges
If you're testing a material known to have resistance greater than 1.0 x 10^6 ohms, you can start directly at 100 volts for efficiency.
Remember to re-test after cleaning and checking wiring connections if measurements exceed limits.
Even with constant monitoring in place, regular testing remains essential for maintaining ESD protection.
Equipment Inspection Protocol
Maintaining a proper ESD workbench requires systematic equipment inspection through four key areas: grounding systems, workbench surfaces, electrical connections, and environmental controls.
Start by examining your grounding cables and connections for wear or damage, replacing any compromised components immediately. You'll need to test grounding points using an ESD tester to confirm they're within acceptable protection ranges.
When inspecting your workbench surface, use anti-static cleaners and microfiber cloths, being careful to avoid excess moisture that could damage the surface.
For electrical system verification, you'll want to use an AC outlet analyzer to check outlet wiring integrity. Make sure all ground connections employ secure metallic crimps and verify that ground cords with 1 Megohm resistors are functioning correctly. Don't forget to check for signs of wear on all grounding components.
Environmental control inspection is equally vital. You'll need to monitor humidity levels regularly, using humidifiers when necessary to prevent static buildup.
Keep your work area clean and well-organized, ensuring proper ventilation. Regular cleaning should include under-bench areas and surrounding spaces to maintain effective ESD protection.
Safety Standards and Compliance
While setting up an ESD workbench requires careful attention to detail, following established safety standards and compliance requirements is essential for both personnel protection and equipment reliability. You'll need to guarantee your setup meets ANSI/ESD S6.1 and IEC 61340-5 standards, with particular focus on proper grounding connections and safety measures.
You must implement Ground Fault Circuit Interrupters (GFCI) and current-limiting resistors in wrist strap ground cords to protect personnel from electrical hazards.
Your workstation needs a common point ground where all components connect to maintain the same electrical potential.
You'll need to conduct regular compliance verification tests and maintain detailed records of all test results.
To meet EN 61340-5-1 requirements, guarantee all conductors and personnel are properly connected to a known ground. Don't forget that your ESD control program shouldn't override basic safety requirements.
You'll need to verify proper wiring configurations and ground impedance regularly. Install ESD air ionizers where you can't ground insulators, and maintain a consistent testing schedule for all grounding equipment.
Remember to document all maintenance activities and test results to demonstrate ongoing compliance with safety standards.
Troubleshooting Common Grounding Issues
Most ESD workbench grounding issues can be traced to five common problems: inadequate grounding connections, incorrect grounding points, discontinuous paths, improper tool placement, and poor maintenance practices. You'll need to identify these issues quickly to prevent damage to sensitive electronics and maintain a safe working environment.
Start your troubleshooting by using ground monitors and ESD testers to check the integrity of your grounding system. Pay special attention to auxiliary grounds, confirming they're properly bonded to the equipment grounding conductor.
Don't forget to inspect all connecting points visually for loose or damaged wires.
You should test individual components systematically, including wrist straps, floor mats, and tool grounds. Watch out for common mistakes like placing tools on non-ESD surfaces or using grounding cords incorrectly.
Environmental factors like humidity can affect your grounding effectiveness, so monitor these conditions regularly.
To prevent future issues, implement standardized grounding methods across your facility and maintain a regular testing schedule. You'll want to verify all staff receives proper ESD training and understands the importance of consistent grounding practices.
Consider installing continuous monitoring systems for early detection of potential problems.
Frequently Asked Questions
Can Multiple Workbenches Share the Same Earth Bonding Point?
You can share earth bonding points between multiple workbenches, but it's not recommended. Instead, you'll want to connect each workbench directly to the main earth bar for maximum safety and performance.
How Often Should Wrist Straps and Grounding Cords Be Replaced?
You'll need to replace your wrist straps based on wear and testing, not a fixed schedule. Test your grounding cords every six months, and replace them when they show damage or fail verification tests.
What Humidity Levels Are Optimal for an Esd-Protected Workstation?
You'll want to maintain humidity between 30-60% RH, with an ideal target of 40-50%. Keep the dew point between 42-59°F. This range helps prevent static buildup while avoiding moisture-related issues.
Does Painting Walls Near ESD Workbenches Affect Static Control?
Based on available ESD standards and guidelines, you won't find direct evidence that wall painting affects static control. Focus instead on proven measures like proper grounding, ESD-safe materials, and maintaining appropriate humidity levels.
Can Mobile Phones Be Used Safely at an ESD Workstation?
You shouldn't use mobile phones at an ESD workstation as they can generate static electricity and risk damaging sensitive components. If you must, make certain you're properly grounded and following all ESD safety protocols.
In Summary
You'll need to regularly verify your ESD workbench grounding setup to maintain a safe working environment. Test all grounding components monthly, replace worn mats and wrist straps as needed, and keep accurate maintenance logs. Remember, proper ESD protection isn't a one-time setup – it's an ongoing commitment. By following these guidelines and standards, you're protecting both your equipment and work quality.


Leave a Reply