To replace an anti-static wrist strap cord, first inspect your workspace and gather the necessary tools, including a new 6-foot grounding cord and wire cutters. You'll need to disconnect the old cord from both the wrist strap and ground point, making sure you're not working on static-sensitive equipment during the process. Connect the new cord to your wrist strap using the snap connector, then attach the ground end to a proper grounding point like an electrical outlet. Test the connection with an ESD meter to verify proper resistance levels between 10^5 to 10^8 ohms. Following the right safety steps will guarantee ideal protection for your sensitive electronics.
Understanding Anti-Static Wrist Strap Components
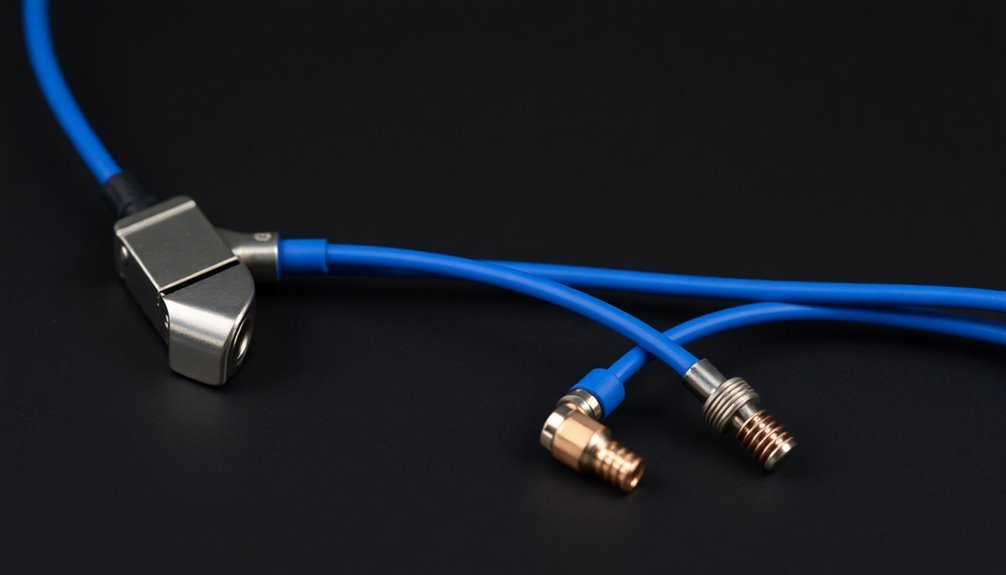
An anti-static wrist strap is a critical piece of safety equipment that consists of three main components: a conductive wrist band, a coil cord, and a grounding clip.
The wrist band features multiple layers, including conductive fibers made of carbon or carbon-filled rubber that are woven into the fabric. You'll find an inner layer of elastic band that's interwoven with anti-static yarns, while the outer layers use ordinary yarns for comfort. The high elasticity PVC coil cords are designed to withstand over 30,000 uses without breaking. Many models feature anti-allergenic fabric materials to prevent skin irritation during extended use.
The wrist strap's grounding mechanism works by safely channeling your body's static conductance to Earth through the band and grounding wire. When you're working with ESD-sensitive components, you'll need to connect the strap to a grounding source, which can be done directly or indirectly.
The grounding socket can accommodate two wrist straps, making it possible for multiple users to work simultaneously.
You'll find these straps available in different variations, including various cord lengths like 1.8m and 2.4m. They comply with ANSI/ESD S20.20-2014 standards and typically provide resistance ranging from 10^5 to 10^8 ohms, incorporating a 1 megohm resistor for protection against high-voltage charges.
Signs of Cord Wear
You'll know it's time to replace your anti-static wrist strap cord when you spot physical damage like cracks, fraying, or exposed wires during visual inspection.
Regular resistance testing of your cord can reveal increasing ohm readings or intermittent connectivity, which are clear indicators of wear. Testing frequently shows resistance readings above 35 megohms indicate cord failure.
Regular resistance testing of your cord can reveal increasing ohm readings or intermittent connectivity, which are clear indicators of wear.
These signs, along with discoloration or heat damage, mean your cord is no longer providing reliable ESD protection and needs immediate replacement. Following proper replacement guidelines helps maintain employee ESD compliance and demonstrates management's commitment to safety procedures.
Physical Damage Indicators
Regularly inspecting your anti-static wrist strap cord for physical damage helps prevent ESD accidents and guarantees reliable equipment protection. You'll need to look for several key indicators that signal it's time for a replacement.
During visual inspection, check for frayed or split insulation, visible stretching, and cracks in the outer casing. If you notice any discoloration or signs of overheating, replace the cord immediately. Don't overlook the banana jack and stud snap, as damage to these components can compromise your protection. Testing consistently verifies that cords maintain 1 megohm safety resistors for proper shock protection.
Watch for performance issues like intermittent connections or inconsistent grounding. If you're getting static discharges despite proper use or experiencing increased resistance readings during testing, your cord likely needs replacement. Daily testing records can help track declining performance over time.
Pay attention to mechanical issues as well. Look for kinking or pinching in the coil cord, and make sure it retracts properly. Check for loose or corroded connections and excessive wear on the insulation.
You'll also want to evaluate your maintenance practices – improper storage, overstretching, or exposure to harsh chemicals can accelerate cord deterioration. If you've been using the cord beyond its recommended lifespan or haven't maintained it properly, consider replacing it as a precautionary measure.
Resistance Testing Issues
Resistance testing issues provide clear warning signs when your anti-static wrist strap cord needs replacement. When you notice increased resistance readings or inconsistent grounding during testing, it's time to evaluate replacing your cord. These issues often stem from internal deterioration that affects the cord's ability to dissipate static electricity effectively. The six-foot cord length provides adequate range for most electronics work stations.
You'll want to regularly test your cord's resistance using a multimeter, ensuring it maintains the standard 1 Meg Ohm (±10%) reading. If you're getting fluctuating measurements or readings outside this range, your cord's integrity is compromised. You can find premium replacement cords for around $9.00 to maintain your ESD protection system.
Watch for signs of electrical noise interference and failures during ESD events, as these indicate your cord isn't properly controlling static discharge. Don't ignore these warning signs, as they can lead to serious consequences. A malfunctioning cord won't protect sensitive electronics from static damage, potentially causing device failures and compromising your entire static control system.
To prevent these issues, you should inspect your cords regularly, replace them according to manufacturer guidelines, and store them properly to avoid excessive bending. Remember that cord flex life typically maxes out at 50,000 flexes, so keep track of usage and replace accordingly.
Required Tools and Materials
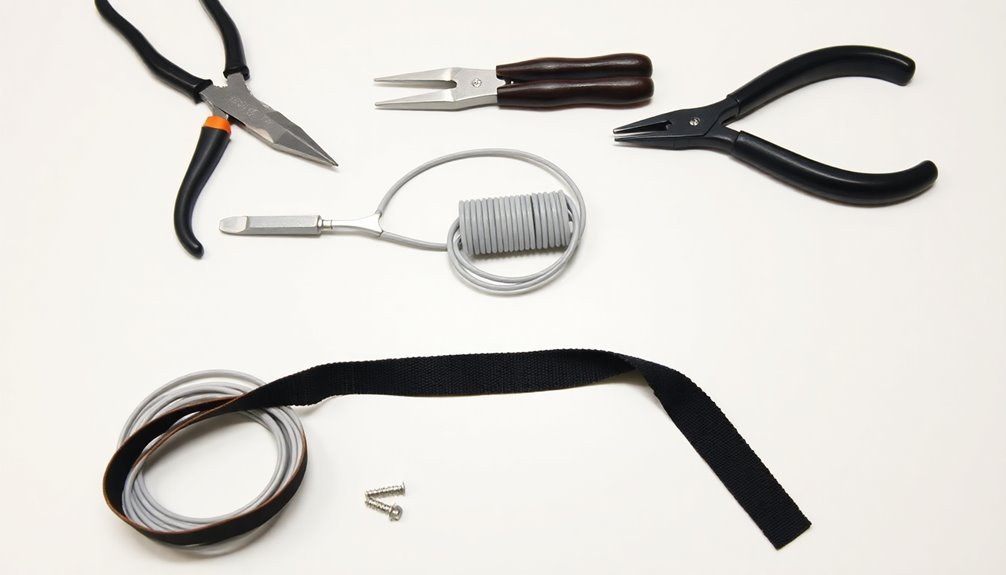
The essential tools and materials needed for replacing an anti-static wrist strap cord include a new 6-foot grounding cord, wire cutters, and a soldering iron.
You'll also need an alligator clip to guarantee a secure connection to your grounding point, and you might want to keep additional wire on hand if you need to extend the cord length.
For the repair process, you'll need static dissipative material to replace worn parts of the wrist strap, and aluminum foil can serve as a temporary grounding path if necessary.
Don't forget adhesive materials like double-sided tape or glue to secure components. If you're concerned about safety, include a 1 MΩ resistor to limit current in case of accidental contact with live electrical sources.
You should verify that your replacement cord is compatible with your wrist strap and grounding system before beginning the repair.
Select a cord with appropriate insulation and durability for your workspace, and confirm it meets all necessary safety standards.
Remember to keep the cord length appropriate for your work area to prevent tripping hazards while maintaining effective grounding protection.
Workspace Safety Preparation
Before you begin replacing your anti-static wrist strap cord, clear your workspace of all unnecessary items and set up your ESD mat to create a static-free environment.
You'll need to wear proper protective equipment, including safety glasses and anti-static clothing, to prevent injury and static buildup.
Connect your grounding points to a verified earth ground or electrical outlet, and test them with an ESD meter to guarantee proper static dissipation.
Clear Static-Free Work Area
Creating a static-free workspace stands as your first line of defense against damaging sensitive electronic components.
You'll need to start by identifying and designating a specific area for your anti-static work zone, guaranteeing it's clearly labeled and free from materials that could generate static electricity.
Begin by installing static-dissipative flooring or mats in your designated work area.
Make sure you've installed proper grounding points for your wrist strap and other equipment connections.
Remove any non-static dissipative materials from the immediate work area, including plastic containers, paperwork, or synthetic fabrics that could create unwanted static charges.
Clean your work surface thoroughly using static-dissipative cleaning materials, and verify that the area's humidity levels fall within the recommended range to minimize static buildup.
Don't forget to inspect your grounding equipment and connection points before proceeding with any work.
You'll want to guarantee your anti-static equipment is in good working condition and properly connected to the designated grounding points.
If you're working with others, remind them to follow proper static control procedures and maintain awareness of the static-free zone requirements.
Keep your documentation readily available for reference during the procedure.
Protective Equipment Requirements
Safety gear selection marks your essential next step in preparing to replace an anti-static wrist strap cord.
You'll need a new ESD wrist strap cord that meets industry standards, including IBM and US military static control requirements. Choose between a 6-foot or 12-foot coil cord made of static dissipative polyurethane, depending on your workspace needs.
Make certain your replacement cord includes a built-in 1 Meg Ohm resistor, which is vital for controlling the rate of electron transfer during discharge events. This safety feature prevents sudden surges that could damage sensitive electronic components.
You'll also want to verify that the cord has a 4mm socket snap for proper connection to your wrist strap.
If you're working with metal surfaces, select a cord that includes an alligator clip attachment. The clip provides secure grounding when connected to metal railings or other conductive surfaces.
Check that your chosen cord features polished polyurethane insulation and meets the minimum flex life requirement of 50,000 flexes. This durability standard guarantees reliable static protection throughout regular use and movement in your work area.
Ground Connection Setup
Properly establishing a ground connection serves as the foundation for safe anti-static wrist strap operation.
You'll need a grounding cord equipped with a 1 Meg Ohm resistor and either an alligator clip or banana jack for connecting to your ground source.
For the most reliable setup, locate the nearest electrical outlet as your primary ground source. If an outlet isn't accessible, you can secure the alligator clip to a metal railing instead.
Make certain you've connected the grounding cord firmly to both your wrist strap and the chosen ground point.
Before setting up, inspect your grounding cord for any signs of wear or damage. The cord's polished polyurethane casing should be intact, and all connections should be secure.
You'll find these cords available in different lengths, typically 6 or 12 feet, with some featuring convenient swivel plugs.
Remember that the cord's built-in 1 Meg Ohm resistor plays an essential role in controlling electrostatic discharge.
Keep your grounding equipment away from high voltage sources and use static dissipative materials when possible.
Test your ground connection regularly to verify it's functioning correctly, especially when working with sensitive electronic components.
Removing the Old Ground Cord
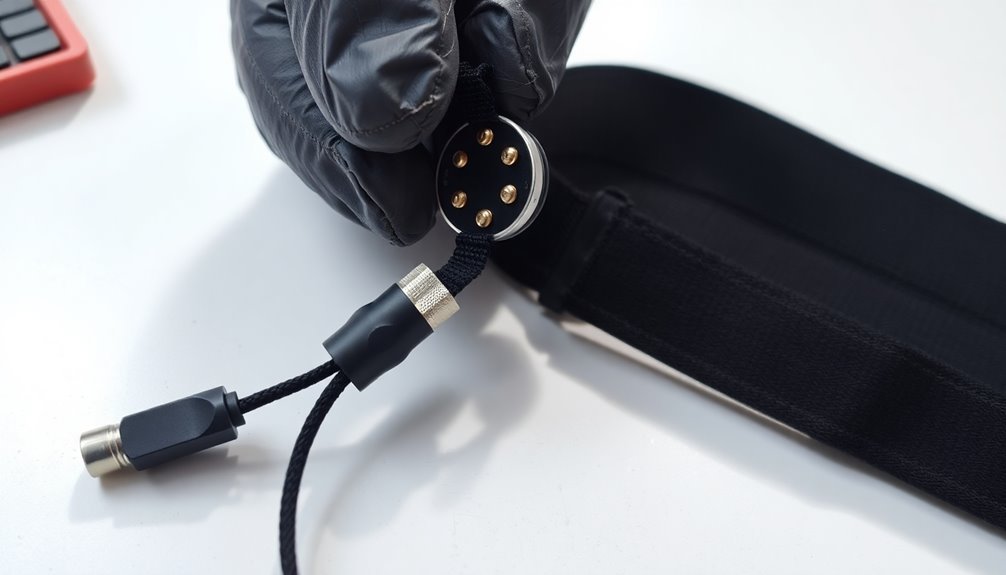
Before replacing your anti-static wrist strap cord, you'll need to carefully remove the old one while maintaining proper safety protocols. Confirm all equipment is powered off and properly grounded, and keep static-sensitive components in their protective packaging before you begin.
Start by locating the plug end of the cord that's attached to your grounding point. Gently pull it straight out, being careful not to damage the connection point.
Next, find the snap end that connects to your wrist strap and release it by pressing or sliding the mechanism. Once both ends are free, remove the cord completely from your work area.
Inspect the old cord thoroughly for signs of wear, fraying, or damage. This inspection can help you understand what caused the need for replacement and prevent similar issues in the future. If the cord is damaged, don't attempt to reuse it – set it aside for proper disposal according to your facility's guidelines.
Clean your workspace thoroughly, checking for any static-sensitive components that might've been exposed during the removal process.
Verify that all grounding points remain intact and undamaged before proceeding with the installation of the new cord.
Selecting the Right Replacement Cord
Choosing the right replacement cord for your anti-static wrist strap requires careful consideration of several key factors.
You'll need to determine the appropriate length, with 6 and 12-foot options being most common. If you're working in a larger space or need to reach distant grounding points, consider a longer cord or even custom lengths up to 20 feet.
Make sure your replacement cord has compatible connections by checking the socket snap size (typically 4mm) and verifying the type of plug needed for your grounding point. The cord should include a standard 1 Megohm resistor for safe discharge control.
Look for cords made with static dissipative polyurethane insulation and high-quality conductors with a 2.5mm diameter.
Select a cord that meets industry standards like ANSI/ESD S20.20-2014 and MIL-STD-1686. Choose from reputable manufacturers such as SCS, Transforming Technologies, or Botron, which offer quality assurance and proper certifications.
Don't forget to verify the cord's compatibility with your specific wrist strap brand and any monitoring equipment you're using. Consider products with warranties and clear return policies for added peace of mind.
Installing Your New Cord
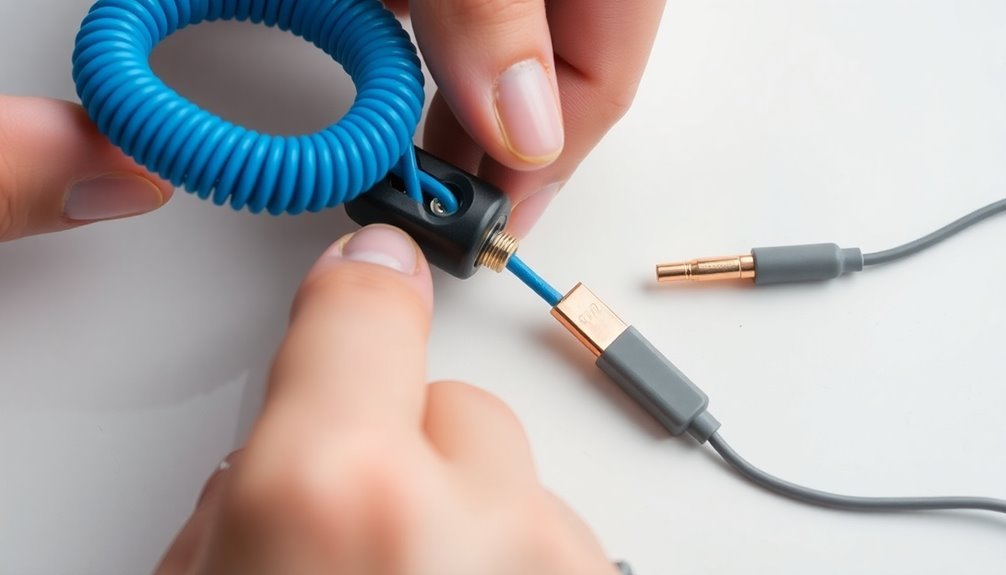
Now that you've selected your replacement cord, the installation process requires careful attention to safety and proper grounding procedures.
Before you begin, remove any jewelry from your wrist and fingers to prevent interference with the connection.
Start by inspecting your new cord for any damage or defects, ensuring it's compatible with your wrist strap and grounding source.
Connect the cord's clip or alligator clip to a proper grounding source, such as an anti-static mat with a metal snap or a grounded metal surface.
Don't use painted or non-conductive surfaces, as they won't provide adequate grounding.
For ideal safety, use a coil cord with a built-in 1 megohm resistor.
Secure the connection by attaching the clip firmly to your grounding source.
If you're using an anti-static mat, connect the wrist strap to the mat's anchoring point, then connect the mat to earth ground using a separate connection.
Avoid using alligator clips between the wrist strap and anti-static mat, as this can increase system resistance.
Testing the Connection
Once you've installed the new cord, proper testing of the connection is essential to confirm reliable static protection. Start by inspecting the coil cord and wrist strap for any visible damage or wear that could compromise their effectiveness.
Make sure the 4mm socket snap is securely fastened to your wrist strap and the banana plug or alligator clip is firmly connected to your chosen grounding point.
To test the grounding mechanism, verify that the cord isn't kinked or twisted, as this can interfere with the static discharge process. The 1 Meg Ohm resistor built into the cord should allow for a slow, controlled release of static electricity.
If you're using an electrical outlet as your ground source, double-check that it's properly functioning. For metal railing connections, confirm the alligator clip maintains solid contact with the metal surface.
If you notice any issues during testing, such as loose connections or inconsistent grounding, troubleshoot by checking each component individually. You might need to adjust the connections or, in some cases, replace the cord entirely if it's damaged.
Remember to perform these tests regularly to maintain effective static protection while working with sensitive equipment.
Proper Grounding Techniques
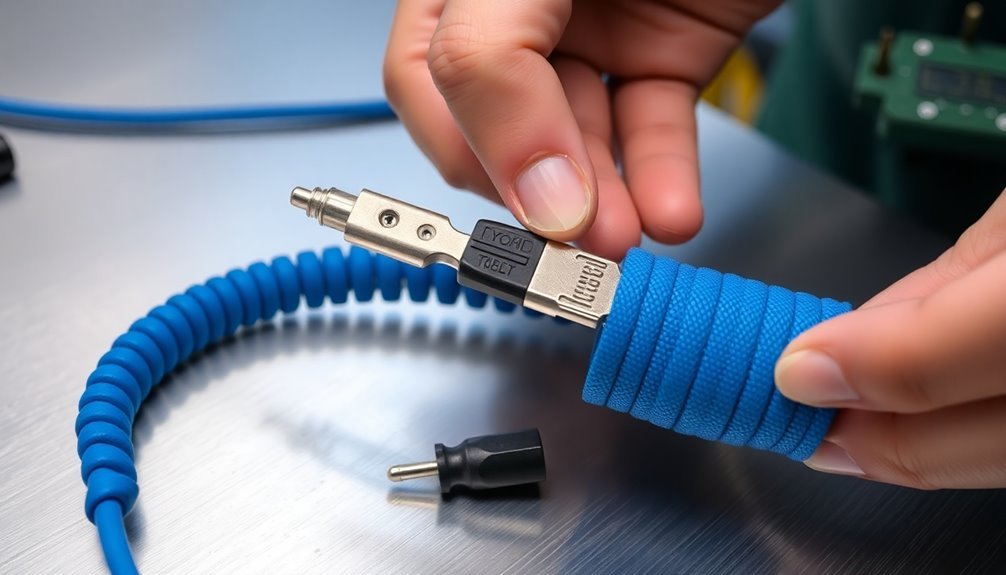
Proper grounding forms the foundation of effective static protection when replacing your anti-static wrist strap cord. The most reliable grounding point is an electrical outlet, as it provides a direct connection to the building's earth ground.
When you're connecting your new cord, verify it has the standard 1 Meg Ohm resistor built in to prevent sudden discharge of static electricity.
For effective grounding, you'll need to choose the most suitable connection method based on your work environment:
- Connect to an electrical outlet using a ground cable with an eyelet attachment
- Use an alligator clip to attach to metal railings that lead to the floor
- Plug into a common point ground system using a banana jack connection
- Connect to a continuous monitoring system for constant verification
If you're using an electrical outlet, screw the eyelet end of your ground cable into the outlet's ground screw.
When using metal railings, verify they're properly connected to the building's ground. Your coil cord, typically 6 or 12 feet in length, should allow enough movement while maintaining consistent contact.
Remember that the polyurethane cord construction with its 2.5mm diameter provides both durability and flexibility for your work needs.
Maintaining Your Anti-Static Equipment
Maintaining your anti-static equipment requires regular attention to guarantee consistent protection against electrostatic discharge. You'll need to inspect your cords regularly for signs of wear, damage, or deterioration, and replace them if the resistance exceeds 10^6 ohms.
Keep your cords clean by following the manufacturer's cleaning instructions, and store them properly to prevent tangling and damage.
Don't forget to check your grounding points regularly. Whether you're using an electrical outlet or metal railing, verify the connection is secure and clean. If you're using alligator clips for grounding to metal surfaces, confirm they're firmly attached and free from corrosion.
When it's time to replace components, make certain you're selecting compatible parts that meet relevant standards. Your replacement cords should match your wrist strap model and include proper specifications like a 1 Meg Ohm resistor and appropriate connectors.
Choose cord lengths that suit your workspace needs, typically 6 or 10 feet, but avoid stretching them beyond their limits during use. Always verify that new components meet IBM and US military standards for ESD protection and come from reputable manufacturers with proper certifications.
Daily Usage Best Practices
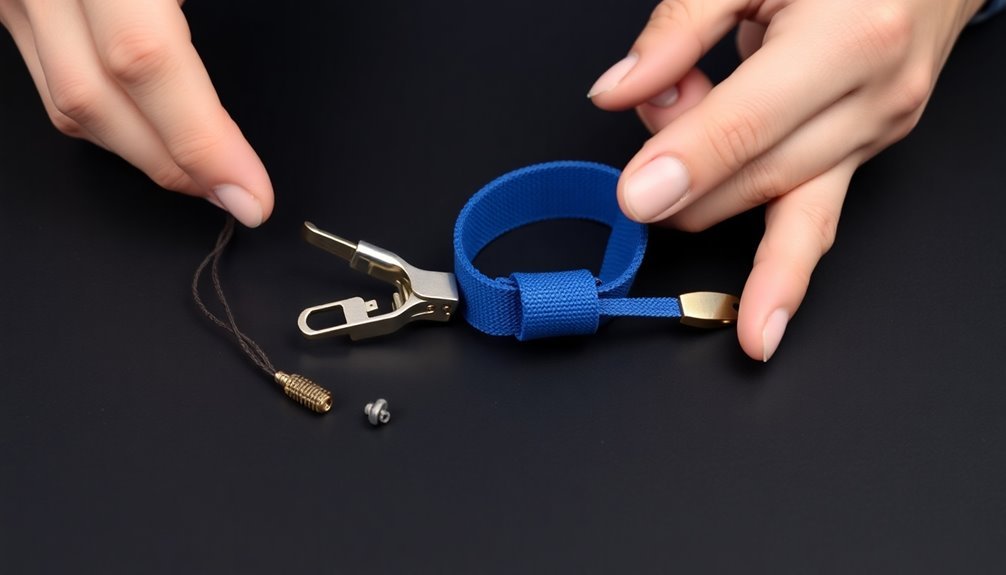
Safety-conscious technicians know that effective daily use of anti-static wrist straps starts with consistent habits.
You'll need to guarantee proper fitting and connection to a reliable grounding source before handling any ESD-sensitive components. Always connect your wrist strap to either an electrical outlet, ESD mat, or common point ground using a cord with a built-in 1 meg ohm resistor.
Before beginning your work, implement these essential daily practices:
- Check your wrist strap and cord for visible damage or wear
- Secure the strap tightly around your wrist to prevent static buildup
- Connect the grounding cord firmly to both the strap and grounding point
- Test the strap's functionality using an appropriate testing device
When you're working with sensitive electronics, it's vital to maintain proper grounding techniques throughout your session.
If you don't have access to an electrical outlet, you can use an alligator clip to attach your strap to a metal railing. Remember to avoid touching other static-sensitive objects while wearing the strap, and always use static dissipative materials that meet or exceed industry standards like IBM and US military specifications.
Frequently Asked Questions
Can I Reuse the Metal Snap Connector From My Old Cord?
You can reuse your metal snap connector if it's undamaged, clean, and electrically sound. Make sure it's compatible with your new cord and check for proper conductivity before connecting it.
What Happens if I Accidentally Connect the Cord Backwards?
If you connect the cord backwards, you won't damage your equipment, but you'll compromise ESD protection. The 1 Meg Ohm resistor won't work properly, leaving your sensitive electronics vulnerable to static discharge damage.
How Often Should I Clean the Metal Contact Points?
You should clean metal contact points before each use for ideal grounding. For best results, wipe them gently with a soft, dry cloth. If you notice any corrosion, clean immediately with distilled water.
Will Humidity Levels Affect the Cord's Static Dissipation Performance?
No, you don't need to worry about humidity affecting your cord's static dissipation. The internal 1 meg ohm resistor guarantees consistent performance, while the polyurethane materials maintain reliable conductivity regardless of moisture levels.
Can I Temporarily Fix a Damaged Cord With Electrical Tape?
No, you shouldn't use electrical tape to fix a damaged anti-static cord. It won't provide proper grounding and could risk damaging your electronics. Instead, you'll need to replace the cord immediately for safety.
In Summary
You've now learned how to successfully replace your anti-static wrist strap cord and maintain proper ESD protection. Remember to test your new cord regularly, store it properly when not in use, and check for signs of wear. Following these steps will help protect your sensitive electronic components and extend the life of your anti-static equipment. When in doubt, don't hesitate to replace your cord again.



Leave a Reply