To properly ground yourself, secure an anti-static wristband snugly against your bare skin and attach its alligator clip to a metal ground point, like an unpainted PC case or grounded workbench. Don't connect to painted surfaces or powered equipment, and verify there's a 1 megohm safety resistor in your grounding setup. You'll need direct skin contact with the band for effective static protection, so avoid wearing it over clothing. Test your wristband regularly with an ESD tester to confirm it's working correctly. Understanding proper grounding techniques will help you safely handle sensitive electronic components and prevent costly damage.
Understanding Anti-Static Wristband Basics
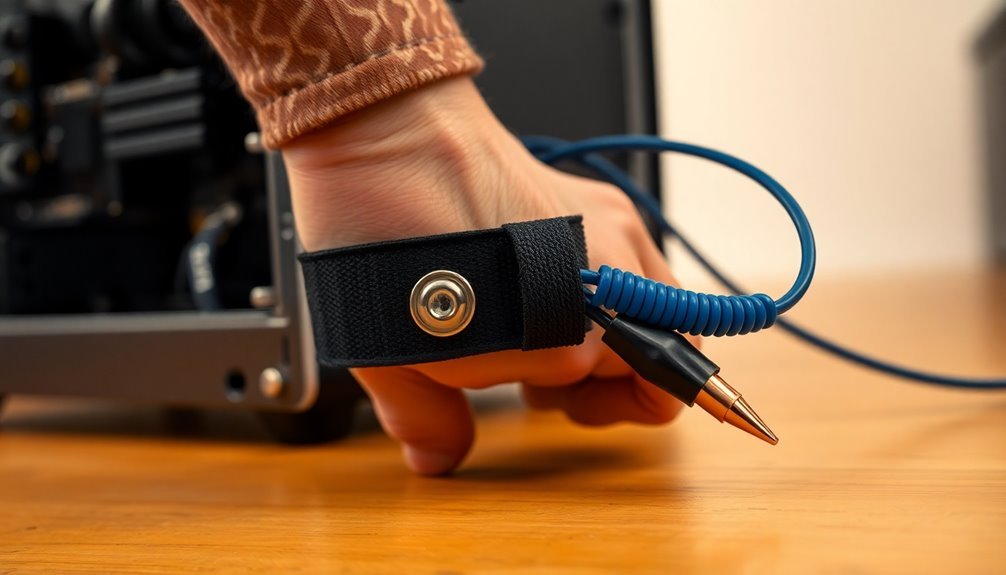
Static electricity poses a serious threat to sensitive electronic components. To protect against this risk, you'll need an anti-static wristband, a vital safety device that provides a safe path for static discharge from your body to the ground. These wristbands comply with the IEC-61340-5-1 International Standard and are fundamental when handling electronic components. Data loss and corruption can occur if proper ESD protection is not used.
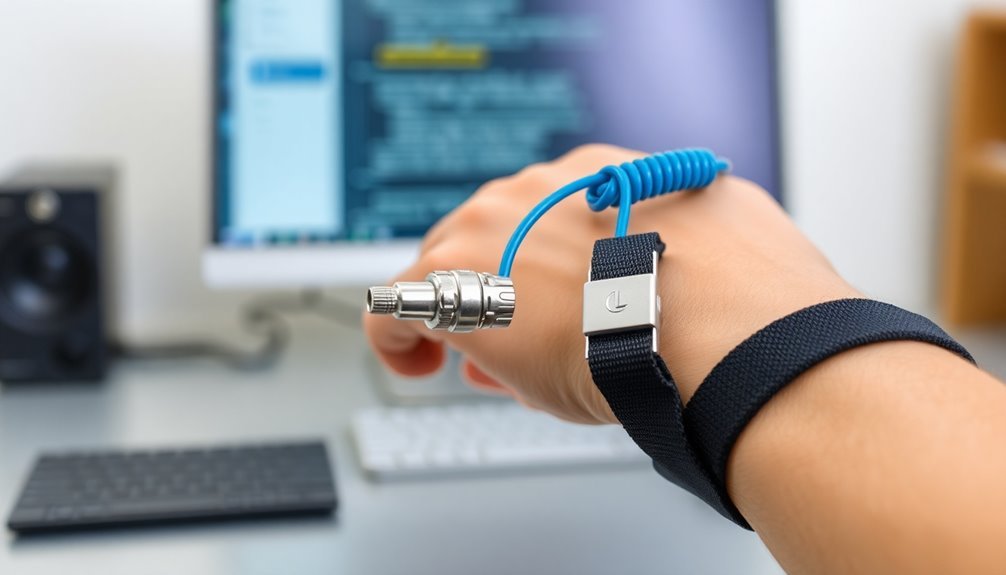
Your anti-static wristband consists of several key components working together. The conductive material, typically made of stainless steel or copper, creates a direct path for static electricity. A snap connector allows you to easily attach and detach from grounding sources, while insulative materials prevent unwanted current flow. Regular inspections and annual replacements are recommended to maintain optimal protection.
You'll find the adjustable band guarantees proper skin contact, and the coiled cord with an alligator clip enables mobility while staying grounded.
When you wear the wristband, static electricity travels from your body through the conductive material and into the ground via the grounding connection. You can wear it on either wrist or ankle, but remember that direct skin contact is vital for effectiveness.
The band should fit snugly but comfortably to maintain consistent contact and guarantee proper static discharge.
Essential Safety Guidelines
Following proper safety guidelines maximizes your protection against ESD damage when using an anti-static wristband. You'll need to verify the wristband maintains direct contact with your skin, wearing it snugly but not too tightly. Don't wear it over clothing, as this will prevent proper grounding. Using fabric adjustable straps offers excellent static dissipation properties. Testing should be performed at regular intervals to ensure continuous protection.
Before each use, you must test your wristband for both high and low resistance using an ESD tester to comply with ANSI/ESD S20.20 standards. Watch for "high fail" readings that indicate ESD risk and "low fail" readings that suggest problems with the megohm resistor.
Don't use wireless or cordless wristbands, as they don't meet required performance standards.
Maintain your equipment by regularly cleaning the conductive material and inspecting the snap connector. You'll want to verify your grounding connection before starting work, as incorrect grounding renders the wristband useless.
Remember that touching non-grounded surfaces can still build up static electricity on your body. For maximum protection in ESD-sensitive environments, combine your properly grounded wristband with additional safety equipment like anti-static mats and gloves.
Proper Grounding Methods
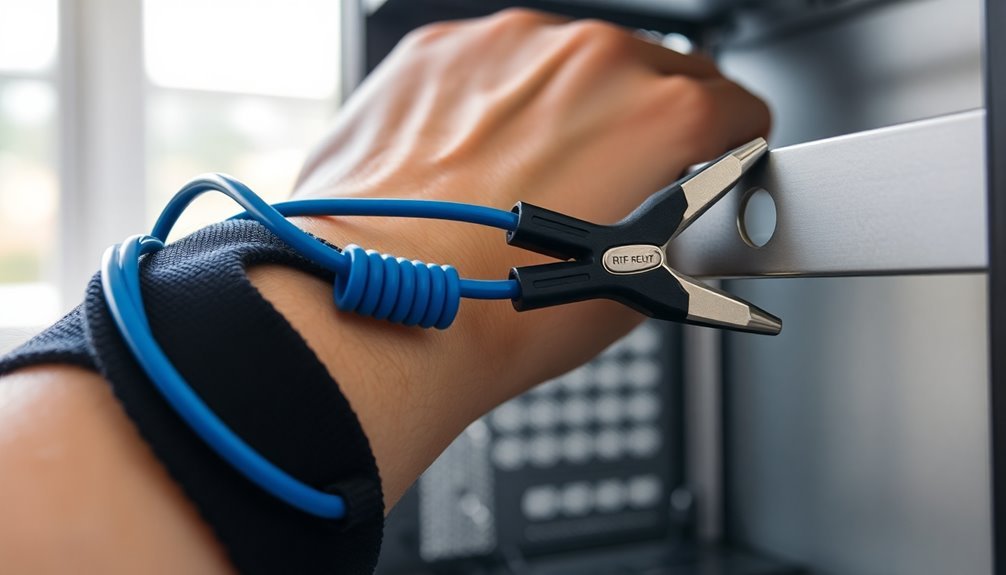
To establish proper grounding for your anti-static wristband, you'll need a direct path from your body to Earth through conductive materials like stainless steel or copper. Your wristband must connect to a proper grounding point – simply wearing it isn't enough to protect your electronics. Making your own grounding solution can save you money with just about $2 worth of parts.
You can ground yourself through several reliable methods. The most common approach is connecting your wristband to Earth bonding points on your workstation using 10mm press studs. If you need mobility, use a coiled cord with a crocodile clip attached to a grounding source. Testing shows that standard corded straps can effectively reduce body voltage to safe levels below -1.5 volts.
Don't rely on wireless wrist straps, as they've been proven ineffective and don't meet ANSI/ESD S20.20 standards.
If you're making a DIY grounding solution, you can create one using a wristband, aluminum foil, and an alligator clip. Attach the foil to the inside of your wristband, connect the clip, and ground it to your PC case – but make certain your computer's plugged into a grounded outlet.
For added safety, consider including a 1 mohm resistor in your setup. Remember, proper grounding requires a physical connection to effectively drain static charge from your body.
Common Setup Mistakes
You'll need to guarantee you're connecting to bare metal surfaces and avoiding anti-static mats, as these increase system resistance to ground.
You must wear the wristband correctly with the metal portion making direct contact with your skin. While you can wear it anywhere on your body, maintaining skin contact is vital.
Don't assume you can attach the clip to any metal object – proper grounding points are essential. Always turn off the power supply before connecting the alligator clip to prevent accidents.
Don't fall into the trap of believing static damage is unlikely or that you can skip using a wrist strap for quick repairs. This mindset often leads to component damage.
Remember that the integrated 1 megohm resistor in your wrist strap serves as a critical safety feature, protecting you from accidental contact with live electrical current.
Keep the strap snug and secure to prevent it from slipping off during work.
Alternative Grounding Solutions
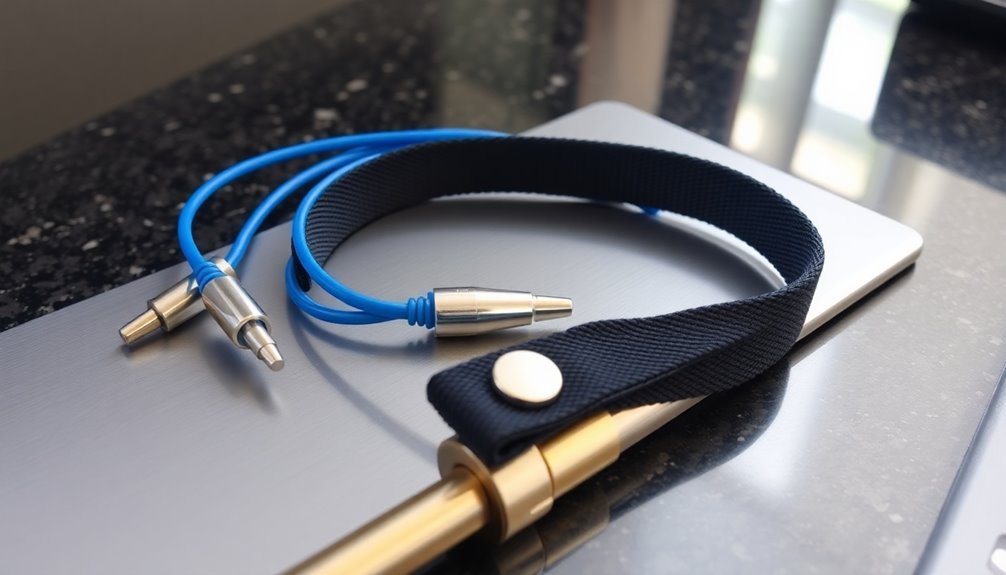
Several reliable alternatives exist when a standard anti-static wristband isn't available. You can create your own DIY grounding wristband using aluminum foil, a rubber or paper band, and an alligator clip.
Just remember to include a 1 mohm resistor for safety, and always follow proper precautions to avoid injury.
Anti-static bags offer a simple solution – you can place your hand inside while handling components, though this method doesn't provide continuous protection.
For added safety, touch your computer's metal case periodically during installation.
If you need a working surface, you can transform indoor/outdoor carpet into an anti-static mat by applying anti-static spray.
Don't use artificial turf, as it won't provide the same protection.
Another practical solution comes from your computer parts themselves – the motherboard box can serve as an impromptu anti-static surface for component placement during assembly.
While these alternatives can help protect your sensitive electronics from static damage, they're not as reliable as professional anti-static equipment.
Always handle components with care and maintain contact with a grounding point whenever possible.
Workplace Static Prevention
Setting up a static-free work area starts with identifying all potential sources of static electricity in your workspace, including carpets, chairs, and non-ESD compliant surfaces.
You'll need to arrange your equipment strategically, keeping sensitive components away from materials known to generate static and ensuring all workstations have proper grounding points.
Your equipment placement should prioritize easy access to grounding connections while maintaining a clear path for connecting your anti-static wristband to the nearest ground point.
Static-Free Work Area Setup
Creating a static-free workspace is essential for protecting sensitive electronic components from electrostatic discharge (ESD) damage. To set up your workspace correctly, you'll need to start with a properly connected anti-static wrist strap. Make sure the metal part of the strap touches your skin directly to guarantee effective grounding.
You'll need to connect your wrist strap to a reliable grounding point. You can use electrical ground lines through outlets or attach it to metal tables on stone floors. Don't clip your strap to anti-static mats, as this can increase resistance to ground. Instead, use bare metal surfaces and confirm your alligator clips make secure contact without any paint or insulating materials in between.
Before you begin working, verify that all power supplies are turned off and unplugged. Your grounding cables should include safety resistors to protect you from potential live currents.
When you're handling electronic components, maintain continuous grounding by wearing your wrist strap snugly. Remember that not all tasks require grounding, such as unplugging peripherals or replacing network adapters, so assess each situation accordingly.
Proper Equipment Placement
Once you've established proper grounding protocols, the strategic placement of equipment becomes your next priority for maintaining an effective ESD-protected workspace. Position your workstation near a reliable ground point, typically using the center screw of a standard 110 VAC outlet.
Don't place your equipment randomly – each component needs direct access to the central ground point.
When connecting your ESD equipment, avoid daisy-chaining components together. Instead, connect each item individually to your ground bus or "green wire" equipment ground. You'll want to use secure connection methods like metallic crimps, snaps, or banana plugs for dependable grounding.
Don't rely on alligator clips for wrist strap connections unless you're absolutely certain about the ground pathway.
Set up your static dissipative worksurface with a proper resistance range of 1.0 x 10^6 to 1.0 x 10^9 ohms. If you're using floor mats, make certain they're equipped with grounding snaps and connected directly to your ground point.
Install clear signage to identify grounded components and workstations, making it easier for everyone to maintain proper ESD protocols. Remember, your total system resistance shouldn't exceed 35 megohm for peak protection.
Emergency DIY Wristband Options
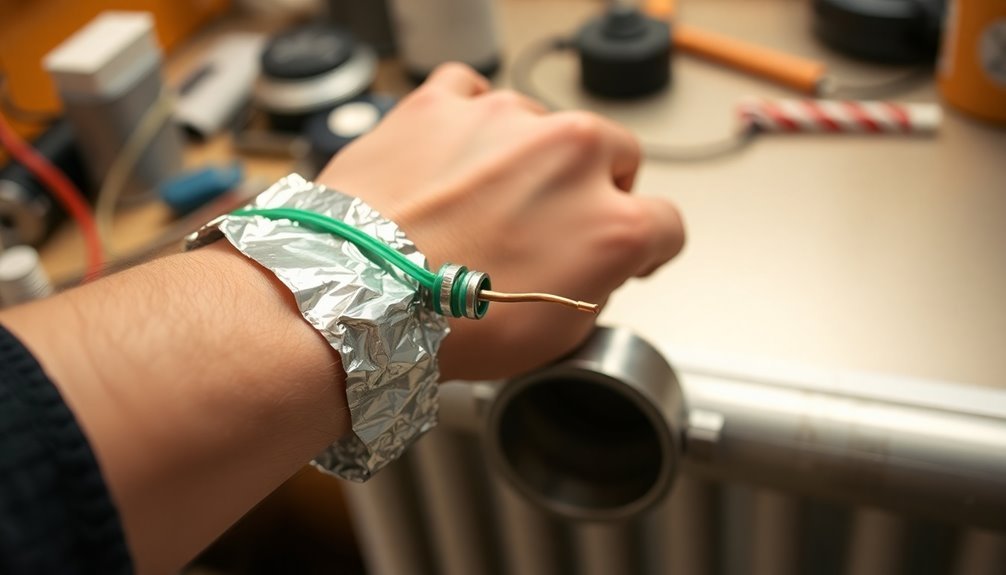
When your regular anti-static wristband isn't available, three common household items can help you create an emergency DIY solution. You'll need a flexible strap material like rubber or fabric, aluminum foil for conductivity, and an alligator clip to connect to your grounding source.
| Material | Purpose |
|---|---|
| Rubber/Fabric | Forms the comfortable wristband base |
| Aluminum Foil | Provides necessary conductivity |
| Adhesive Tape | Secures foil to the strap |
| Alligator Clip | Connects to ground point |
| Wire (Optional) | Extends reach if needed |
To construct your DIY wristband, cut your strap material to size and attach a strip of aluminum foil to the inside using double-sided tape. Connect the alligator clip to the foil, ensuring a firm connection. You'll want to test the wristband by connecting it to a proper grounding point, such as an unpainted metal part of your PC case.
Remember to never connect your DIY wristband to live electrical sources, and always use a 1Mohm resistor for added safety. While this solution works in emergencies, it's not a permanent replacement for a commercial anti-static wristband, especially when working with sensitive electronics.
Frequently Asked Questions
Can Anti-Static Wristbands Expire or Wear Out Over Time?
Yes, your anti-static wristband will wear out over time. You'll need to replace it every 3-8 months with regular use, or sooner if you notice signs of wear, fraying, or reduced electrical continuity.
Is It Safe to Wear an Anti-Static Wristband During Thunderstorms?
No, you shouldn't wear an anti-static wristband during thunderstorms. It creates a dangerous conductive path to ground, increasing your risk of electrical shock from lightning strikes. Remove it immediately when storms approach.
How Often Should Anti-Static Wristbands Be Tested for Conductivity?
You should test your anti-static wristband daily if you use it daily. Based on your risk exposure and the sensitivity of items you're handling, you can adjust testing frequency, but daily checks are recommended.
Can Multiple People Share the Same Grounding Point Simultaneously?
Yes, you can safely share a grounding point with multiple people. Just make sure each person uses their own wrist strap connected to the common ground point and verifies their connection before working.
Do Anti-Static Wristbands Work Through Clothing or Must Touch Skin Directly?
Your anti-static wristband must make direct skin contact to work effectively. It won't function properly through clothing, as fabric blocks conductivity. Always wear the band snugly against your bare wrist for proper grounding.
In Summary
You're now equipped to protect sensitive electronics from static damage using anti-static wristbands. Remember to test your wristband's connection before each use, maintain contact with your skin, and always connect to a proper ground point. Don't skip this vital safety step when working with computer components. Whether you've chosen a professional wristband or a DIY solution, proper grounding will safeguard your valuable electronics investments.



Leave a Reply