
Mount your ionizer bar within 2 inches of the charged surface using non-conductive stand-offs to prevent grounding issues. You'll want to position the bar 17-24 inches above your workbench for ideal coverage, ensuring there's a clear path for ion flow without obstacles. To protect against vibration, install end brackets on both sides and add an intermediate bracket, following the specified torque requirements. These fundamental mounting steps will boost your static control effectiveness, but proper maintenance access and environmental considerations can further enhance your production line's performance.
Bracket Placement Fundamentals

For ideal static elimination, mounting your ionizer bar requires careful attention to positioning and distance. You'll need to position the bar within 2 inches of the charged surface to achieve peak performance, while keeping in mind that the ion curtain can effectively reach up to 6.5 feet. Operating in 20-60% humidity ensures optimal ionization performance.
When selecting mounting locations, verify you've properly secured the ionizer using the provided flange and mounting holes. You'll want to use non-conductive stand-offs or wire ties to prevent the ionizing cable from contacting grounded metal surfaces. The IZT series offers multiple fitting choices to accommodate various installation requirements.
If you're working with limited space, consider using the IZT models, which are designed for tighter installations and don't require air purge systems.
Mount your power supply and controller separately from the bar for easier access during maintenance and monitoring. You'll need to secure the shielded power cable in plastic conduit and verify that the ground wire connects both the ionizing bar and power supply.
Remember to ground the metallic surface of the bar properly – this isn't just a safety requirement, it's essential for proper functioning. For ongoing maintenance access, verify you've left enough clearance to remove needle cartridges when cleaning is needed.
Position For Maximum Coverage
Now that you've properly mounted your ionizer bar, achieving peak coverage depends on precise positioning. For best performance, you'll want to position your ionizer within 2 inches of the charged surface. While the ionizer can work up to 2000mm away, you'll get better results the closer you install it to your target area. Regular pin cleaning will help maintain optimal ion output over time.
When positioning your ionizer bar, consider mounting it 17 to 24 inches above your workbench for effective coverage. You'll need to adjust the installation height between 400 to 2000mm based on your specific application. The dual AC sensor helps reduce potential amplitude for more stable performance.
Make sure you've got a clear path for ion flow and aren't blocking the ionizer's effectiveness with nearby obstacles. Pay attention to your environment when determining final positioning. Don't place the ionizer near flammable materials or gases, and confirm you've got controlled temperature conditions between 0 to 50°C.
You'll want to maintain proper grounding with resistance of 100 ohms or less. For sensitive electronics, select models with reduced amplitude or auto-balancing features. Remember to angle your ionizer bar appropriately to maximize static neutralization effectiveness across your entire work surface.
Securing Against Vibration
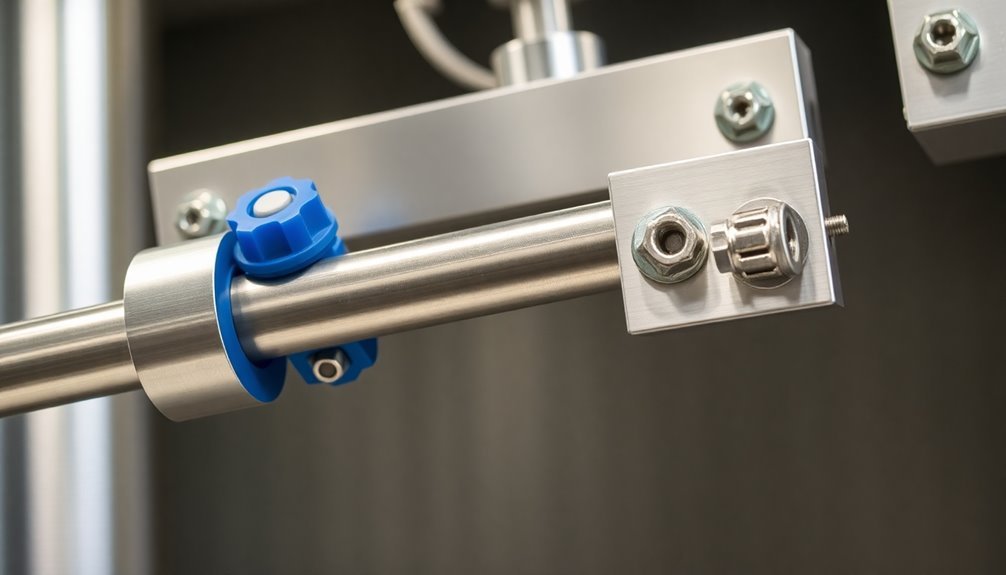
Proper vibration protection safeguards your ionizer bar's performance and longevity. Start by mounting end brackets on both sides of the ionizer body using the supplied M4 screws, and add an intermediate bracket at the center for extra stability.
You'll need to follow the specified torque requirements when tightening to prevent damage or loosening. Your ionizer should meet vibration resistance standards of 50Hz with 1mm amplitude for 2 hours in X, Y, and Z directions, plus 10G impact resistance. The efficient ion generation relies on properly spaced emitter points along the bar length. Available bar lengths range from 20 cm to 5 meters to suit various application needs.
Install the bar at the recommended height from your target, and guarantee proper grounding with less than 100 ohms resistance. Choose ionizers with integrated power supplies to avoid high-voltage cable issues.
For enhanced stability, select models with fiberglass reinforced plastic profiles and appropriate bar lengths for your working distance. Don't forget to maintain safety by preventing direct electrode contact and securing mounts to stop movement.
You'll need regular maintenance checks and cleaning according to manufacturer instructions. For specialized environments, use ATEX-certified units in explosive areas and high-speed models for rapid production lines.
Always verify UL certification for both AC and DC products.
Frequently Asked Questions
How Often Should Ionizer Bars Be Cleaned to Maintain Optimal Performance?
You'll need to clean your ionizer bars daily in dirty industrial settings, but monthly in clean-room environments. Test performance regularly and adjust your cleaning schedule based on your specific environmental conditions.
Can Multiple Ionizer Bars Be Connected in Series on One Power Supply?
Yes, you can connect 2 ionizer bars to a single high voltage power supply. You'll need to use branch cables for proper power distribution and guarantee you're not exceeding the power supply's current capacity.
What Temperature Changes Affect Ionizer Bar Effectiveness in Industrial Settings?
You'll see reduced ionizer effectiveness when temperatures go outside 0-50°C. Watch for condensation from sudden changes, and know that extreme heat or cold can damage your bars or decrease their static elimination performance.
Do Electromagnetic Fields From Nearby Equipment Interfere With Ionizer Bar Function?
Yes, electromagnetic fields from nearby equipment can disrupt your ionizer bar's performance. You'll notice reduced ion generation and balance issues. It's best to shield your bars and keep them away from high-power electrical sources.
When Should Emitter Pins Be Replaced on an Ionizer Bar?
You'll need to replace emitter pins when they show significant build-up that won't clean off, develop "fuzzballs," become discolored, or when cleaning doesn't restore performance. Follow your manufacturer's recommended replacement schedule too.
In Summary
You'll get the best results from your ionizer bars by following these three key mounting principles. Place brackets at proper intervals to prevent sagging, position the bars to maximize coverage across your production line, and secure all mounting hardware tightly to minimize vibration. When you take time to mount ionizer bars correctly, you'll maintain consistent static elimination and avoid production issues.


Leave a Reply