You'll want to position ionizers at three critical spots during assembly: workbenches, material transfer zones, and final inspection areas. At workbenches, install overhead ionizers 200-2000mm above the work surface to create an effective ion blanket. For material transfer zones, place ionizers to protect both gown-up and product transfer areas, ensuring outer and inner bags stay protected. In final inspection areas, use ceiling or bar-type ionizers to neutralize static and prevent particle contamination. Understanding these key placements is just the start of optimizing your static control strategy.
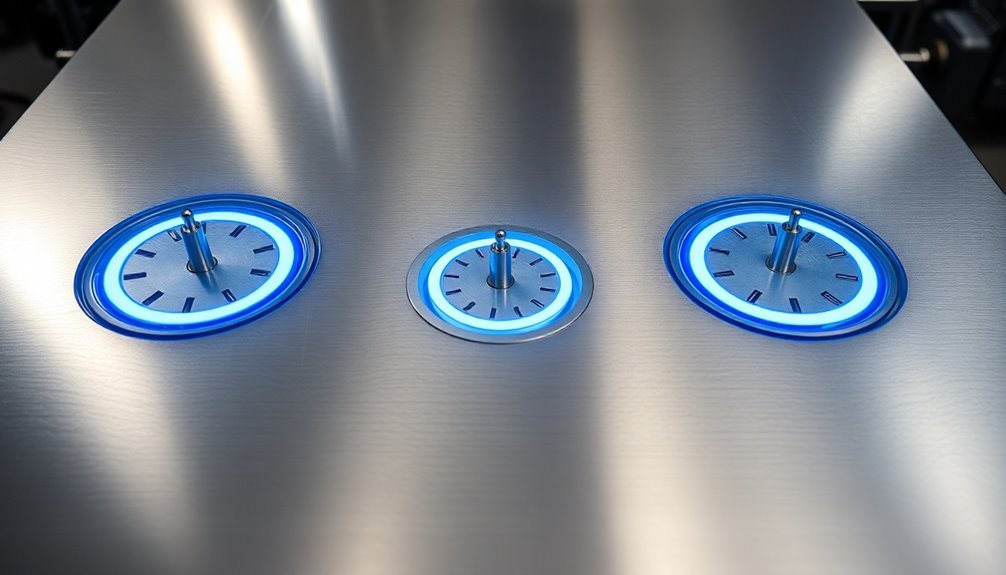
Workbench Static Control Points
A well-designed static control workbench requires multiple grounding points to guarantee thorough ESD protection. You'll need to establish a common point ground system that connects all your workbench components to the same electrical potential.
Start by installing ESD ground jacks at strategic locations across your workbench surface, ensuring they're easily accessible for both personnel and equipment connections.
You'll want to connect your ESD protective worksurface to the common point ground using a grounding cord with firm-fitting connections. Don't forget to attach your wrist strap ground point – it's essential for maintaining continuous personnel grounding during assembly work.
Regular cleaning with ESD-specific cleaners will help maintain the effectiveness of your grounding system. If you're using grounded cabinets or drawers, they'll need their own connection points to the common ground system.
Make sure you've got a proper work surface mat installed and grounded – it's your primary static-dissipative surface. You should also consider adding floor mats with their own ground points if you're working in a standing position.
Remember to isolate any powered components from the dissipative elements of your work surface by creating separate grounding zones within your workbench setup.
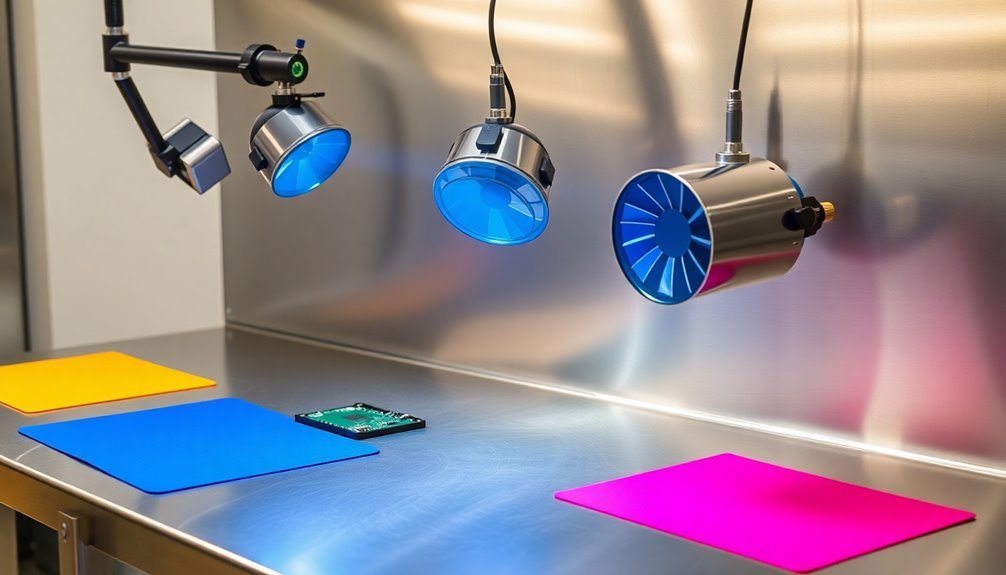
Material Transfer Zones
While proper workbench grounding forms the foundation of ESD control, material transfer zones demand specialized ionization strategies.
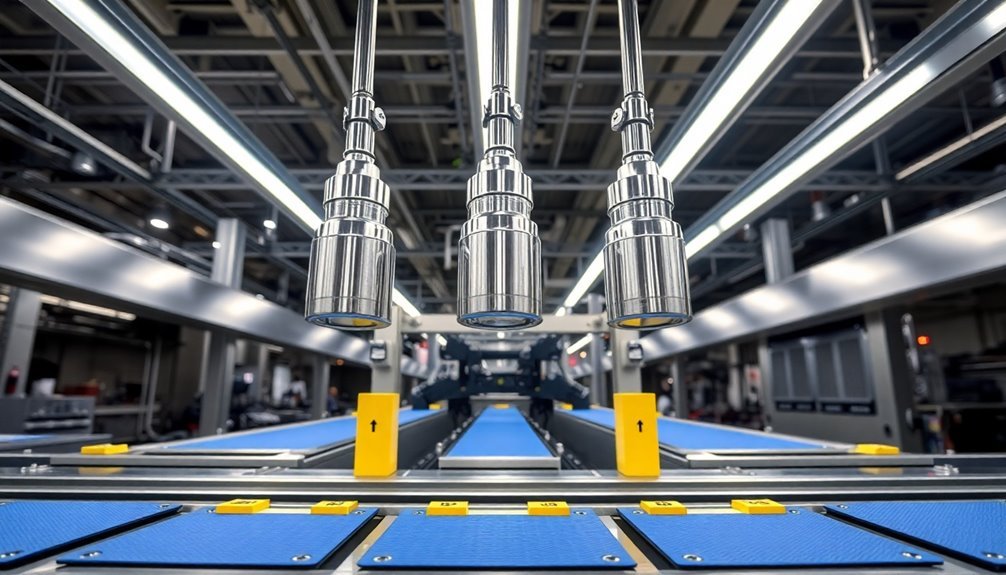
You'll need to position ionizers strategically, placing them just below ceiling height to create an effective ion blanket. For the best results, install them between 200 to 2000 mm above your work area.
You've got several ionizer options to choose from. You can use room ionization systems for broad coverage, overhead blowers for targeted areas, or ionizing guns for specific applications. Regular cleaning of emitter pins helps maintain optimal ionization levels in these systems.
If you're working with a larger space, full-room ionizers will provide thorough coverage, while localized ionizers offer faster, more cost-efficient solutions for smaller areas.
You'll see immediate benefits when you implement ionization in your transfer rooms. It's crucial to cover both gown-up and product transfer areas, ensuring protection for both outer and inner bags during the transfer process.
You should validate your ionization system's effectiveness under actual operating conditions. Set up regular maintenance schedules and use feedback sensors to monitor ion output.
These measures will help you maintain top performance and substantially reduce particle contamination, ultimately improving your yield rates.
Final Inspection Areas
During final inspection, appropriate ionization becomes critical for maintaining product quality and preventing particle contamination. You'll need ceiling or bar-type ionizers strategically placed to neutralize static charges that could attract unwanted particles.
In minienvironments, it's crucial to verify that ionization effectively reaches all work surfaces, particularly when space is limited. The PIXpect image system provides advanced visual inspection capabilities for mounted components.
Your final inspection process must include thorough quality control measures while maintaining static-free conditions. This includes dimensional checks, GD&T inspections, and thorough visual examinations according to standards like IPC-A-610. You'll want to confirm that your ionizers support these activities without interfering with the inspection process.
- Ceiling ionizers utilizing laminar airflow to deliver ions directly to inspection surfaces
- Bar-type ionizers mounted at the best heights for targeted static neutralization
- Localized ionization points at critical inspection stations where defect detection occurs
- Integrated ionization systems within minienvironments for tight-space applications
You'll find that proper ionizer implementation substantially reduces particle-related defects and improves yield rates.
Remember to maintain regular cleaning schedules for your ionizers to confirm consistent performance and prevent recontamination of inspected products.
Frequently Asked Questions
How Often Should Ionizer Points Be Cleaned for Optimal Performance?
You'll need to clean ionizer points monthly until performance testing reveals degradation. Then, set your maintenance interval one month before failure occurs. Clean at least every six months, adjusting frequency based on your environment.
Can Multiple Ionizers Interfere With Each Other's Effectiveness?
Yes, your ionizers can interfere with each other if they're not properly placed. You'll need to think about spacing, synchronization, and airflow patterns to prevent overlapping ion fields that reduce their effectiveness.
What Humidity Levels Are Ideal for Ionizer Operation?
You'll get ideal ionizer performance when maintaining humidity between 45-75%. Below 30% leads to higher static charges, while excessive humidity reduces effectiveness. For best results, keep your environment within these recommended ranges.
Do Ionizers Require Recalibration, and How Frequently?
Yes, you'll need to recalibrate your ionizers regularly. It's recommended to perform recalibration every 6 months, but you should adjust this frequency based on your environment's cleanliness and performance test results.
How Can I Test if My Ionizer Is Producing Sufficient Ions?
You can test your ionizer's ion production using a Charge Plate Monitor to measure decay time and offset voltage. You'll want readings to show discharge times under specified limits and offset voltage within ±35V.
In Summary
You'll want to position ionizers at these three critical control points to maintain effective static discharge throughout your assembly process. By placing them at your workbench, material transfer zones, and final inspection areas, you're creating a thorough ESD protection system. Remember, you're only as strong as your weakest link, so don't skip any of these key locations in your static control strategy.


Leave a Reply