
To install anti-static floor mats like a pro, you'll need to start with thorough site preparation. Test your subfloor's moisture levels and repair any damage before beginning. Choose the right mat based on your environment's needs and verify it meets ANSI ESD-S20.20 standards. You'll want to install a proper grounding system using copper wire and maintain humidity levels between 40-60%. Clean the subfloor thoroughly, lay down adhesive strips carefully, and roll out the mat while avoiding air bubbles. Regular testing and maintenance will keep your installation effective, and there's much more to discover about maximizing your anti-static protection.
Pre-Installation Site Assessment
Before installing anti-static floor mats, conducting a thorough site assessment is essential for long-term performance and reliability.
You'll need to begin by evaluating the subfloor's condition, which includes testing moisture levels using ASTM F-2170 in-situ probes and ASTM F-1869 anhydrous calcium chloride methods. Make sure any new concrete has cured for at least 90 days.
Check for cracks, unevenness, and damage that could affect the floor's performance. You'll want to repair these issues and guarantee proper drainage before proceeding.
Remove all contaminants and old adhesive materials from the subfloor to guarantee proper adhesion of the new installation. Standard adhesives should not be used as they are not electrically conductive.
Consider environmental factors that'll impact your installation. Check humidity levels and temperature fluctuations, as they affect static generation and floor conductivity.
Identify and test existing grounding points to guarantee they'll provide reliable paths to ground.
Don't forget to evaluate the expected floor traffic to select appropriate materials.
You'll need to document all test results, including resistance and body voltage measurements, to verify compliance with industry standards like ANSI/ESD STM 7.1. This documentation will also help with future maintenance planning.
Choosing the Right Mat
With your site assessment complete, selecting the right mat becomes your next major decision. You'll need to determine whether your environment requires an ESD mat or an anti-static mat.
If you're handling sensitive electronic components in a high-risk setting, choose an ESD mat for its rapid discharge capabilities and proper grounding features. For lower-risk environments, an anti-static mat might suffice.
Consider your specific application needs when selecting materials. Anti-static mats provide gradual charge bleed-off for safer operation. If you're working in an area with chemical exposure, choose a mat with appropriate chemical resistance.
For areas with heavy foot traffic or equipment movement, opt for durable rubber ESD mats over vinyl options. You'll also want to evaluate the mat's construction – single-layer, two-layer, or three-layer designs offer different levels of protection.
Don't forget to check compliance with ANSI ESD-S20.20 standards if you're installing an ESD mat. While it's tempting to cut costs, investing in quality matting will prevent expensive equipment damage in the long run.
Make sure you've measured your space accurately, as mats come in standard widths but can be cut to fit your specific requirements.
Grounding System Requirements
Establishing a proper grounding system forms the foundation of any anti-static floor mat installation. You'll need to guarantee resistance values between your workbench mat and ground wire system fall within 10^6 – 10^9 Ω.
For proper grounding, use multi-strand glued copper core flexible wire with at least 2mm cross-section. Maintaining a relative humidity level between 40-60% helps optimize the grounding system's effectiveness.
When connecting to electrical outlets, you'll need one copper grounding strap per 1000 square feet of ESD flooring. Make sure you're using tested electrical receptacles and secure the copper strap to the AC outlet with a grounding screw. Let the 24" strap extend down to the subfloor.
If you're grounding to earth, drive a 4-6 foot copper rod into the ground, leaving 2-3 inches exposed. Attach your grounding strap to the rod using a grounding clamp.
For equipment grounding, guarantee all metal frames are automatically grounded through power plug sockets, and use coaxial cables for current-carrying ground wires. Remember that external parts' surface and shielding must maintain a system resistance value under 1Ω.
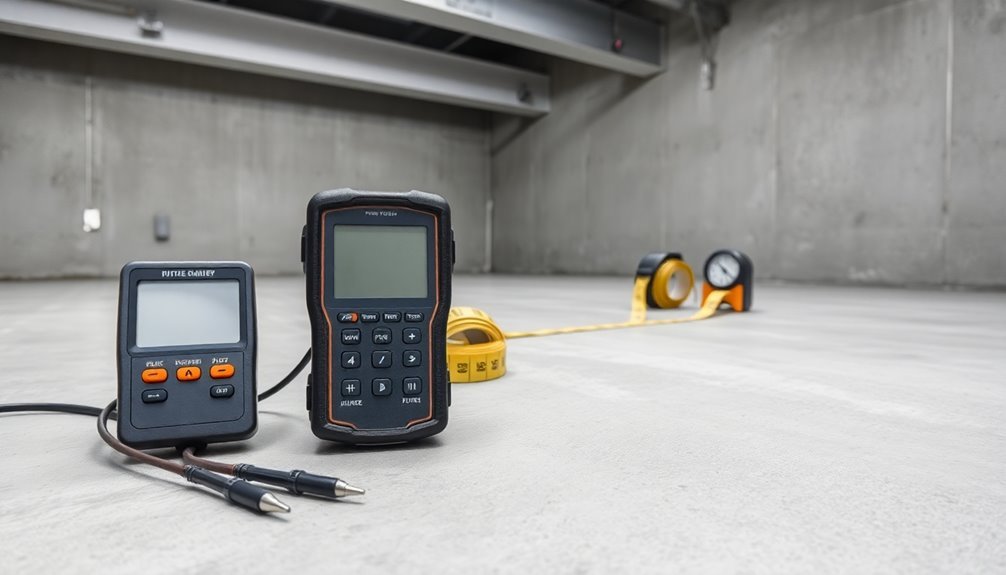
Always verify your connections with a volt ohm meter to confirm proper grounding.
Steps for Proper Installation
Proper installation of anti-static floor mats requires a systematic approach that starts with thorough surface preparation. Begin by cleaning your sub-floor thoroughly and confirming it's completely dry. VOC-free adhesives ensure safe installation while maintaining effectiveness.
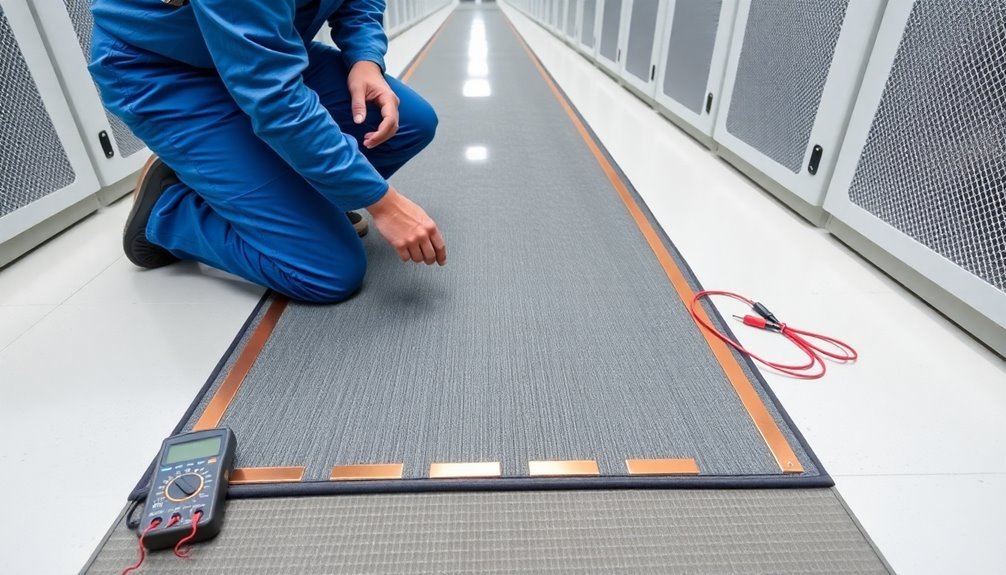
Install conductive edge strips around the room's border, placing them 1' from walls and every 30 ft. across seams.
Next, you'll need to lay down dry adhesive strips without creating air bubbles or wrinkles. Trim any overlapping adhesive layers for a perfect fit.
Once you've confirmed your ESD flooring dimensions match the room, apply the adhesive paper and carefully remove it from the backing. Place the ESD flooring over the adhesive using slow, controlled movements.
Use a weighted roller to eliminate air pockets and confirm proper adhesion. Connect adjoining sections using a hot welder, and trim excess material around the edges without damaging lower layers. Don't forget to secure all seams properly.
Finally, ground your installation using a compliant grounding kit that meets ANSI standards. Attach the ground cord directly to the flooring and a reliable earth ground. Remember, each mat needs its own ground connection – don't daisy chain them. Test the grounding to verify it meets all required standards.
Testing and Maintenance Guidelines

Regular testing and maintenance of your anti-static floor mats guarantees their continued effectiveness in protecting sensitive equipment.
You'll need to perform two essential resistance tests: resistance-top-to-top (RTT) and resistance-to-groundable point (RTG). For RTT testing, place two 5-pound electrodes 10 inches apart on the mat's most used area, confirming resistance readings of ≥ 1 x 10^6 ohms. Utilizing proper resistance testing equipment helps ensure compliance with industry standards like ANSI/ESD S20.20.
When conducting RTG tests, clip the black lead to a ground point and position one electrode at the mat's furthest convenient point, looking for readings between 1 x 10^6 and 1 x 10^9 ohms.
Keep your mats clean to maintain their static dissipative properties, and conduct visual inspections for wear or damage regularly. You'll want to test at different humidity levels (50% and 12%) and remove any ESD-sensitive devices during testing.
If you find high resistance readings or grounding issues, check your connections immediately. Remember to verify proper grounding using an ESD tester or multimeter.
When mats fail to meet resistance standards or show significant wear, replace them promptly. Follow ANSI/ESD S4.1 guidelines for testing frequency and confirm your workstation meets ANSI/ESD S6.1 grounding requirements.
Frequently Asked Questions
Can I Layer Multiple ESD Mats for Extra Protection?
Don't layer multiple ESD mats, as this can actually interfere with proper static dissipation. You'll get the best protection from a single, properly grounded mat that meets industry standards.
What Happens if I Accidentally Spill Coffee on My ESD Mat?
Don't panic if you spill coffee – it won't cause immediate damage. Simply clean it with isopropyl alcohol, let it air dry, and inspect for any visible damage. Regular spills can degrade the mat over time.
How Often Should I Replace My ESD Floor Mat?
You'll need to replace your ESD floor mat every 3-6 months with moderate use. If you're using it heavily or notice rips, slides, or loss of static control properties, replace it sooner.
Can I Cut the Mat to Fit Around Obstacles?
Yes, you can cut your ESD mat to fit around obstacles, but be careful to use proper tools like hobby knives and metal rulers. Don't cut heating mats though – they're designed to stay intact.
Do ESD Mats Work in Extremely Humid Environments?
Yes, your ESD mats will work in humid environments, and humidity actually helps dissipate static charges. However, keep humidity below 70% to prevent excessive conductivity and potential corrosion of your electronic equipment.
In Summary
You've now got the knowledge to properly install anti-static floor mats in your facility. By following these guidelines for site assessment, mat selection, grounding system setup, and installation steps, you'll create a safe work environment that protects sensitive equipment. Remember to perform regular testing and maintenance checks to guarantee your mats continue functioning effectively. Don't skip any steps – proper installation today means fewer problems tomorrow.


Leave a Reply