Static dissipative floor mats must meet specific standards for safety and performance. You'll need mats with surface resistance between 1 x 10^5 and 1 x 10^11 ohms/square that comply with ANSI ESD-S20.20 and EN 61340-5-1 standards. Your mats should be properly grounded using appropriate cables and maintain RTG readings between 1 x 10^6 and 1 x 10^9 ohms. You'll want to conduct regular resistance testing under controlled humidity conditions (12-50%) and implement proper cleaning routines. Whether you choose vinyl or rubber materials, proper installation and maintenance are essential for effective static control. There's much more to evaluate when ensuring your floor mats meet all safety requirements.
Key Material Composition Standards
The key material composition standards for static dissipative floor mats center on two primary materials: vinyl and rubber.
You'll find vinyl mats are more economical and softer, making them ideal for tabletop and work surface applications, while rubber mats offer superior heat and chemical resistance for heavy-duty environments. Manufacturing processes utilize superior plasticizers and lower-outgassing solvents for enhanced durability.
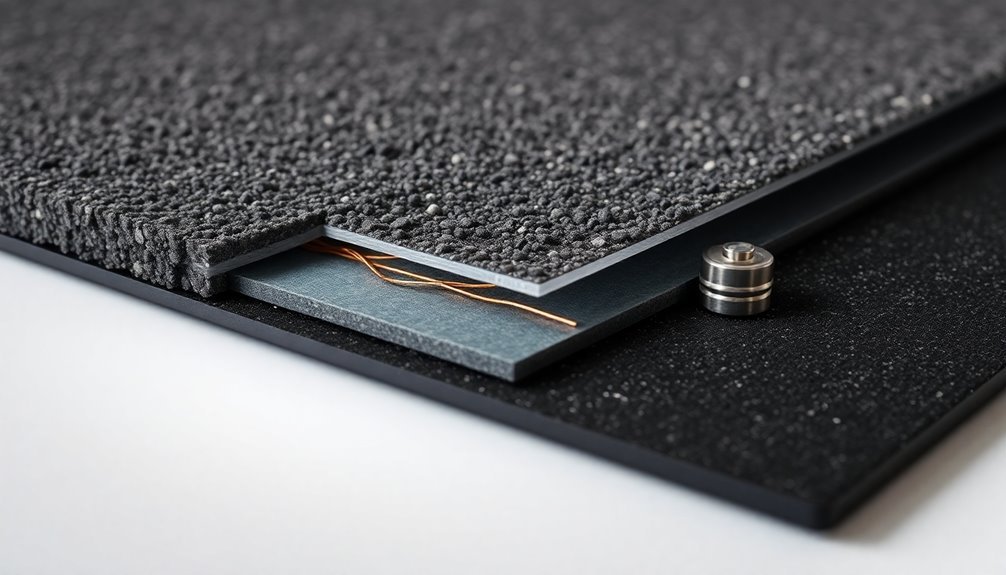
When selecting your mat's construction, you'll need to evaluate the layer options available: single-layer (homogeneous), 2-layer, or 3-layer designs. These mats are available in standard widths of 24 to 48 inches.
Homogeneous mats feature a single-layer polymer mix that delivers consistent electrical performance throughout. If you're looking at vinyl options, 2-layer mats combine dissipative vinyl with a foam layer for added comfort, while 3-layer versions incorporate a conductive metal/carbon layer to enhance electrical properties.
For rubber solutions, 2-layer mats feature a static dissipative top layer paired with a conductive rubber backing.
The material composition you choose must comply with industry standards like ANSI ESD-S20.20 and EN 61340-5-1.
Your mat's surface resistance should fall between 1 x 10^5 and 1 x 10^11 ohms/square for dissipative properties, and manufacturers test these specifications according to ASTM F150 standards.
Resistance Testing Methods
Resistance testing protocols guarantee your static dissipative floor mat maintains proper electrical properties throughout its service life.
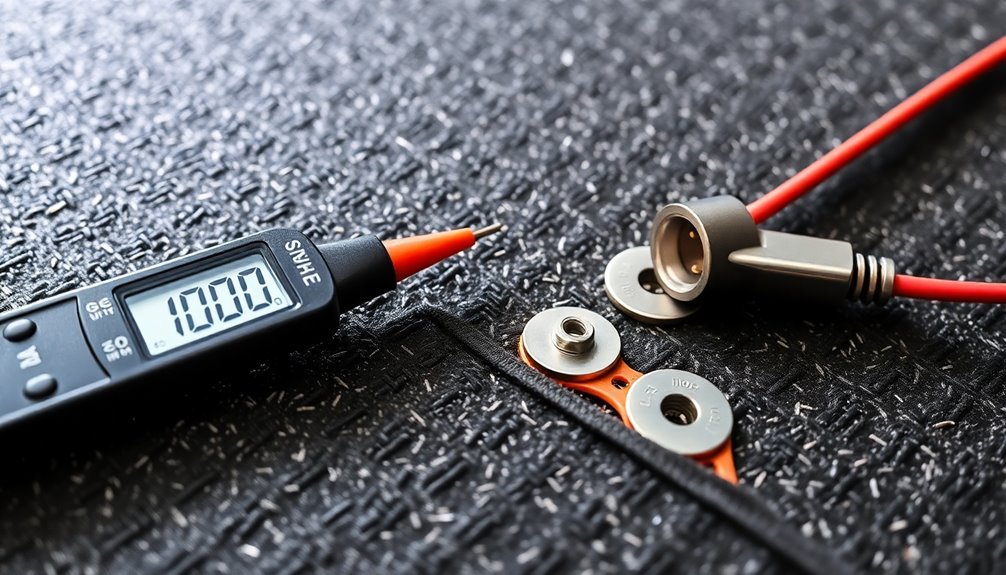
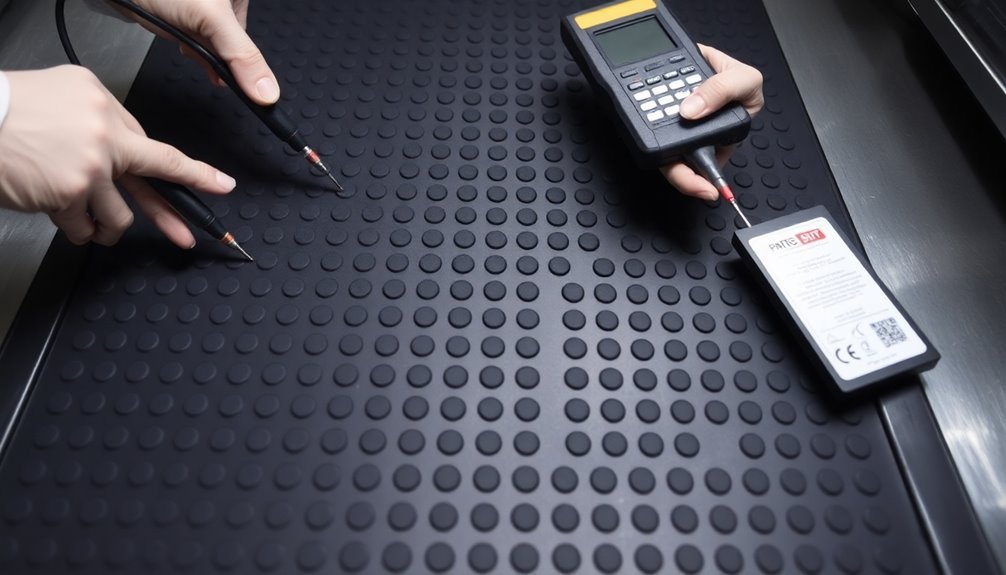
You'll need to conduct two primary tests according to the ANSI/ESD S4.1 standard: resistance-top-to-top (RTT) and resistance-to-groundable point (RTG) measurements.
To perform these tests correctly, you'll need a surface resistivity meter with two 5-pound electrodes.
Regular documented testing helps identify potential ESD risks before they impact sensitive electronic components.
Position the electrodes at least 2 inches from any edge and 3 inches from grounding points. Your RTG readings should fall between 1 x 10^6 and 1 x 10^9 ohms, while RTT measurements must be at least 1 x 10^6 ohms.
Critical testing requirements you must follow:
- Maintain controlled relative humidity levels (12% and 50% ± 3%) during testing
- Connect your mat to a common ground point for accurate measurements
- Use proper resistance meters instead of standard multimeters for high-resistance readings
Remember that environmental conditions can greatly impact your test results.
Continuous improvement strategies can help optimize your ESD protection program over time.
If you don't have access to proper testing equipment or expertise, consider third-party verification services to guarantee your floor mats meet industry standards and provide reliable ESD protection.
Proper Grounding Requirements
For effective static dissipation, your ESD floor mat must connect to a proper ground point using appropriate grounding accessories.
You'll need to connect your mat to an electrical outlet using a grounding cable, as outlets provide the best path to earth ground through the building's piping system.
Your grounding requirements will vary depending on whether you're using conductive or dissipative mats.
If you've installed conductive mats (resistance less than 1 x 10^5 ohms/square), you'll need to ground each tile individually using dedicated grounding cables. Vinyl and rubber materials are commonly used in these mats, each offering different durability levels.
For dissipative mats (resistance between 1 x 10^5 and 1 x 10^12 ohms/square), you'll only need to ground every 1-4 tiles.
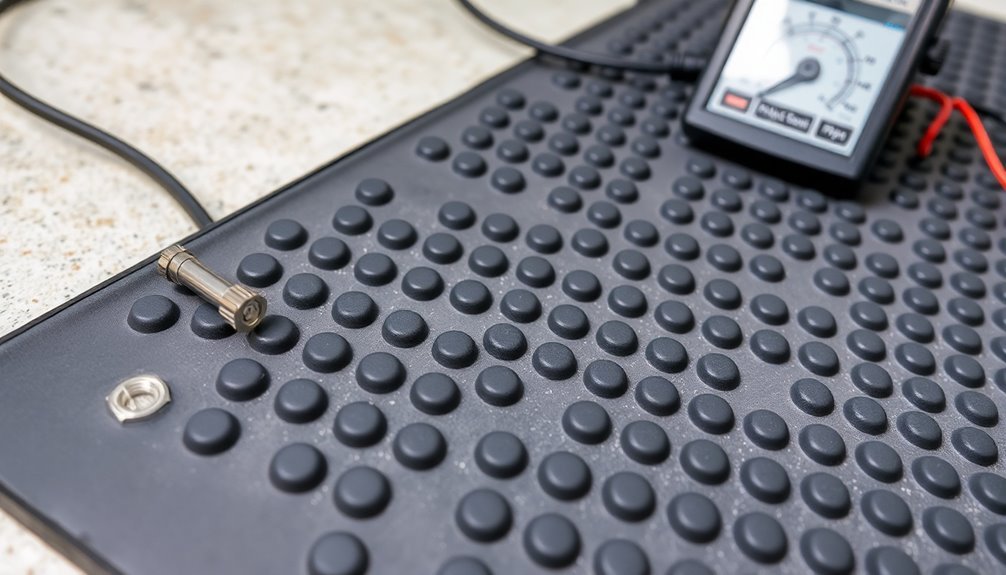
To properly ground your mat, you'll need to attach a floor mat ground cord to the conductive snap on the corner of your mat.
The low profile 797-Cord enables two users to ground simultaneously through a single connection point.
Connect the other end to the center screw of an electrical outlet.
For complete static control, you should also use complementary grounding accessories like heel grounders or ESD footwear.
These items create a continuous path for static electricity to flow from your body through the mat and into the ground.
Safety Certification Guidelines
You'll need to verify your static dissipative floor mats meet ANSI/ESD STM 7.1-2013 standards through rigorous resistance testing at 12% ± 3% humidity for 72 hours.
Your floor mat's grounding system must comply with ANSI/ESD S20.20 requirements, maintaining less than 100 volts of body voltage and resistance to ground below 1.0 x 10^9 ohms.
Testing equipment must use dual voltage settings of 10V and 100V with ±5% accuracy under load.
While these standards remain voluntary, adhering to recommended guidelines enhances customer confidence in product performance.
To maintain certification, you should regularly test both point-to-point and point-to-ground resistances, including seams and connection points in your assessment.
ANSI/ESD Standards Testing
Testing static dissipative floor mats requires strict adherence to ANSI/ESD S4.1 and S20.20 standards for safety certification.
You'll need to conduct both resistance-to-groundable point (RTG) and resistance-top-to-top (RTT) measurements using a Surface Resistivity (ESD) Meter. The acceptable resistance range falls between 1 x 10^6 and 1 x 10^9 ohms for RTG tests.
When performing these tests, you must follow specific procedures:
- For RTT testing, place two 5-pound electrodes 10 inches apart and maintain a 2-inch distance from any edge of the mat.
- For RTG testing, connect one test lead to a ground point and position an electrode at the furthest convenient point on the surface.
- Keep all electrodes at least 3 inches away from any grounded points during measurements.
You'll need to document all resistance values for compliance verification and maintain regular testing schedules.
It's vital to avoid excessive conductivity below 1 x 10^5 ohms to prevent shock hazards. Remember to perform walking voltage tests when necessary and follow supplier recommendations for maintaining your antistatic floor coverings to guarantee continued compliance with safety standards.
Grounding System Compliance
In accordance with ANSI ESD-S20.20 standards, proper grounding system compliance requires specific components and installation methods to achieve safety certification.
You'll need to guarantee your dissipative matting has a grounding cable for every 1-4 tiles, while conductive matting requires each tile to be individually grounded. Your grounding connections should typically run to an electrical outlet's center screw.
For personnel safety and equipment protection, you must implement the correct grounding components. You'll need to use appropriate cables with conductive snaps that connect to your mats' corners, allowing static to bypass the floor and flow directly to ground.
If you're working at a table, you'll need wrist grounding cords, while standing work requires heel grounders for proper static discharge.
To maintain compliance, you'll need to verify that your mats meet the proper resistance specifications: conductive materials should measure less than 1 x 10^5 ohms/square, while static dissipative materials should fall between 1 x 10^5 and 1 x 10^12 ohms/square.
You must also regularly inspect your grounding systems and replace any damaged components to guarantee continuous ESD protection.
Performance Measurement Protocols
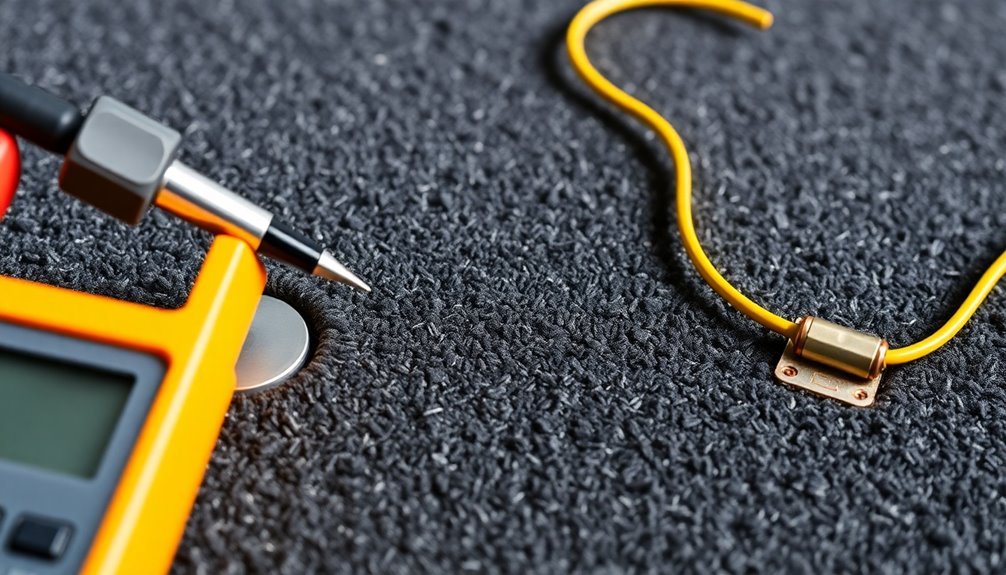
Measurement accuracy plays an essential role in evaluating static dissipative floor mats, requiring specific protocols for both RTT and RTG testing. You'll need a Surface Resistivity (ESD) Meter and 5-pound electrodes to perform these essential measurements correctly.
For RTT testing, you must place two electrodes 10 inches apart on the mat's surface, keeping them 2 inches from any edge and 3 inches from grounded points. The test should focus on commonly used areas or near the center if usage patterns aren't obvious.
When measuring RTG, you'll connect one electrode to the mat's surface while attaching the black test lead to a grounded point.
Here are the critical resistance requirements you must verify:
- Static dissipative floor mats should measure between 1 x 10^6 and 1 x 10^9 ohms
- RTT measurements must be ≥ 1 x 10^6 ohms per ANSI/ESD S4.1 guidelines
- RTG measurements should fall between 1 x 10^6 and 1 x 10^9 ohms
Remember that different industries may specify unique resistance ranges, and you shouldn't rely solely on resistance measurements to determine safety. Always consult your industry's specific standards for complete compliance requirements.
Installation Best Practices
You'll need to begin your static dissipative floor mat installation by properly preparing the surface, ensuring it's clean, dry, and free of debris.
When placing the mat, you'll want to align it carefully and secure it firmly to prevent any movement or lifting at the edges.
You must then establish proper grounding connections using manufacturer-approved hardware and test the resistance levels to confirm the mat meets ESD protection requirements.
Proper Grounding Setup
Setting up proper grounding for your static dissipative floor mat requires careful attention to several critical components.
You'll need to start by allowing your mat to acclimate to room temperature for at least 8 hours before installation to guarantee it lies completely flat. When you're ready to install the grounding point, select the appropriate snap type – either screw-on, push and cinch, or rivet-style – based on your specific needs.
To establish an effective grounding system, follow these essential steps:
- Choose a single location for your grounding snap, then create a starter hole using a Phillips head screwdriver or awl, guaranteeing you're following proper safety precautions.
- Install the snap by applying firm pressure until the prongs penetrate the mat, then secure them by cinching on the reverse side.
- Connect your grounding cord to the snap and attach it to a verified ground point, guaranteeing a continuous conductive path.
Don't forget to test your setup using appropriate measurement equipment to verify resistance levels meet industry standards (less than 1 x 10^9 ohms).
Regular maintenance, including checking connections and keeping the mat clean with ESD-safe cleaners, will help maintain its effectiveness over time.
Surface Preparation Guidelines
A well-prepared surface acts as the foundation for any successful static dissipative floor mat installation.
You'll need to start by thoroughly cleaning the floor, removing all dust, dirt, oils, and old adhesive residues. Use a broom or vacuum cleaner first, then follow up with a mild detergent solution and guarantee the surface is completely dry before proceeding.
Before installation, you'll want to check the floor's moisture levels and repair any defects like cracks or holes with a compatible compound.
Maintain the room temperature between 68°F and 85°F, and control humidity levels to prevent moisture-related problems. Don't forget to provide adequate ventilation throughout the preparation process.
You must evaluate the floor's condition and perform bond tests to guarantee proper adhesion.
Identify the surface type – whether it's concrete, vinyl, or another material – as this will determine your specific preparation method.
Check for any chemical contamination that could interfere with the installation.
Mat Placement Techniques
During mat installation, proper placement techniques play a critical role in guaranteeing effective static dissipation. You'll need to position each mat strategically while maintaining proper alignment to prevent gaps that could compromise conductivity.
When installing multiple mats, verify they're properly spaced and connected to create a continuous conductive path.
For peak performance, follow these essential placement steps:
- Install mats on clean, level surfaces using conductive adhesives or copper strips to establish reliable electrical continuity.
- Position each mat with appropriate spacing, allowing for expansion and contraction while maintaining consistent contact with grounding points.
- Secure grounding cables at designated points, avoiding daisy-chain connections, and confirm they're properly attached using #10 ring terminals.
You'll want to take into account future maintenance when placing your mats, so install them in a way that allows for easy removal if needed.
Use wall base materials to cover expansion gaps along walls and fixed objects, and install proper junctions between different flooring materials.
Remember to cut mats precisely to size using appropriate tools to prevent damage and maintain their effectiveness.
Maintenance and Care Specifications

Proper maintenance of static dissipative floor mats plays an essential role in preserving their effectiveness and longevity. You'll need to implement regular cleaning routines based on your facility's foot traffic and the specific type of ESD flooring material you're using. For high-traffic areas, it's vital to perform daily dry cleaning using untreated mops or brooms.
When cleaning your static dissipative floor mats, you must use ESD-specific cleaning products to maintain their protective properties. Don't use household cleaners or alcohol-based solutions, as they can damage the mat's static dissipative capabilities. Instead, opt for detergent-free solutions for wet cleaning when necessary.
| Cleaning Type | Frequency | Method |
|---|---|---|
| Dry Cleaning | Daily | Sweep or vacuum |
| Wet Cleaning | Weekly | ESD-specific cleaners |
| Deep Cleaning | Monthly | Professional buffing |
Remember to regularly inspect your mats for wear and tear, particularly in high-traffic zones. You should conduct periodic electrical resistance testing to verify your mats continue meeting required specifications. Using protective measures like tack mats at entry points will help reduce contaminants and extend your floor mat's lifespan.
Environmental Compliance Standards
Compliance with environmental standards forms the foundation of effective static dissipative floor mat implementation.
You'll need to verify your floor mats meet specific requirements for electrical resistance, charge generation, and environmental controls. The standards include ANSI/ESD STM7.1 for resistance testing and ANSI/ESD STM97.2 for measuring peak voltage during walking.
Temperature and humidity control are vital for peak performance. You must maintain temperatures between 20-30 degrees Celsius and provide adequate ventilation to prevent hazardous vapor accumulation.
Your static dissipative floor mats should be properly grounded and used with appropriate ESD-protective footwear in high-risk environments.
Key compliance requirements you must follow include:
- Meeting ASTM F150 specifications for electrical resistance, verifying measurements remain below 1 x 10E9 ohms
- Maintaining proper certification for indoor air quality and static dissipation performance
- Following industry-specific standards like Motorola R56 or FAA 019f, depending on your facility's requirements
Regular testing of body voltage and point-to-point resistance helps verify ongoing compliance with these environmental standards.
You'll need to document these measurements to demonstrate adherence to certification requirements and maintain safe operating conditions.
Durability Testing Requirements
Beyond environmental standards, static dissipative floor mats must undergo rigorous durability testing to confirm long-term performance. You'll need to verify your floor mats maintain their resistance specifications throughout their service life, with surface-to-ground resistance staying below 2 x 10E10 ohms and meeting industry-specific requirements.
To verify durability, you should conduct regular resistance testing using the Metriso 3000 test kit or similar calibrated equipment. These tests measure both point-to-point and point-to-ground resistance, confirming the mat's continued ability to transport static charge effectively. If you're working in electronics manufacturing, your mats must consistently maintain resistance below 1.0 x 10E9 ohms.
The mat's composition plays an essential role in its durability. Whether you choose single-layer, two-layer, or three-layer construction, you'll want to select materials that can withstand your specific environmental conditions.
Vinyl and rubber compositions offer different benefits, but both must maintain their ESD properties under regular use. Remember to perform walking tests and static-control audits periodically to confirm your mats continue meeting ANSI/ESD STM 7.1 standards throughout their lifecycle.
Static Control Effectiveness Metrics
Measuring static control effectiveness comes down to three key electrical ranges: conductive (less than 1 x 10^5 ohms/square), dissipative (1 x 10^5 to 1 x 10^12 ohms/square), and insulative (greater than 1 x 10^12 ohms/square).
You'll need to verify your mat's performance using standardized testing methods outlined in ANSI/ESD S4.1-2006 and ESD Association Standard Test Method 4.1-2017. These standards focus on two essential measurements: resistance top-to-ground (RTG) and top-to-top (RTT).
To guarantee peak static control performance, you'll want to focus on these key metrics:
- Grounding frequency – Connect conductive mats at every tile and dissipative mats every 1-4 tiles
- User grounding compliance – Implement mandatory use of heel grounders or ESD shoes
- Material composition verification – Confirm whether you need homogeneous or three-layer construction for your specific application
Your mat's effectiveness depends heavily on proper grounding implementation.
You'll need to use conductive snaps to bypass insulative floors and connect your mats directly to ground through an electrical outlet. Regular testing and maintenance of these connections will help maintain consistent static control performance.
Frequently Asked Questions
How Often Should ESD Floor Mats Be Replaced in High-Traffic Areas?
You'll need to replace your ESD floor mats in high-traffic areas every 12-18 months. Monitor them closely for visible damage, declining performance, and resistance changes to maintain proper static protection.
Can ESD Floor Mats Be Cleaned With Regular Household Cleaning Products?
You shouldn't use regular household cleaners on ESD mats, as they can damage the mat's static dissipative properties. Instead, use mild dish soap diluted in warm water or specialized ESD cleaning solutions.
Do ESD Floor Mats Work Effectively in High-Humidity Environments?
Yes, your ESD floor mats can work effectively in high-humidity environments, especially if you're using rubber mats. They'll maintain their static-dissipative properties, but you'll need to guarantee proper grounding and regular maintenance.
What's the Temperature Range These Mats Can Safely Operate Within?
You can safely operate most ESD floor mats between 40°F and 120°F (4°C to 49°C). If you're using rubber mats, they'll handle higher temperatures up to 150°F (65°C) for industrial applications.
Are ESD Floor Mats Recyclable at the End of Their Lifecycle?
You'll need to check with your specific manufacturer about recycling options, as recyclability varies by material type. While some vinyl and rubber mats can be recycled, there's limited standardized information about ESD mat recycling.
In Summary
You'll need to guarantee your static dissipative floor mat meets all key requirements, including proper resistance ratings (106 to 109 ohms), regular testing protocols, and certified grounding connections. Don't forget to maintain ANSI/ESD S20.20 compliance and perform routine maintenance checks. By following these standards and keeping up with testing schedules, you're protecting your equipment and personnel from harmful static discharge.


Leave a Reply